
If you’re striving to create a more simple, intentional life in these modern times,
join me on a journey of Creative Simple Living!
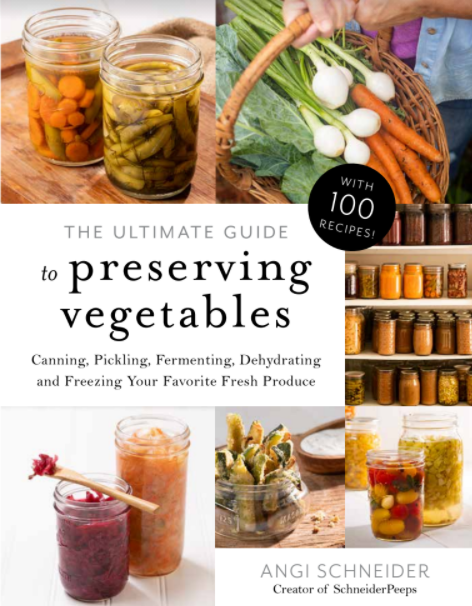

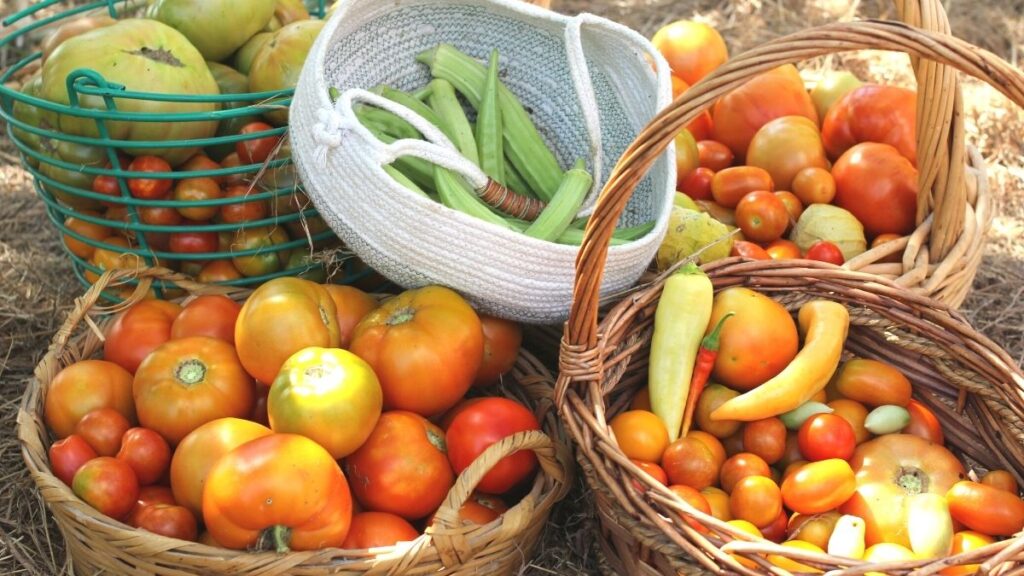
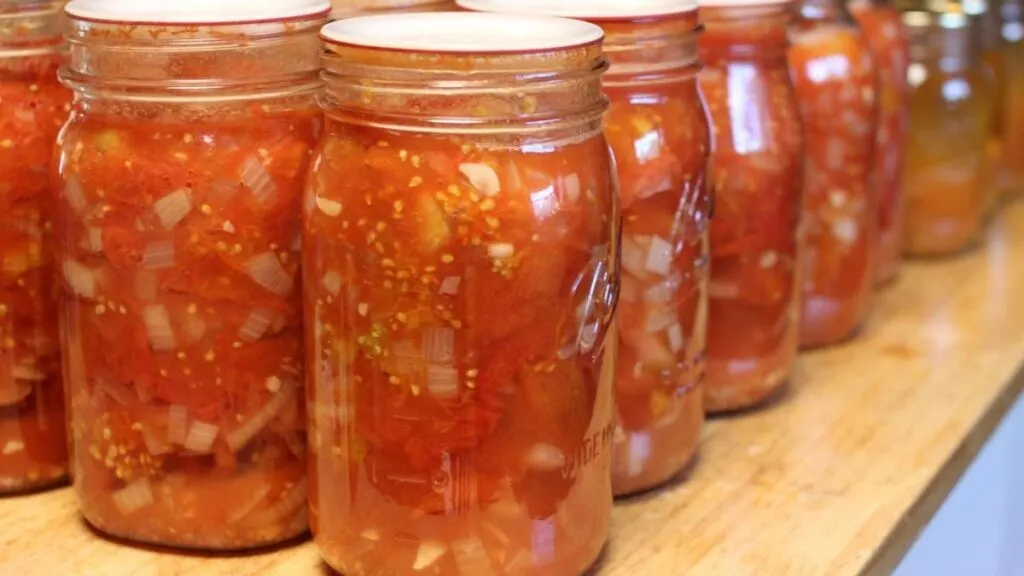
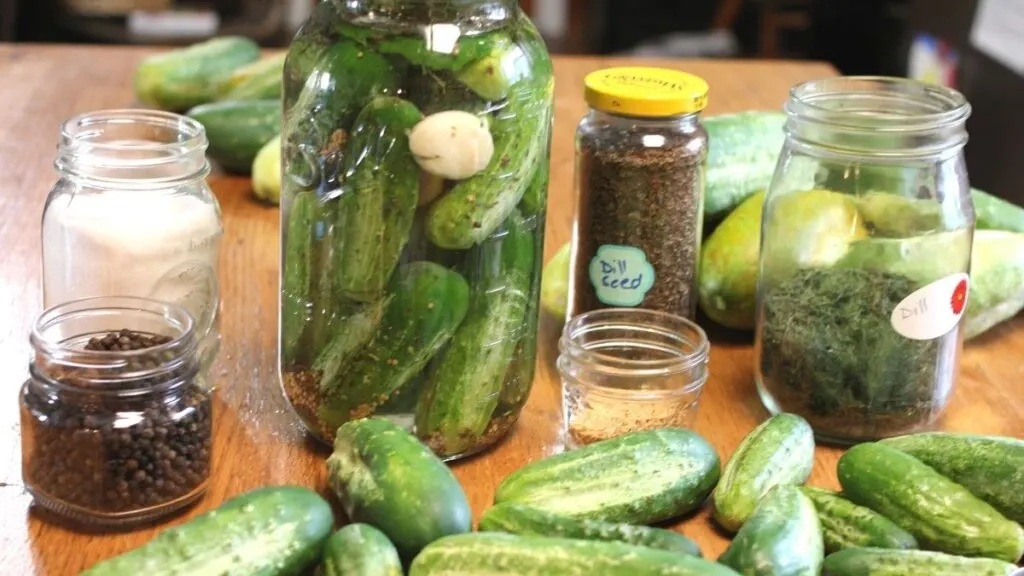
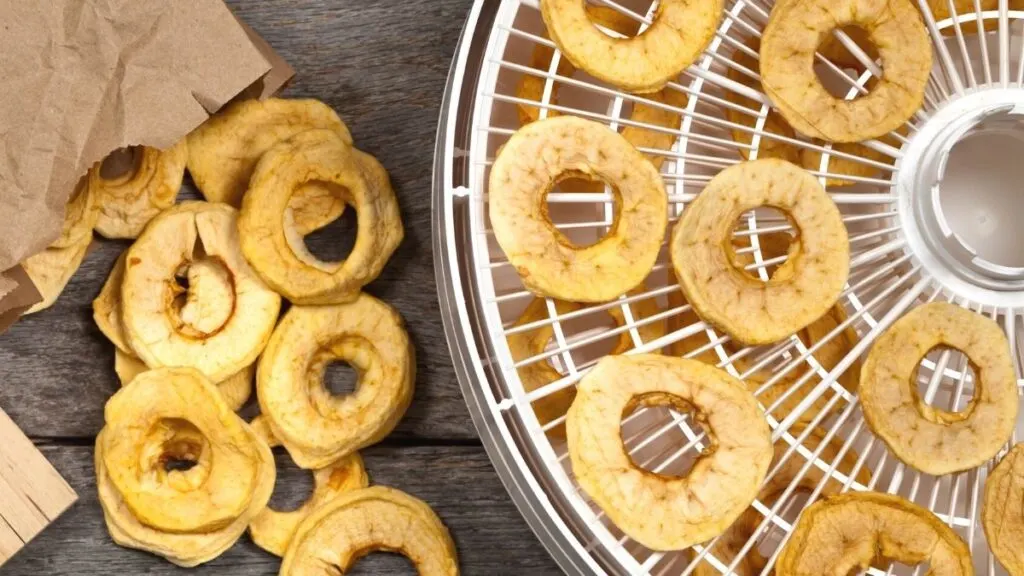
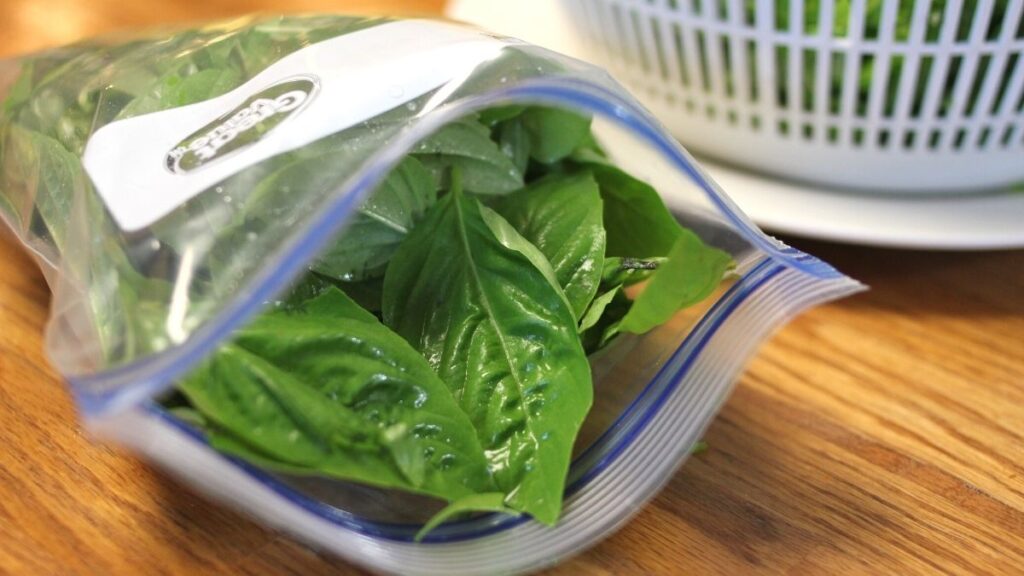
Learn to grow and preserve vegetables by canning, dehydrating, fermenting and freezing in The Ultimate Guide to Preserving Vegetables.
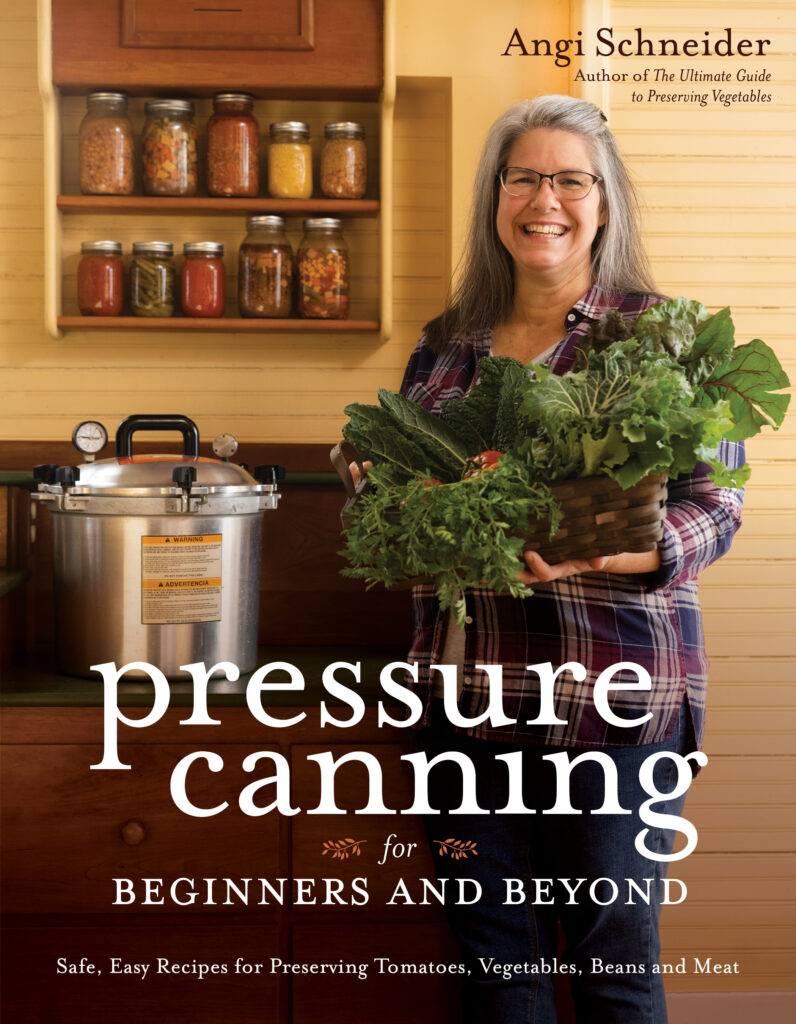
Pressure canning doesn’t have to be scary. Learn all you need to know to safely pressure can in Pressure Canning for Beginners and Beyond.