 Have I ever mentioned that since leaving home at 19 the longest I’ve ever lived in one home is 5 years? Well, it’s true. So, this is the second longest we’ve ever lived in a home and I’m learning quite a bit about myself. Like I have no idea what you are supposed to do when the calking around your tub gets mildew and you can’t get it off (even with bleach). Thanks to You Tube we figured it out.
Or what in the world do people (who don’t have large pantries, or mudrooms) do with their potatoes? We go through about 10lbs of potatoes every week or two and since I don’t really know what to do with them I just put the bag by the stove.

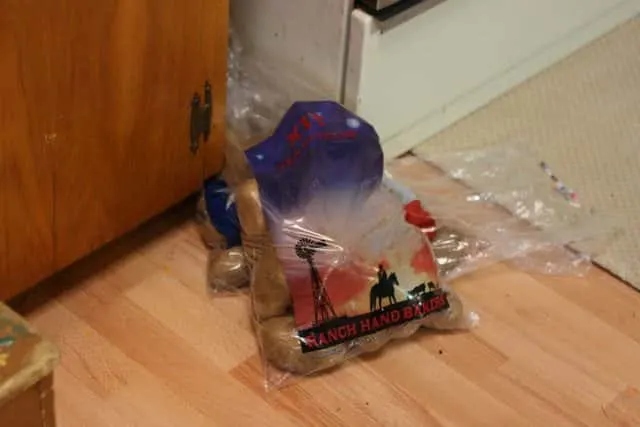 Gross, I know. But it’s true and since I spent July completely cleaning and organizing every part of our kitchen it was driving me crazy. So last week I decided to look on Pinterest and google images to find a solution. Then I came across this older post from LuSa Organics. I was totally inspired. She used coffee sacks which I don’t have but I knew I had some burlap in the
 crap craft closet.
Even though I was totally trying to hurry, I snapped some progress photos to share with you. There isn’t a photo for every step, so make sure you also read 😉
The first thing you need to do is find an oval platter, burlap and some fabric you only need about a yard of burlap and a yard of fabric. My platter measured 13″ across and 10″ wide. I just turned the platter over on the burlap and fabric and traced the oval. Then I cut them out and measured all around the outside to get my length for the sides. My length was 36″ and I decided to make it 12″ high. I cut the rectangle for the sides out of burlap and fabric that measured 12″ X 36″.
So, I had two ovals, and two rectangles. 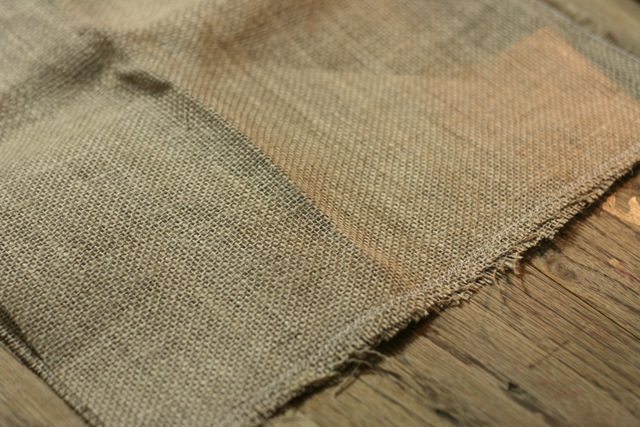
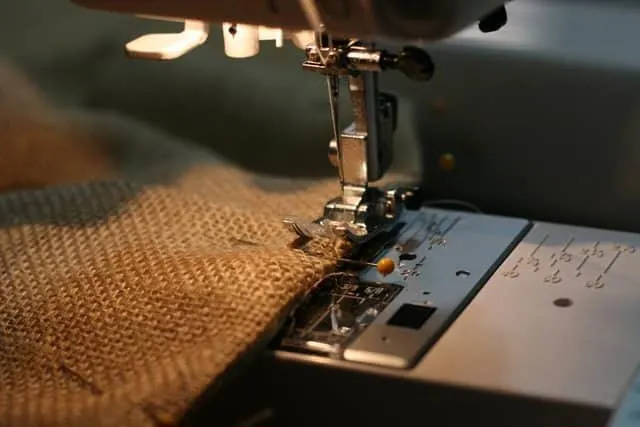
 Take the burlap rectangle and fold it over so that the short sides of the rectangle match. Stitch a straight seam. Since burlap frays quite easily, I also ziz zagged the edge and then sewed a second straight seam. Now you have a tube.
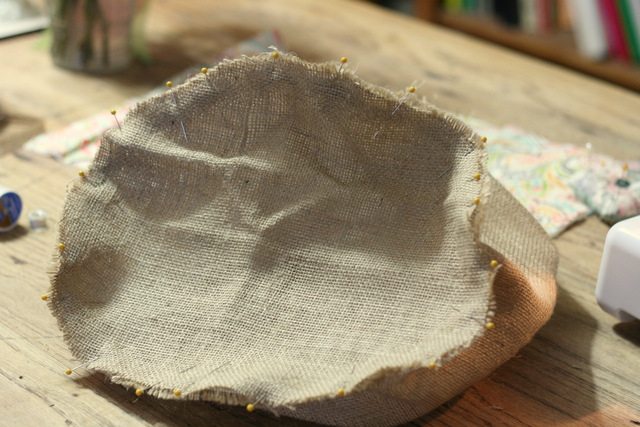
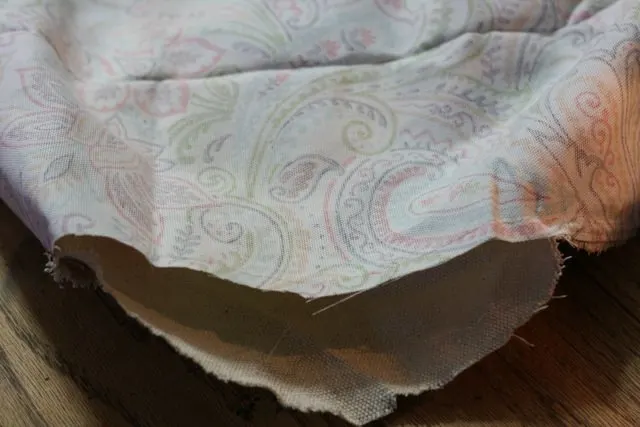
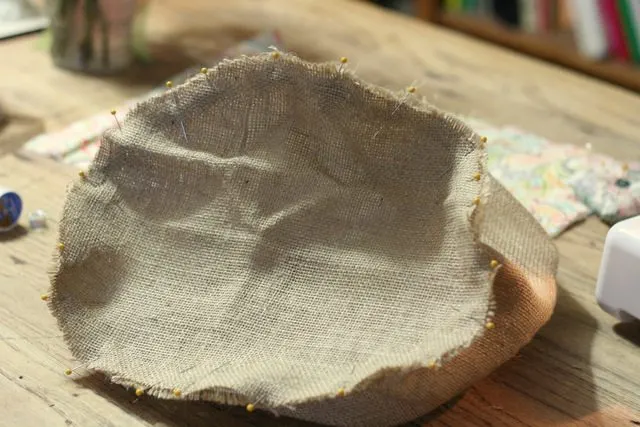 Open one side of the tube (this will be the bottom of the basket) and pin the burlap oval onto the tube (like in the photo above).

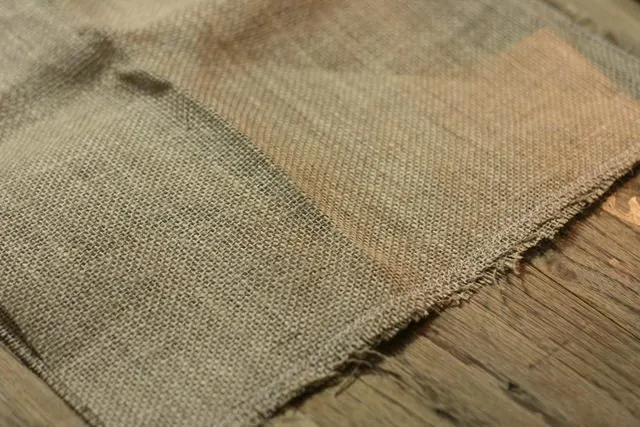
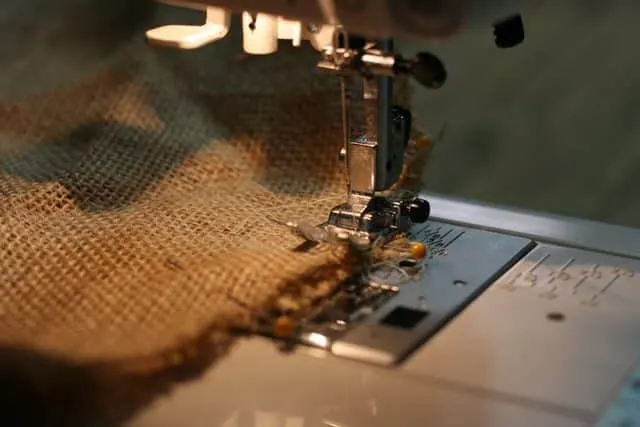 Now, stitch a quarter inch seam all around the oval. When you are done, go back an zig zag and then do a second straight stitch. Now you have a bucket.
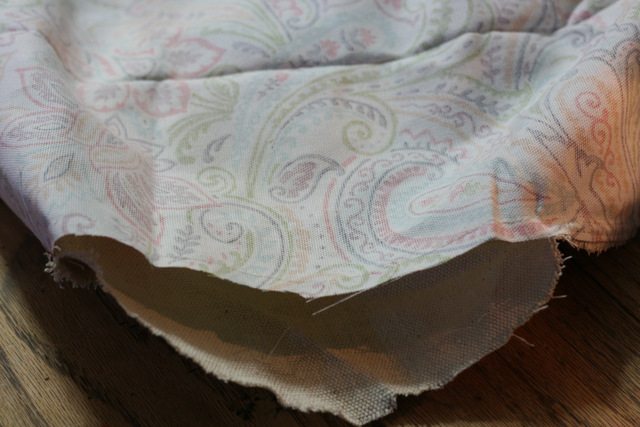
 You are doing to do the exact same thing for your fabric. Make sure to keep right sides together (I didn’t have enough fabric left over from making pillows for the bottom so I used some drop cloth fabric from our stockings as the bottom which is why my fabrics don’t match in the photo.) Also, leave about a 6″ hole in one side of the seam. This is how you are going to turn it right side out.
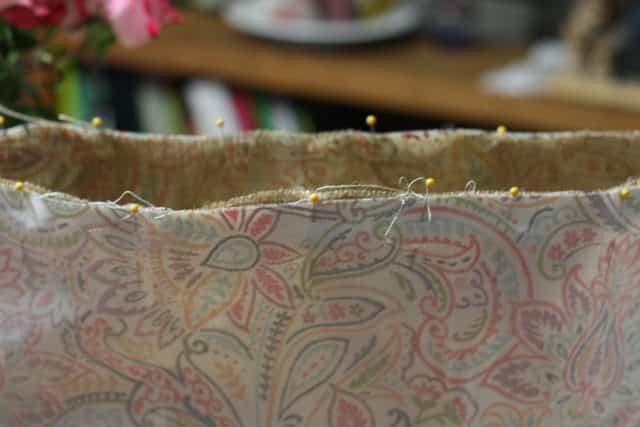
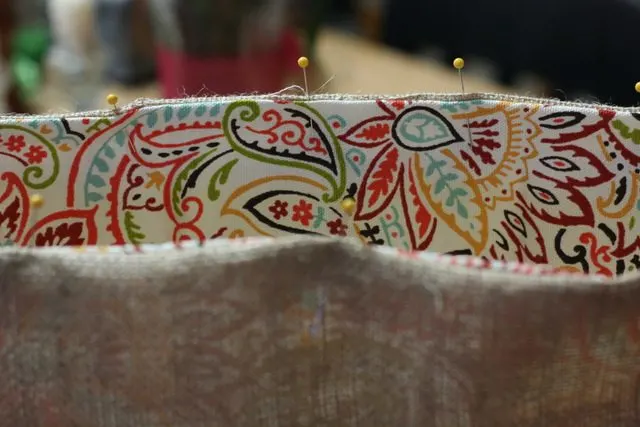
 Next, turn the burlap basket right side out and put it inside the fabric one. Pin all around the top and then sew them together. I used a 1/4″ seam and then I zig zagged.

 Once the top is sewn, pull the burlap part out through the hole.

 Pin the hole closed and sew it shut.

I just did it on the machine, but you can do it by hand if you want to.

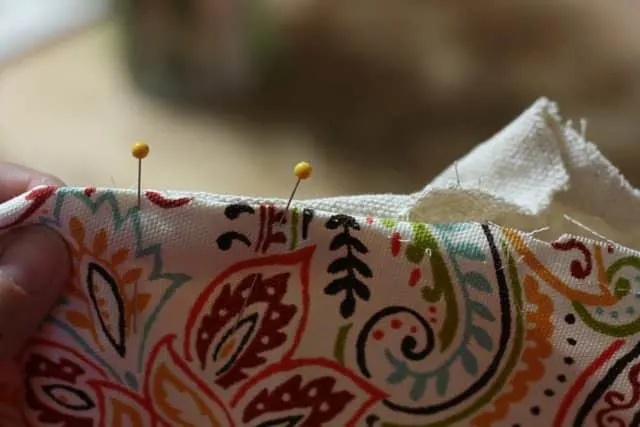
 Push the lining into the burlap basket and pin all around the top, making sure the seam is how it is supposed to be.

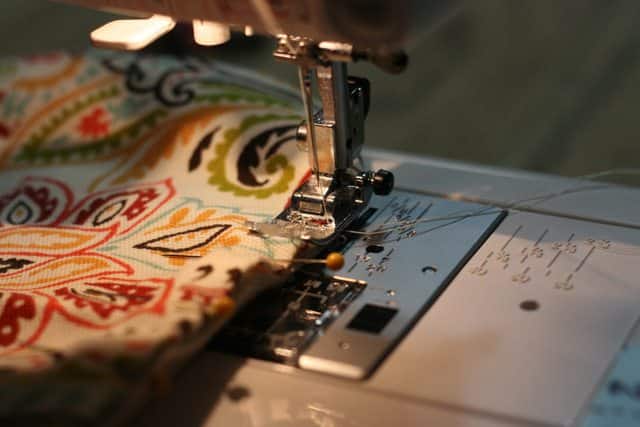
 Top stitch all around the top. This will give your baskets a nice, tidy edge. You don’t have to to this part, but I always top stitch.
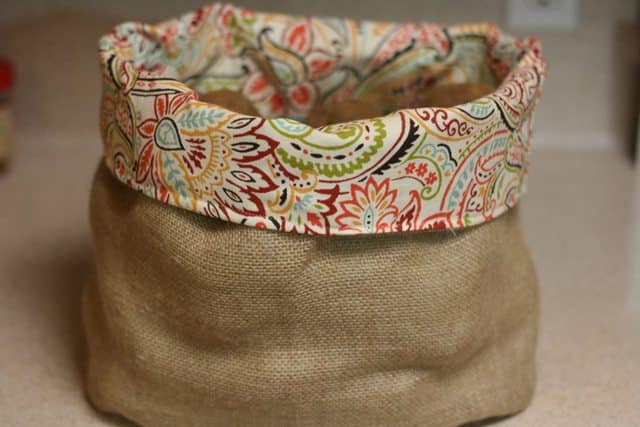

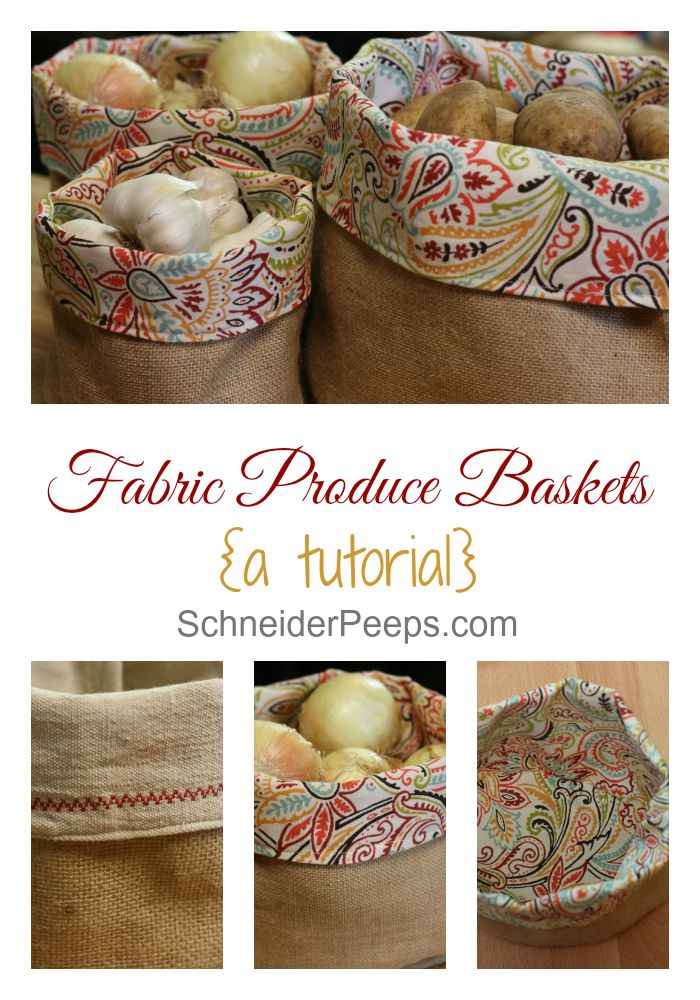
Turn the top down and fill with potatoes. This bag has 12 pound of potatoes in it.

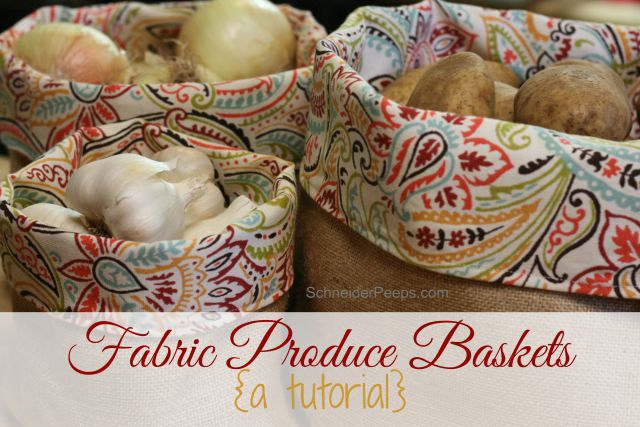
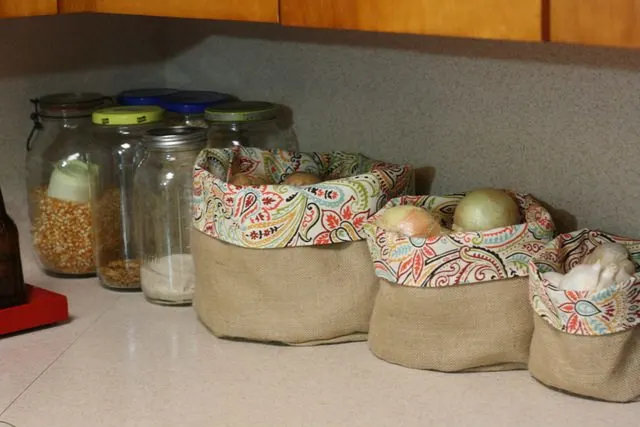 Then make more for the onions and garlic to not only un-gross your kitchen but to actually make it a little more cute.
Some tips for making burlap and fabric produce baskets
Make sure you use burlap that is stiff. When I decided to make the other two, I had to go buy some burlap. I didn’t realize there was a difference in how tight burlap is woven and the baskets turned out super flimsy. Then I was able to find some stiff and tightly woven burlap.
When you are putting the oval onto the tube, it’s ok if it doesn’t match up completely. If the oval is too big, you can trim is just a little and if the sides are too big, just increase your seam allowance on the side. Unless you are going to make a lot of these don’t get super uptight about exact measurements.
The burlap can really stretch out so be careful not to tug on it very much.
[grwebform url=”https://app.getresponse.com/view_webform_v2.js?u=BDVo5&webforms_id=10347003″ css=”on” center=”off” center_margin=”200″/]
 How do you store your potatoes?
Carrie
Thursday 9th of December 2021
Such a good idea and I can't wait to try, I have some old coffee sacks ready for such a project. Did you need a special needle on your machine? And did the burlap shed lots of stuff into the machine?
Angi Schneider
Monday 13th of December 2021
The burlap does shed some but not tons. I usually open my machine and use canned air to dust it out after sewing with burlap. No, I didn't use a special needle, just a universal needle. Be sure to zig zag the seams to keep the burlap from fraying as you use the baskets.
Kim Conover
Saturday 16th of March 2019
I made these with dark brown landscape fabric- the dark color also helps preserve the potatoes. It's breathable fabric -which is what the burlap accomplishes. I used heavy canvas for the outside with vents- you can do that with randomly spaced small grommets or you can just make some button holes on the canvas before sewing the bucket- don't forget to slit them open- yup- I forgot. I also put a short drawstring around the top to keep it closed to keep the light out.
Angi Schneider
Saturday 16th of March 2019
That's a great idea, Kim. Thanks so much for sharing.
Melinda
Thursday 22nd of December 2016
These are gorgeous! I can't wait to make some!! Thanks for sharing!
Angi Schneider
Friday 23rd of December 2016
You're so welcome! I'd love to see what you make, feel free to post them on my fb page if you want (http://facebook.com/schneiderpeeps)
Denise/DIY Crush
Wednesday 30th of November 2016
This is very clever to make produce baskets from burlap and fabric! I love the rustic look of burlap. Thanks for submitting your tutorial post to DIY Crush! I just published it.
Angi Schneider
Wednesday 30th of November 2016
Thanks Denise!
Nicole Burgoz
Friday 19th of August 2016
Thanks for the tutorial! <3