Venison usually refers to deer meat but it can also include any wild game meat such as elk, carabao, and antelope. Canning venison is a great way to preserve the fall harvest and fill your shelves with shelf stable foods for quick meals.
It will also free up freezer space and help prepare you for power outages.


Neither my husband nor I grew up in a hunting family, fishing yes, hunting no. However, when we moved to this area we met many people who hunt and over the years we have become a family who eats wild game. Each fall you’ll find me canning venison as it’s my favorite way to preserve venison (and beef).
I’ve had a love/hate relationship with venison since the first time I ate it at a friend’s house. There have been times I had it and it was wonderful and at times hardly edible. There are a lot of variables such as the age of the deer and how it was butchered that will determine how “gamey” the meat is. We (as in I) do not like the “gamey” taste although I know many people who do.
Canning venison seems to remove the gamey flavor and once you add onions and garlic it really makes for a nice quick main dish.
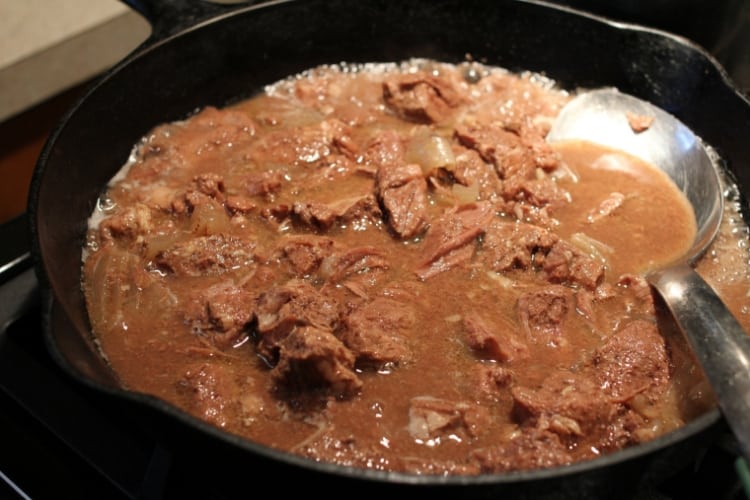
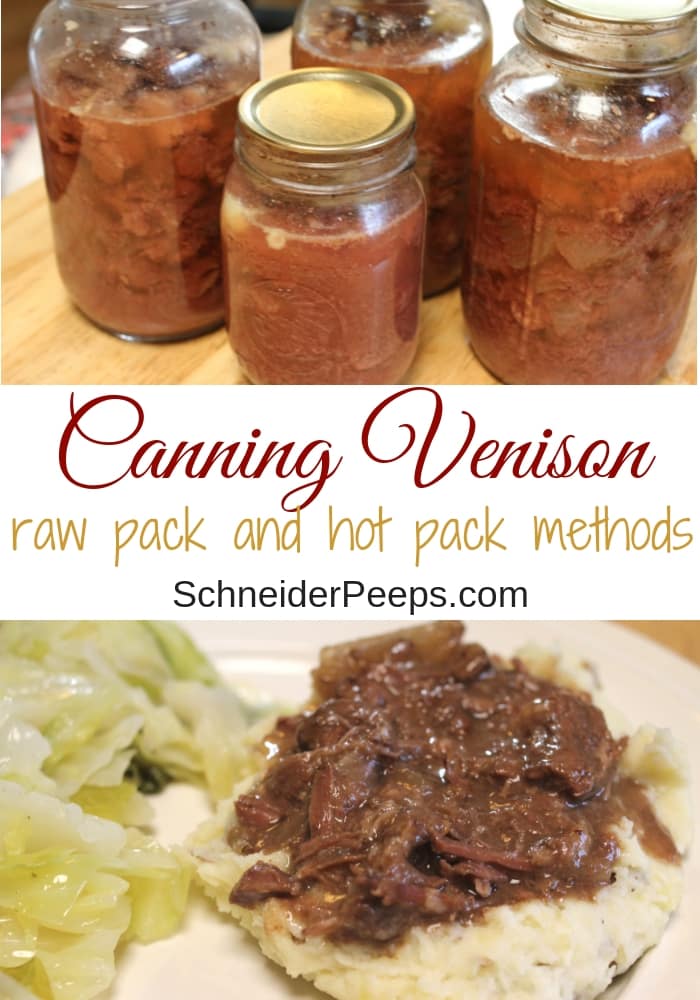
In full disclosure, I have to say that I was a bit worried about eating canned venison the first time. The finished product doesn’t look very appealing (in the jar). However, when I opened the jar my daughter said “That smells good!” and you know what? It did.
I put it in a skillet, simmered it for 15 minutes and added some flour to make a gravy. The meat was very tender and tasty. I’ve been canning venison (and lots of other meats) ever since.

Tips for canning venison
Contrary to what some sites say, you do have to use a pressure canner to can meat. It is a low-acid food which is not safe to can in a water bath canner.
Also, you cannot put the flour in the jar to make the gravy ahead of time – the flour can coat the jar and mess up the process.
If you’re worried about the meat tasting strong or gamey, you can add a little tomato juice or sauce to the jars before canning. This will mellow the flavor of strong-flavored wild meats.
Canning venison is just like canning any other meat and you can use these same directions for canning wild game, such as elk or moose, and beef or chicken. The process is the same.
Even though venison doesn’t have much fat, remove any excess fat and any silver skin, which is the connective tissue. It can seem tedious but it really does go quickly and will make for a better end product.
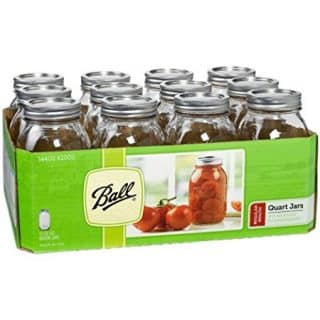
Each quart jar will hold about 1 1/2 pounds of cubed venison or beef. That should help you figure out how many jars you need.
It’s recommended that salt be added to the canned meat, it’s just for flavor not for safety so it can be omitted if you want to. Also, you don’t have to use canning salt, any pure salt is just fine.
You can also add any dry spices such as black pepper, garlic or onion powder to the jars without compromising the safety.
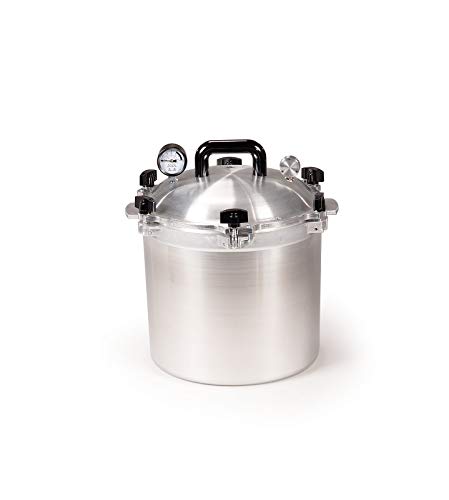
Here are some tips for using a pressure canner. Pressure canning is super easy, just follow the directions that came with your canner. This is the pressure canner I have and I really like it. I like that it doesn’t have a gasket I have to worry about and that I can can 7 quarts or 18-19 pints in one batch.
I also like to use reusable lids for our canned venison. I try to use them for any canning that I do for our family as it really cuts down on the cost of canning. If you’re using metal disposable lids, make sure to use new lids as they are for single use only.
I like to keep track of all my home preserved food with these worksheets. You can get a copy emailed to you by filling out the form below.
Raw pack vs hot pack for canned venison
There are two ways to can venison (or beef) and both result in super tender meat. You can either raw pack or hot pack the venison.
Sometimes I choose to raw pack the meat simply because it’s faster, but I do think I get a better end product for storing when I hot pack the venison. Sometimes when I raw pack venison there isn’t enough natural meat juices to cover the meat.
You don’t need to add water or broth when you raw pack venison as the meat will make it’s own juice during the canning process.
Just know that it might not make enough juice to fully cover the meat in the jars, and it’s totally fine. The meat is still safe, but the meat not covered will darken over time.
Canning venison with the hot pack method means that you precook the meat in a small amount of fat before you put in the jars. Then you pour the drippings, broth, or hot water over the meat. This helps you know that there will be enough liquid to cover the meat in the finished product but it takes a little longer.
When you serve the meat you need to heat it up, some resources recommend boiling home canned meat and vegetables for 10 minutes before serving but that is no longer the recommendation from the National Center for Home Food Preservation. But it’s probably not very tasty straight out of the can, so go ahead and heat it up.


How to can venison with the raw pack method
- Wash canning jars and lids in hot soapy water.
- Put the pressure canner on the stove and add water according to the manufacturer directions.
- Turn the heat to medium high to heat the water – you want it hot but not boiling (about 140F)
- Put the clean canning jars in the pressure canner to keep them hot while you prepare the venison.
- Cut the raw venison into cubes, remove any excess fat and muscle tissue (silver skin)
- One by one, remove the jars from the canner and fill each jar with the raw meat and leave a 1-inch headspace. You’ll want to firmly pack the meat down.
- Add onion and garlic to each jar if desired, if you add onion and garlic you might need to remove some meat so you still have a 1-inch headspace.
- Add 1/2 teaspoon of salt per pint and 1 teaspoon of salt per quart, if desired.
- Wipe jar rims with a clean damp cloth.
- Top the jars with lids and screw bands on. I really like to use canning reusable lids on these because I don’t normally give these as gifts.
- Place filled jars into the pressure canner (prepared per manufacturer guidelines).
- Lock the lid
- Turn up the heat to medium-high
- Once it’s boiling and you hear steam coming from the vent, let the steam vent from canner for 7 minutes, then put weight on the vent,
- Continue heating until you reach 10 pounds pressure (adjusting for altitude if necessary)
- Process pint jars at 10 pounds of pressure for 75 minute, and quart jars for 90 minutes
- After processing time is finished, turn off heat and let pressure go all the way to zero psi
- Once the canner is completely depressurized, remove lid.
- Let the jars cool in the canner for about 10 minutes.
- Remove jars with a jar lifter and put them on a towel on the counter to cool overnight.
- Once they’re cool, remove bands, wipe jars, and store in a cool, dry place.
How to can venison with the hot pack method
- Wash canning jars and lids in hot soapy water. The jars will need to stay hot while you prepare the meat.
- Turn the heat to medium high to heat the water – you want it hot but not boiling (about 140F)
- Put the clean jars in the pressure canner to keep them hot while you prepare the venison.
- Cut the raw venison into cubes, remove any excess fat and muscle tissue (silver skin)
- Brown raw meat in a small amount of oil. No need to cook it all the way through, just until it’s at the rare stage and releasing it’s juices.
- One by one, remove the hot jars from the canner and add the partially cooked venison to each jar.
- Add onion and garlic to each jar if desired.
- Add 1/2 tsp salt per pint and 1 tsp salt per quart if desired.
- Fill each jar with the hot venison and leave a 1-inch headspace.
- Pour the drippings over the meat leaving a 1-inch headspace.
- Use a bubble remover or silicone spatula to get air bubbles out of the jar by sliding the bubble remover between the jar and the meat and gently pressing the meat towards the opposite side of the jar.
- Add hot water, broth or tomato juice to the jar to cover the meat.
- Wipe the rims of the jars with a clean damp cloth.
- Top jars with lids and screw the bands on. I really like to use canning reusable lids on these because I don’t normally give these as gifts.
- Place filled jars into water in pressure canner (prepared per manufacturer guidelines).
- Lock the lid
- Turn up the heat to medium-high
- Once it’s boiling and you hear steam coming from the vent, let the steam vent from canner for 7 minutes, then put weight on vent
- Continue heating until you reach 10 pounds pressure (adjusting for higher elevations if necessary)
- Process pint jars for 75 minute, and quart jars for 90 minutes
- After processing time is finished, turn off heat and let pressure go all the way to zero psi
- Once the canner is completely depressurized, remove lid.
- Let the jars cool in the canner for about 10 minutes.
- Remove jars with a jar lifter and put them on a towel on the counter to cool overnight.
- Once they’re cool, remove bands, wipe jars, and store properly.
Adjusting Pressure for Altitude:
If you live 1000 feet or more above sea level you’ll need to use a pressure higher than 10psi for canning meats. Use the graph below which is from the National Center for Home Food Preservation.


Canning Venison with the Hot Pack Method


Canning venison makes a deliciously tender shelf stable meat that will help you get dinner on the table quickly.
Ingredients
- Venison
- Oil
- Salt (optional)
Instructions
- Prepare the pressure canner by adding the rack and about 3 quarts of water the canner (follow the manufacturer's instructions).
- Put the canner on the stove and turn the heat on medium. This is a raw pack recipe so the water in the canner needs to be about 180degrees Fahrenheit.
- Wash each jar and lid in hot soapy water. Put the jars in the canner to keep them hot while you prepare the venison.
- Cut the venison into 1-inch cubes.
- Lightly cook the meat in a pan with a little oil. Just until it's rare, don't fully cook it.
- Pack the jars with the cooked venison cubes and the drippings, leaving a 1-inch headspace. If there is not enough drippings to cover the meat, add hot water or hot broth.
- Uisng a bubble remover tool, remove air bubbles from jars.
- Recheck the headspace and add more water or broth to maintain a 1-inch headspace.
- Add 1/2 tsp salt per pint and 1 tsp salt per quart, if desired.
- Wipe the rims of the jars with a clean damp cloth.
- Top jars with lids and bands. I really like to use canning reusable lids on these because I don’t normally give these as gifts.
- Place filled jars into the prepared pressure canner.
- Lock the lid
- Process pint jars for 75 minute, and quart jars for 90 minutes at 10psi (adjusting for altitude if necessary). Be sure to let the canner vent and come up to pressure before you start timing.
- After processing time is finished, turn off heat and let pressure go all the way to zero psi
- Once the canner is completely depressurized, remove lid.
- Let the jars cool for about 10 minutes.
- Remove jars and let them cool overnight.
- Once they’re cool, remove bands, wipe jars, and store properly.
- If any jars didn't seal, put them in the refrigerator to use within a week.
Notes
If you prefer to use the raw pack method, the steps are almost identical with the following differences.....
- The water in the canner should only be about 140 degrees Fahrenheit to avoid thermal shock.
- Don't cook the meat. Add the raw meat to the jars, packing it loosely - don't press it down and pack it tightly.
- Don't add any liquid the jars. As the meat cooks it will create it's own juices.
Recommended Products
As an Amazon Associate and member of other affiliate programs, I earn from qualifying purchases.


How to cook canned venison
Home-canned- venison is wonderful even if it doesn’t look so tasty in the jar. There are three ways I like to use canned venison.
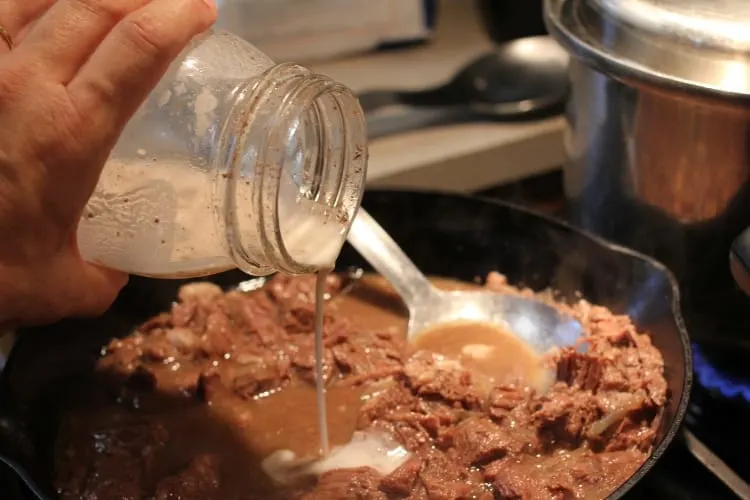
Our favorite way is to put it in a skillet and add flour to make a gravy. I just put a bit of water in the empty mason jar and add a heaping tablespoon of flour. I mix is up to get rid of clumps. Then slowly pour it into the hot meat and stir. If it needs to be thicker I add more flour, if it’s too thick I add a bit of water. I add salt and pepper. If I want something more like Mexican carne guisada, I add cumin and a bit of chili powder. I serve it over mashed potatoes, using canned potatoes when I’m short on time.
Sometimes, we’ll cook the meat and let the juices evaporate then add bar b que sauce for bar b que sandwiches.
Lastly, I’ll sometimes use canned venison and other home canned vegetables to make a quick stew.
More Venison Recipes
Venison can be used as an alternative in any recipe that calls for red meat, although the flavor may be a little different since wild game meat is leaner than beef and most other red meats.
If you have a freezer full of venison and don’t want to can it all, there are plenty of other ways to prepare it. We love making venison jerky with some of our deer meat.
Here are 50 recipes to make delicious venison burgers, steaks, stews, chili and much more!

Do you can venison or other meats? If so, share your ideas in the comments.
Judy Phillips
Saturday 27th of January 2024
Also I just started canning yesterday for the first time. Potatoes. And let me just say I felt a little bit like the Grinch when his heart grew 3 sizes. Only mine was my confidence level rose 3 levels.
Angi Schneider
Wednesday 31st of January 2024
oh my goodness, I love this so very much!!! I'm so very excited for you!
Judy Phillips
Saturday 27th of January 2024
Can I precook frozen venison to be able to can it and clear out my freezer?
Angi Schneider
Wednesday 31st of January 2024
Yes, you can use the hot pack method if you want to pre-cook it. If you want to just thaw it in the refrigerator you can use the raw pack method.
Suze
Saturday 28th of October 2023
Can you use Tender Quick instead of salt?
Angi Schneider
Thursday 2nd of November 2023
No, it's a completely different compound. Quick tender is sodium nitrate and is used for curing meats not canning.
Natashia
Monday 25th of July 2022
I was told not to use flour while canning ?
Angi Schneider
Saturday 30th of July 2022
That's true, you should not put flour (or any grains or thickener) in your jars while canning. This recipe doesn't call for flour.
Branna Snow
Thursday 25th of November 2021
I just commented but I failed to say I filled each jar with one and a half pounds of cubed meat.