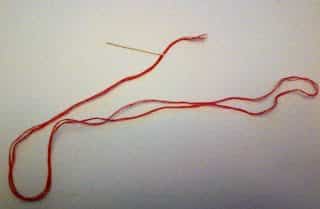
There are a few basic hand stitches that everyone should know. You will be amazed at how much you can do with these few stitches.

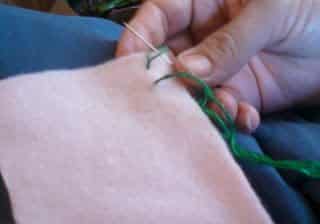
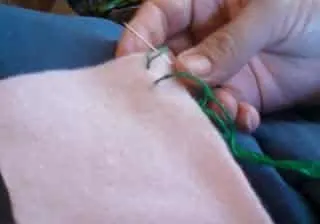
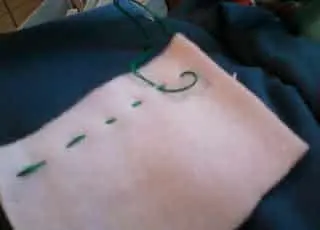
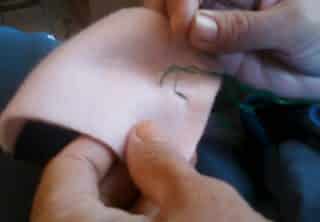
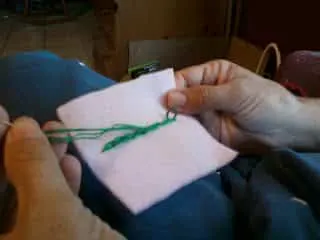
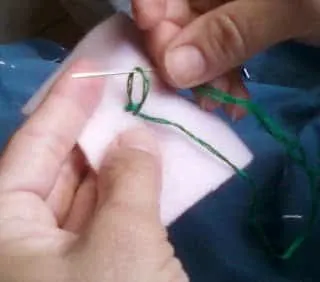
When you insert the needle for your first stitch, do not pull the thread all the way through. Do your first stitch and now that your needle is to the underside of the fabric, put the needle through the loop and you will have a knot of sorts.

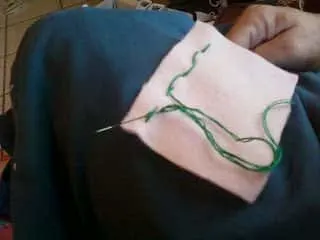
To finish your stitching, just run your needle and thread through the last 4 or 5 stitches on the backside before cutting the thread.
Running Stitch:

For the running stitch all of your stitches will be in a line with a small space between each stitch. Start your stitch as shown above (in the beginning and ending stitches pictures). From the backside bring your needle up in line with your first stitch with a small space in between them. Continue until you have completed the line.

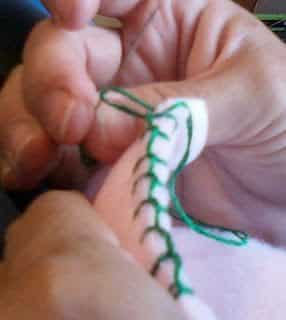
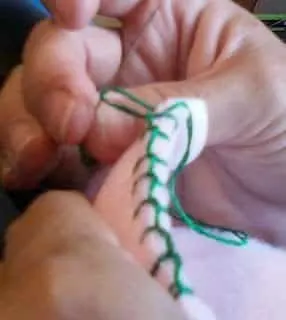
Whip Stitch:

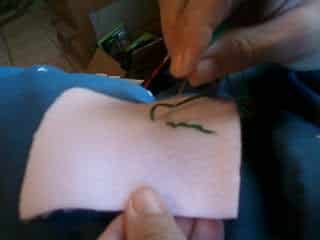
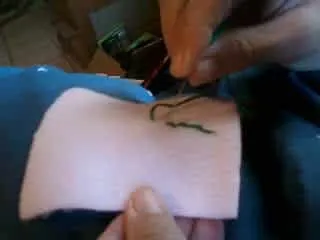
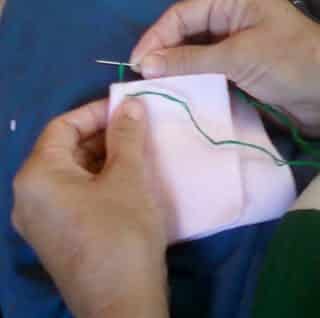
The whip stitch is a stitch where the stitches are stacked on each other. I like to think of it as a hand stitch version of a zigzag. Come up from the back of your project then make your first stitch (as shown above)


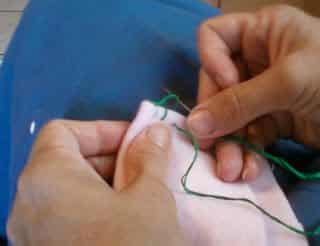
Now your needle is on the backside. Move it over just a bit and push it through the fabric to make another stitch.

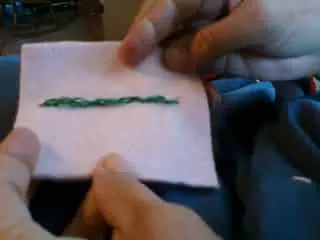
Your stitches will look like this when they are all done.

Run your needle and thread through the last 4-5 stitches on the backside to secure.
Back Stitch:
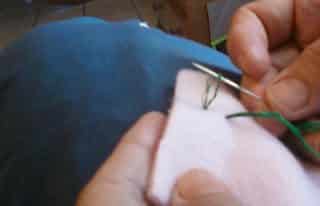
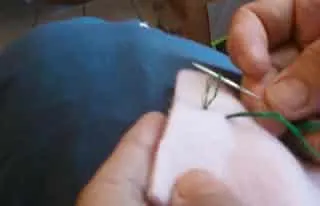
The back stitch is similar to the running stitch except there is no space between the stitches. Start your stitch from the back and make your first stitch with your knot.

From the back bring your needle up to the front – one stitch length from your first stitch.

Put your needle down through the hole where the first stitch ended.
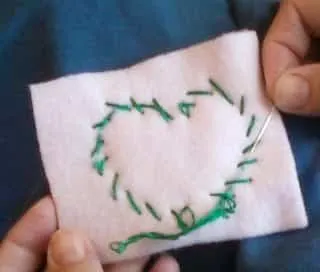
Continue making stitches – these are good for outlining or letters

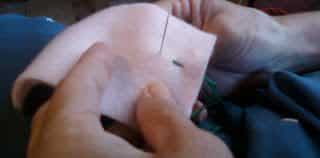
This is what the back will look like

Run your needle and thread through the last 4-5 stitches to secure.
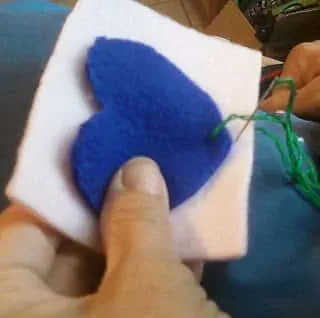
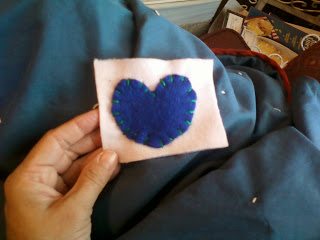
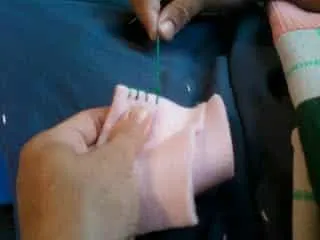
Blanket Stitch:

A blanket stitch is used to finish blankets but can also be used for all kinds of embellishing. Push your needle through the back side of the fabric about 1/4 inch from the edge. Make your knot – as shown above. (the knot will be on the edge of the fabric)
Bring your needle to the back and push it through to the front – but don’t pull it all the way. Put your needle under the loop before pulling it tight.

Pull it tight and then make another.

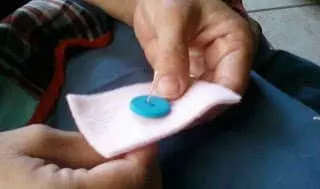
Position your button and come up from the bottom through one hole.
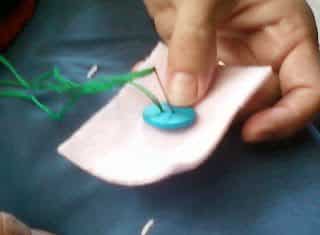

Push your needle down through the other hole.


Make your knot. Push your needle back to the front in the first hole and then from the front to the back in the other hole. Do this three times.
Then push your needle from the back to the front of the fabric – but do not go through the hole of the button.
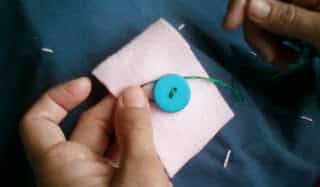

Wrap the thread around the button three times- you will probably need to hold the thread for the first wrap so that stays where you want it to.

After you’ve wrapped the button push your needle through the fabric to the bottom. Make a loop by pushing your needle under your stitches. Put your needle through the loop 2 or 3 times and then pull.


Here’s a great place to purchase all kinds of fabric at a fantastic price. (read our affiliate disclosure here)
Anonymous
Sunday 8th of January 2012
Thanks for the info! This is just what I was looking for!