

We recently went through Esther’s toys and packed away or gave away the baby toys and pulled out the preschool type toys. Pretty much all of these are things that we saved from the older children. Among the treasures were some puzzles from Discovery Toys that also can be used as stencils and some macrame wooden beads from Carl’s mom that are great for stringing.
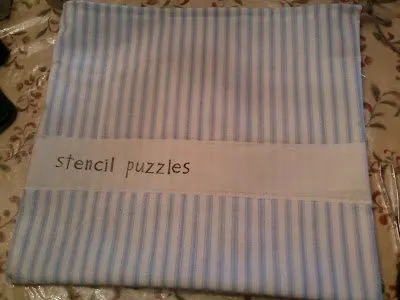
When Gabriel, Phoebe and Benjamin were preschoolers I had a basket called the Fun Basket that was full of things that a preschooler could do by himself and stay occupied for a while. This basket only came out when I needed to work one on one with the school age children. Most of the stuff in the basket was given away several years ago – three months before we knew that we would have an Esther. But for the things that I do have, I decided to make some simple drawstring bags to store each item in. I also stamped the name of what is supposed to be in the bag. Maybe, just maybe what belongs in the bag will actually be put in the bag. So much nicer than ziploc bags. Don’t you think?
I’m planning on adding to these over the summer to create a Fun Basket for Esther. Most of the time there is someone available to play with her but, believe it or not, sometimes there isn’t.
Here’s how to make your own drawstring bags:
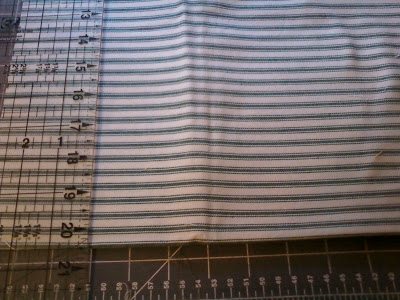
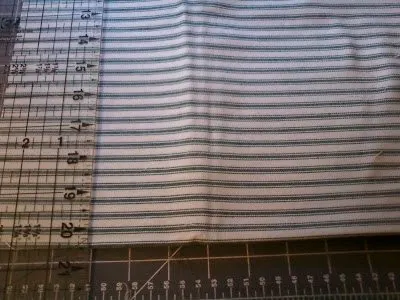
- Cut 2 pieces of main fabric 12″ by 13″
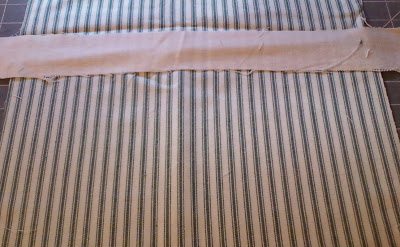
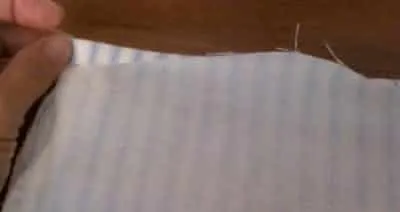
- Cut a strip of plain fabric 2″ by 13″
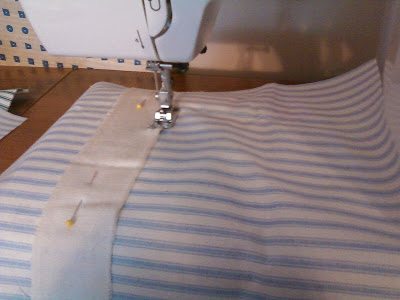
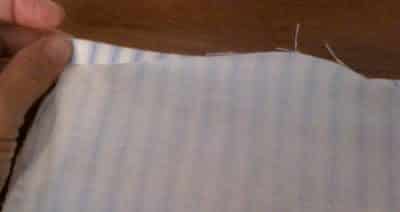
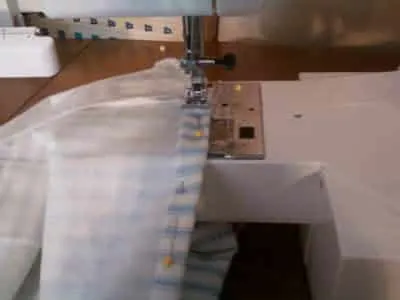
- Sew strip onto one piece of fabric about 3 3/4″ up from the bottom. I just used a zig zag stitch and left the edges raw.
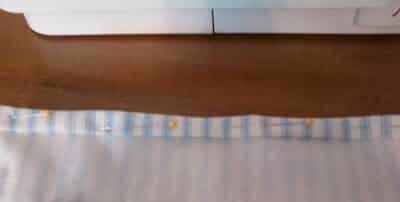
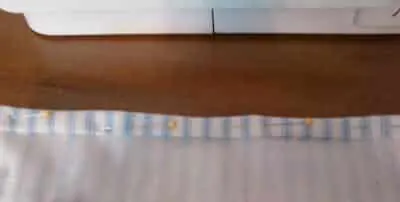
- Pin pieces right sides together on three sides – the open side will be the top.
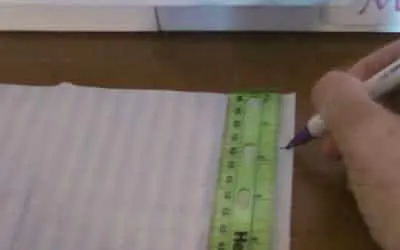
- Mark on one side 1 1/2″ down from top. (not the bottom)
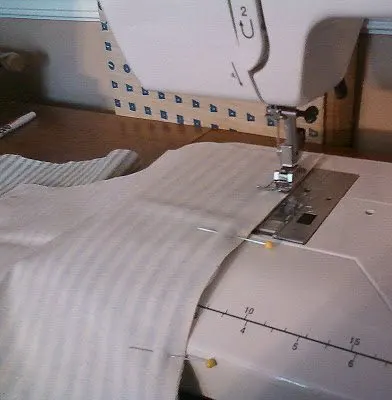
- Start sewing from that mark and sew all three sides using a 1/4″ seam. The side with the mark will not be sewn all the way up. This will be for your drawstring.


- Pin the open seam down and stitch each seam down, so that the strawstring won’t catch on it.
- If you want to finish your seams with a zig zag, now would be the time to do it. Start as close to the mark as you can and zig zag all three sides.
- Turn down the top 1/2″
- Then another 1/2″ and pin it. This will make your casing for the drawstring.
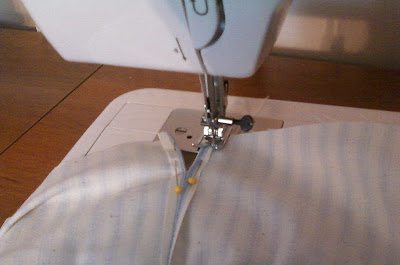
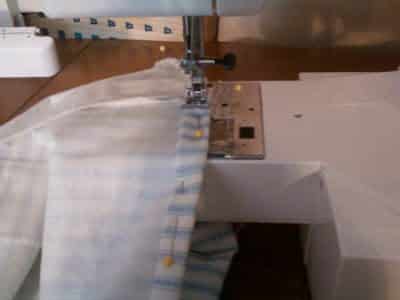
- Sew the casing down close to the edge.
- Turn the bag right side out.
- Insert ribbon or rope through the casing.
- Tie ends together and
- viola, you have a super simple, super cute drawstring bag.


These would be good for all kinds of stuff… produce bags, gift bags, shoe bags for traveling, and so on and so forth. Money Saving Mom and Unsolicited Advice and Such have some great ideas of what to put in these for preschoolers.
Here’s a great place to purchase all kinds of fabric at a fantastic price. (read our affiliate disclosure here)
For more great craft ideas, check out Made by You Monday, Market Yourself Monday, and Motivate Me Monday
The Schneiders
Monday 20th of June 2011
Thanks, Tracy.
Screaming Sardine
Monday 20th of June 2011
That's a great idea and a really cute bag, too. :)
Cheers,Tracy Screaming Sardine
SJ @ Homemaker On A Dime
Monday 20th of June 2011
Hi, friend! I'm admiring all your creativity here. Can you please share them with us at the Creative Bloggers' Party & Hop. Hope to see you there at the party :)
The Schneiders
Wednesday 8th of June 2011
There were several comments on this post, but I was trying to install a new comment form and since it was not working right I had to delete it. Unfortunately, it deleted the comments also. I'm working on retreiving them and reposting them. I'm sorry to those who commented and now your comment is not showing. Feel free to recomment.