
Between Christmas and New Years we ripped the carpet out of our house and laid down floors. It was something we’ve wanted to do since we bought our house five years ago. It was somewhat stressful but overall a great experience. We capitalized on our college age children being home and not having work or school to do.
The really great part was seeing our children work together to help us get this project done. We got to benefit from years of teaching them how to use tools and work as a team. If you still have children at home, don’t get weary of teaching and training them, one day you’ll be the beneficiary of their skills.
I love, love, love the new floors. Our whole house looks more spacious and cleaner; it’s pretty amazing. However, our entryway always has bits of grass and dust all.the.time. It doesn’t matter that I sweep it every day or that I’m sure everyone wipes off their feet before coming inside. For the most part everyone takes their shoes off near the door and there is dirt on them. It’s nice because the dirt doesn’t get tracked all over the house.
I’ve been thinking that our shoes by the door need something to sit on. I looked online for ideas and most of what I saw were plastic buckets you could buy (yuck!) or just regular rugs to buy – which won’t fit the depth of my space. I also found some crocheted rugs but I really don’t have time for that. I needed something about 15″ X 4′ to fit my space. I also wanted it simple but not plastic. And I didn’t want to buy anything.
So, I chose to use burlap and canvas. I made the rug this morning when I was informed by Esther (7 yr old) that she did not need my help with making pancakes for breakfast. By the time she had finished cooking a batch of pancakes, I had a shoe rug. Really, it was that fast – and I took some pictures to share with you so you can make one too.
How to make a burlap and canvas shoe rug
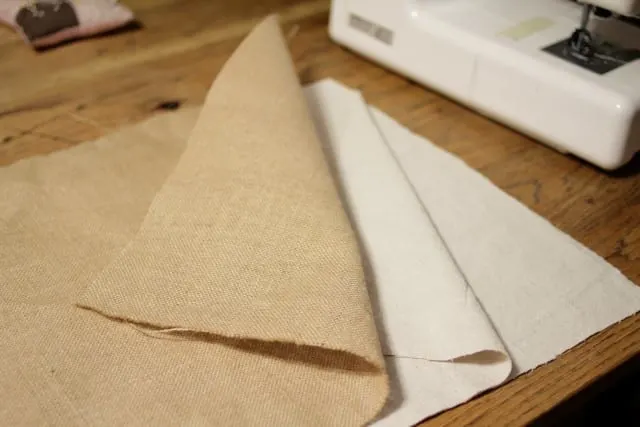
Cut the burlap and canvas to the size you need and add a seam allowance. Since burlap frays pretty bad, I used a 1″ seam allowance. So my beginning pieces are about 17″X 50″. You need two fabric pieces and one burlap piece.
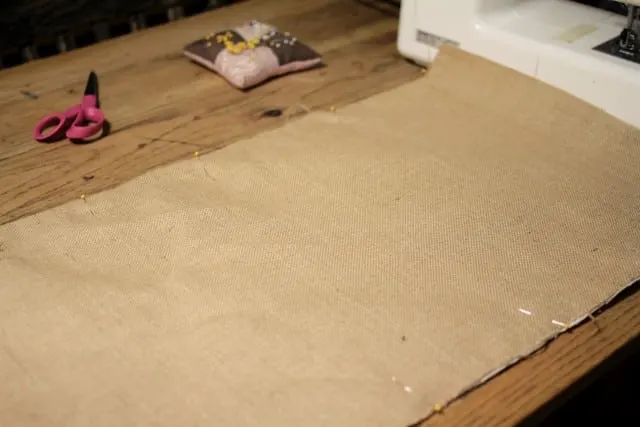
Put the fabric pieces together and the burlap on top. Since there is no right or wrong side to burlap and canvas, which sides up put up doesn’t matter. However, if you use a printed burlap or canvas, the side up will matter so you’ll need to think through that. Pin around three sides, leave one short side open for turning.
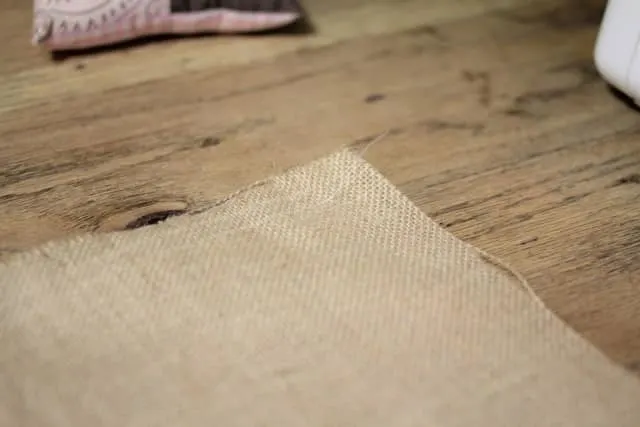
Stitch around the three pinned sides. I stitched again inside the seam allowance because burlap can really fray sometimes.
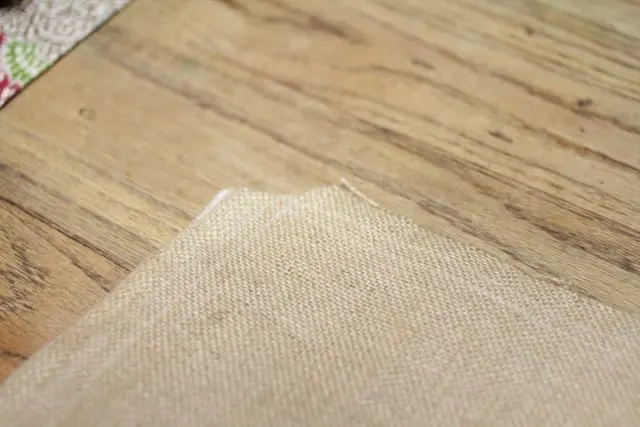
Clip the four corner to reduce bulk.
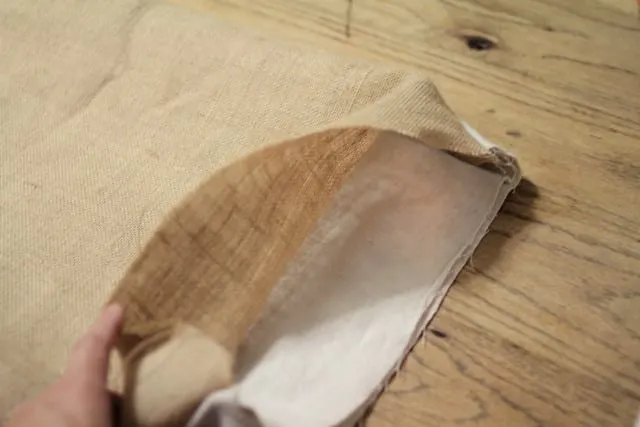
Lift the burlap, put your hand all the way into the hole, grab the other short side and pull it out. You can use a chop stick or something else that is kind of pointy to gently push out the corners.
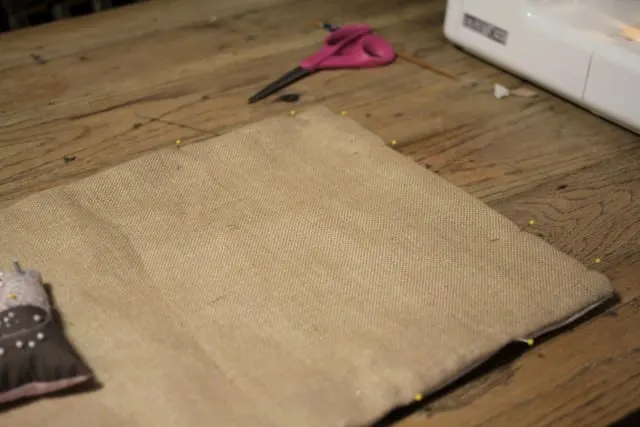
Tuck the open end inside and pin all around. You can smooth out the fabric and burlap as you pin.
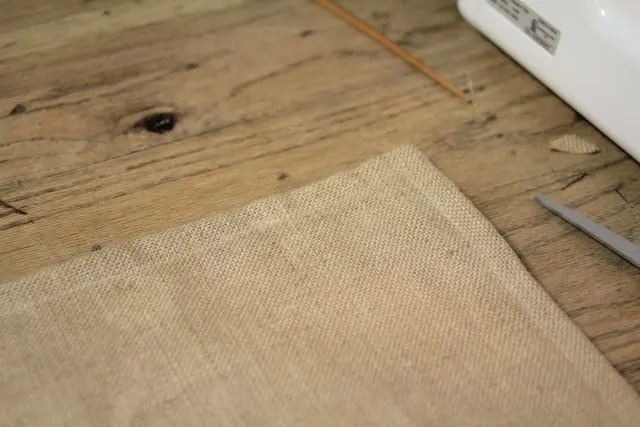
Lastly, top stitch all around the edge. Because this is quite bulky I stitched about an inch away from the edge – you just need to make sure that the stitches will catch the fabric you tucked in. You could also do several rounds or do some decorative stitching – but I kept it simple because the pancakes were almost finished.
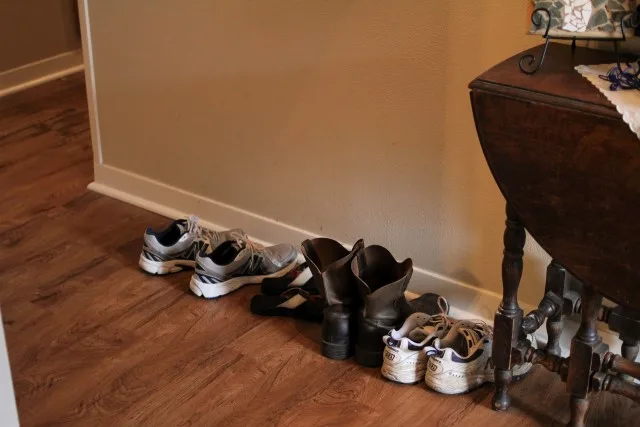
So we went from this…..
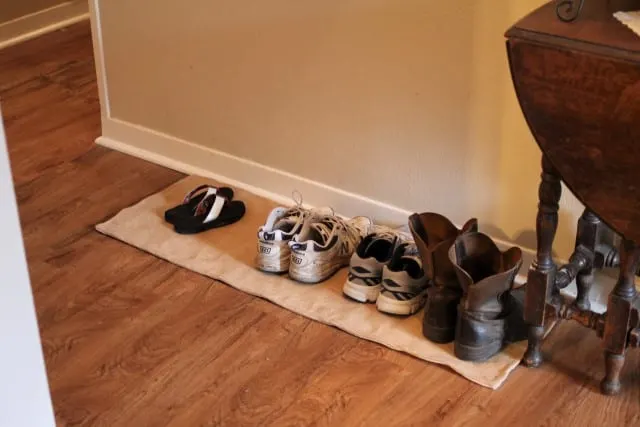
to this!
Have you been doing any decluttering or organizing lately? If you need a little help, the folks at Ultimate Bundles have put together a great Clearing Your Clutter bundle. There are 34 resources (one is even specifically for the homestead!) and two bonuses. There are some really great resources to help you develop a plan of action – but realize, if you don’t actually do the work, you won’t clear out the clutter. As always, don’t just purchase this because someone says it will help you, if you purchase it and then not use it, you’re just bringing more clutter into your life. You need to check out the full list of resources and decide if it’s something that will help you.
Does your family take their shoes off at the door? If so, how do you keep that area tidy?

Shirley
Sunday 8th of August 2021
Another great job and project. Yes I have a boot tray but a mat inside would certainly help keep the dirt there. Thanks for sharing.
Angi Schneider
Saturday 21st of August 2021
That's a great idea! Glad you like the project.
Karen
Saturday 1st of July 2017
I'm going to have to make one of these when I finish my garden work today! I have burlap I've been making into curtains, and canvas painters tarps I've been using for throw covers for my ancient living room furniture. This would make the perfect finishing piece!
Angi Schneider
Saturday 1st of July 2017
Let me know how it turns out, Karen. I love it when I can use things I already have to make something I need.
Jennifer Keith
Saturday 28th of January 2017
So happy for all of you! The rug and new floor look amazing!!!
Merrilyn (Merri) McElderry
Wednesday 25th of January 2017
Hope you got my last comment on how wonderful this blog is..and you all are so appreciated for your ideas and loving family. Love to you all Merri