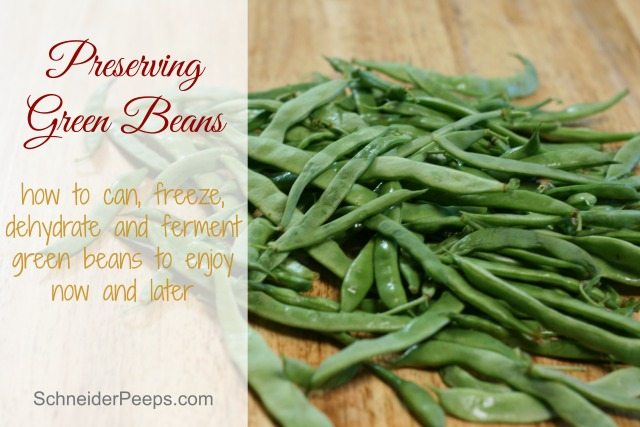
Welcome to week one of Preserving the Harvest which will be a twelve week series on preserving fruits, vegetables and herbs to use throughout the year. My goals isn’t to teach you everything you need to know about every preservation method or every fruit or vegetable. My goal is to encourage you to not see preserving food as some big overwhelming thing and to try something new.
Since we garden year round, I don’t feel a need to have 50 quarts of green beans in my pantry. But I do like a few for when we want to make shepherd’s pie. But I also like frozen green beans for adding into soups. And we just discovered that we really like dehydrated green beans and lacto-fermented green beans for snacking on.
I’ve realized that I use canning, freezing and dehydrating for almost every vegetable I preserve. And I’m starting to use fermenting more and more. The variety it good for several reasons. If we only preserved by freezing, what would we do if the electricity went out for an extended period of time? If we only canned, how would we be able to have lemon juice that wasn’t bitter all year long? And if we only dehydrated or fermented our vegetables, I think my family would revolt. 😉
So let’s start with preserving green beans. Shall we?
I have a set of worksheets I print each year to keep track of what I’ve preserved. You can get the worksheets emailed to you by filling out the form below.
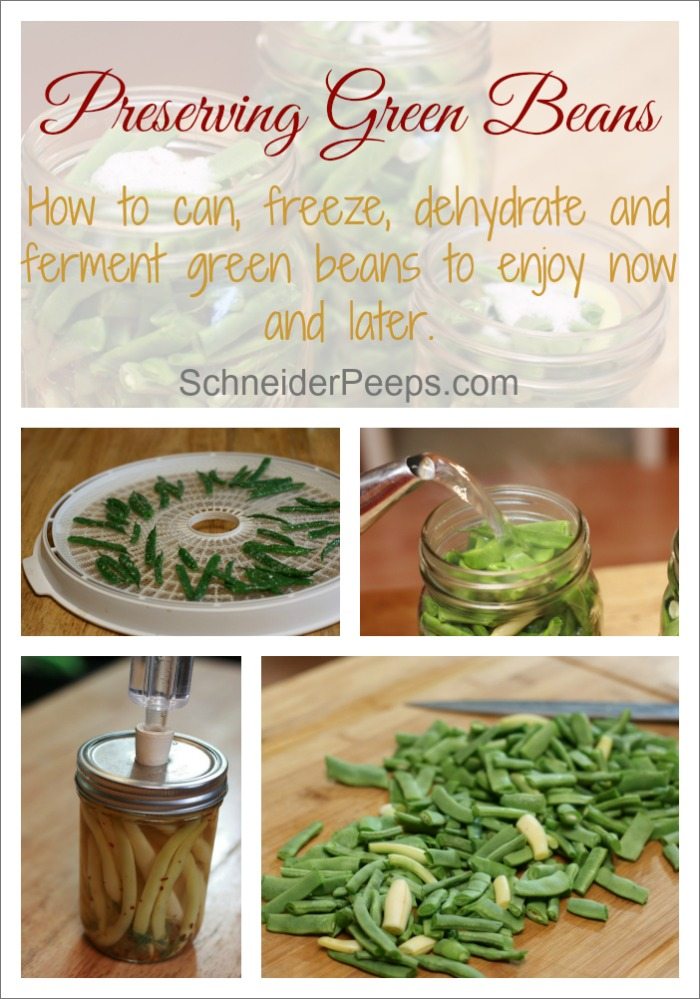
Freezing Green Beans
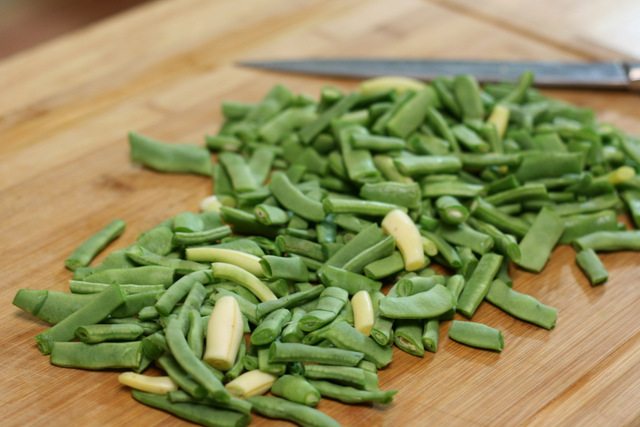
This is the easiest way to preserve green beans for long term storage. Just wash, cut, put in a ziplock bag and put in the freezer.
What? No blanching?
Yeah, I don’t blanch my green beans (or other things I’ve been told I’m supposed to blanch). I’ve done it both ways and honestly, I don’t think blaching makes the texture any better. So, I don’t do it.
If you grow your green beans organically, there may not even be a reason to wash them. We grow a mix of bush beans and pole beans so I usually wash them. Make sure you dry them before freezing. Cut them into whatever size you like. Put them in a ziplock bag and remove as much air as possible. A drinking straw comes in handy for this. Label and freeze.
Freezing green beans is great for when you just have a small amount to preserve. You don’t have to have a full bag to freeze and you can add to the bag whenever you need to.
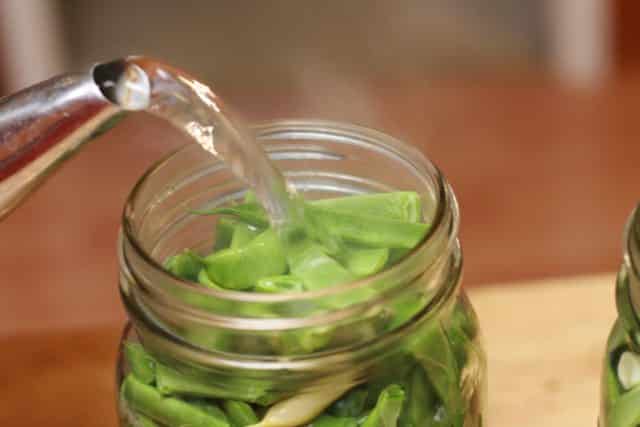
Don’t worry I’m not going to give you any rouge canning ideas for green beans. Green beans MUST be pressure canned. They do not have enough acid in them and unless you are going to pickle them you probably are not going to add enough acid to safely can them in a water bath.
Wash, snap and destring your beans. Boil some water – a large tea kettle is awesome for this. Since you are using a pressure canner you can raw pack them into your jars. Make sure your jars are clean. They don’t need to be sterilized but you can do that if you want to.
Pack the green beans into your jars. Add a half teaspoon of salt to each pint and a teaspoon of salt to each quart. If you don’t want to use salt, then don’t, but I think beans really need salt. Pour the boiling water into each jar leaving a 1 inch head space.
Run a spatula or bubble remover around the inside of the jar. This will release trapped air. Do it a few times and if you need to add more water, then add a bit more water. But remember to leave a 1 inch head space.
Process at 10psi for 20 minutes for pints and 25 minutes for quarts, adjusting for altitude if necessary.
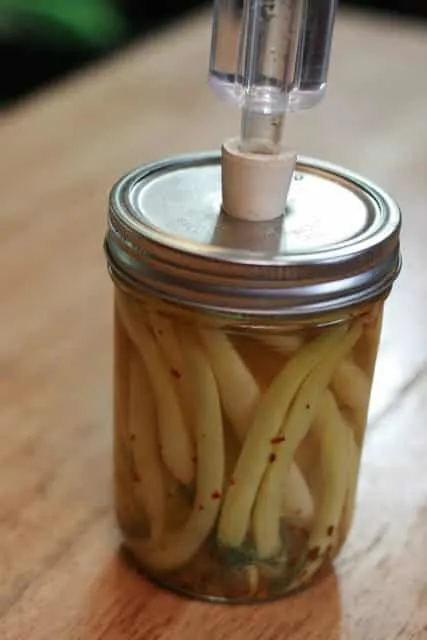
Fermenting Green Beans
This is something new I’m doing this year. I’ve been trying out different fermenting recipes trying to get my family to eat a few more probiotics. For a family that, for the most part. does not like pickles this is no small feat.
But I saw a recipe for spicy pickled snap peas and thought I should try some green beans. Actually I tried wax beans but we call them “yellow green beans”, so it’s the same thing, right?
We’ve made several batches and they are really good. Carl is even eating them and he HATES pickles. I wrote the whole recipe out for the Fermentools blog but I’ll share the basics here.
Wash the green beans and snap the end off. Pack them into a clean wide mouth canning jar. Add any spices like dill, garlic or rosemary. It helps to put the jar on it’s side for this part. Make a 2% brine solution and pour into the jar, covering the beans. Put a weight on top. Put the airlock system on your jar and store in a cool, dark place for a week or so. After a week remove airlock system and weight. Put a regular lid on the jar and store in the refrigerator.
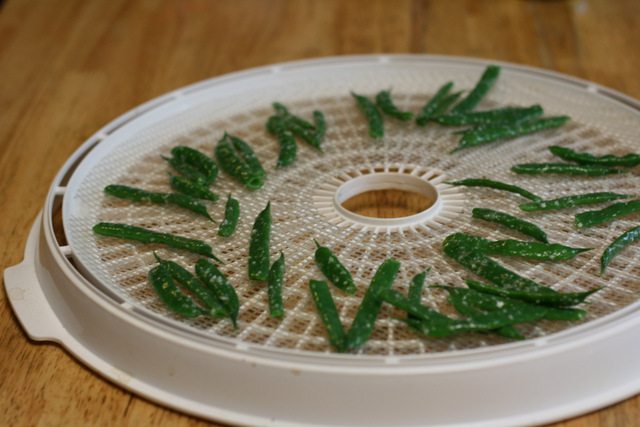
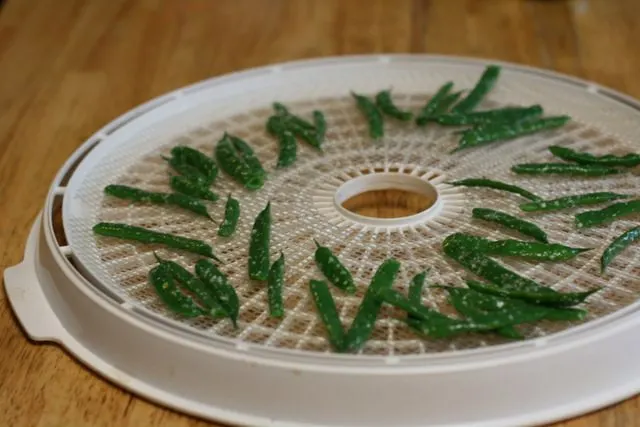
Dehydrating Green Beans
We are really liking dried green beans as a snack. Now, I’m the first to admit that my kids are not eating them in the same quantity that they would a bag of chips. But these have a nice crunch to them and a nice flavor. Since we’re just using whatever we happen to pick that day, this is more of a process than a recipe.
Pick and wash your green beans. If you grow pole beans and want to skip the washing, that’s fine, I won’t tell. Snap the end off and destring if your beans have strings.
You will need to blanch the beans. So boil some water and drop them in it for 2 minutes. While they are in the boiling water, fill a large bowl with ice water. Using tongs or a slotted spoon scoop the beans out of the boiling water and put them into the ice water. Let them cool.
Take the beans out of the ice water and pat dry. Lightly coat with coconut oil and sprinkle with Parmesan cheese. Put on dehydrating racks and dehydrate for 5-6 hours or until crisp.
Store in a jar. I don’t know how long they will last because my kids are eating them that day. But if they didn’t eat it in a few days, I would probably store them in the refrigerator. It’s just what I do.
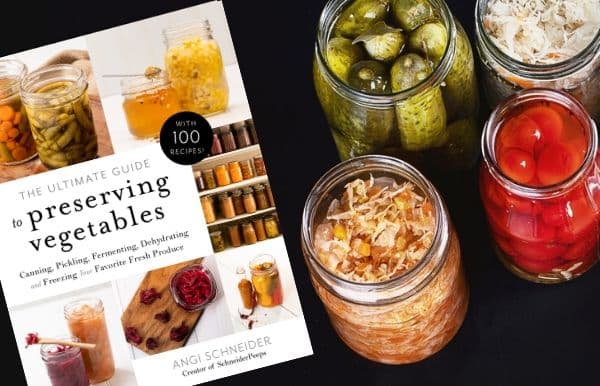
The Ultimate Guide to Preserving Vegetables
If you you’re looking for more preserving inspiration, I know you’ll love The Ultimate Guide to Preserving Vegetables. In this book I share how to can, dehydrate, freeze and ferment almost every vegetable. I also share 100 favorite recipes for preserving the vegetables in fun way that will save you time and money later. Get your copy here. Get your copy here.
So that’s it, folks. Four different ways of preserving green bean. Do have any other ideas on preserving green beans? If so share them and any questions in the comments.


Rachel E.
Thursday 4th of June 2015
I will definitely have to try the dehydrated beans. Sounds yummy!
Angi Schneider
Thursday 4th of June 2015
Let me know how you like them.
Jami @An Oregon Cottage
Thursday 4th of June 2015
That is too funny, Angi! Non-blanchers, unite!! ;)
Angi Schneider
Thursday 4th of June 2015
I just smiled when I saw your posts come up in the search.