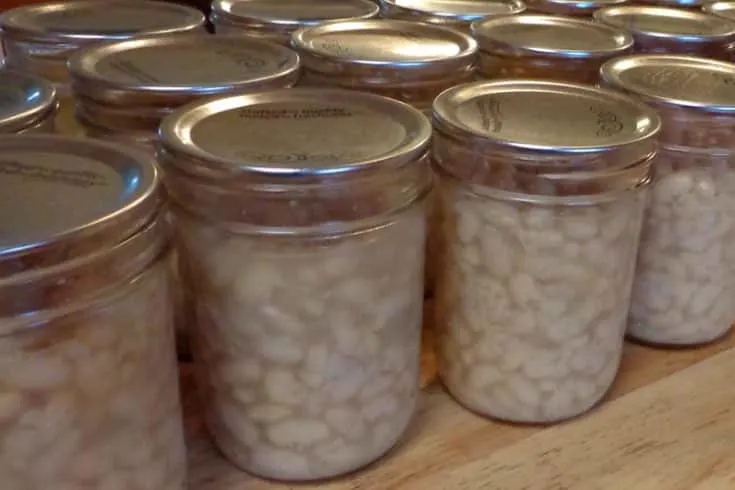
I love the convenience of having canned black beans and other dried beans on hand. However, I don’t like the price of buying canned black beans. So one of the first things I learned to can in my pressure canner was how to can dried beans. Every year I buy dried beans in bulk at the grocery store and spend a couple of days canning dried beans while I do other projects around the house.
It’s such a life saver for quick meals and a money saver.
I don’t usually can pinto beans since I make a large pot every couple of weeks and then make various meals with it. I use my freezer to store the cooked pinto beans until they get used for things like taco soup and refried beans. This works for me but you can certainly make home canned pinto beans using the instructions below.
These instructions can be used to can all different types of beans, such as black beans, kidney beans, Navy beans, lima beans, and chickpeas (garbanzo beans). Lentils cook up very quickly and don’t need to be soaked so I don’t bother canning lentils.
I like to keep track of all my home preserved food with these food storage worksheets. It’s so nice to know how much we go through each year so I can make what we need without making too much. You can get these worksheets emailed to you by filling out the form below.
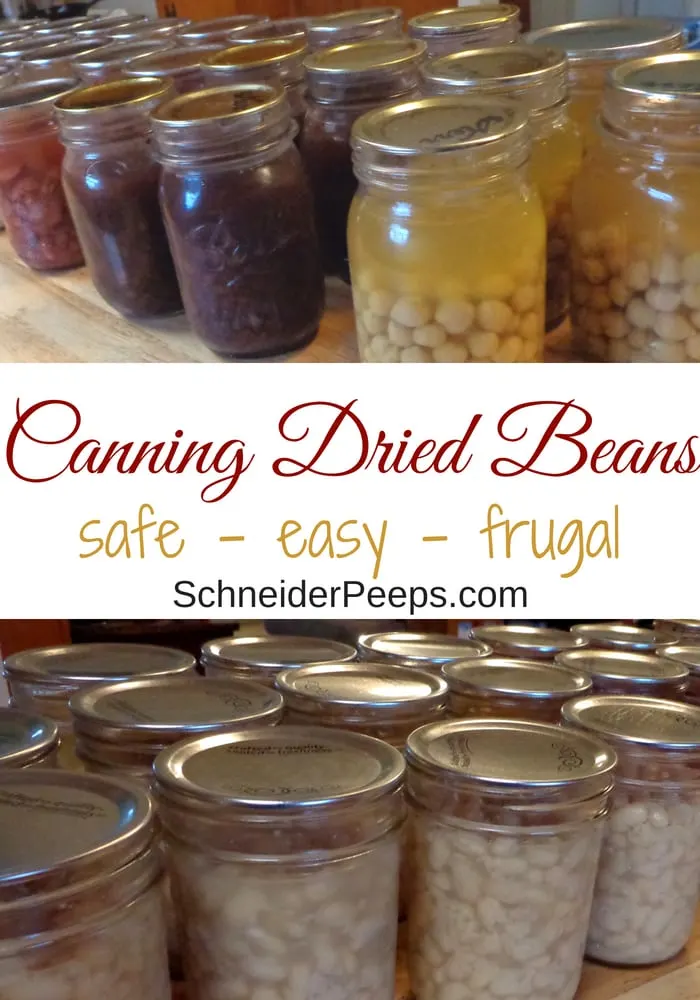
Tips for Making Home Canned Dried Beans
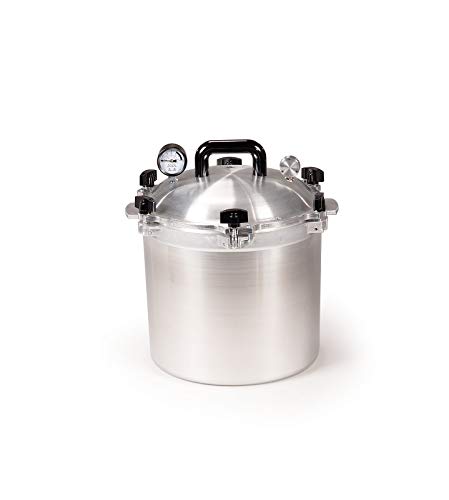
First off, pressure canning is the only canning method that is recommended for canning beans at home. Beans are a low-acid food which need a pressure canner (not a pressure cooker such as an Instant Pot) to ensure safety. Water bath canning should NOT be used to can low acid foods.
If you don’t have a pressure canner and want to keep cooked beans on hand, I suggest you cook a couple of pounds of dried beans at a time and freeze them. Here are some tips for freezing beans in glass containers.
To soak or not to soak?…that is the question. According to the National Center for Home Food Preservation and Ball® dried beans need to be soaked before canning. Beans expand as they cook and if there’s not enough room in the jar for them to expand they could bust the jar. Soaking let’s the beans expand before being put in the jar so there’s no risk of busted jars due to the beans expanding.
Traditionally we soak beans before cooking to make them easier to digest which makes them less gassy. Some members of my family can eat beans all day long every day and not get gas, others have to be more careful. So, because I like to stretch my grocery budget by serving beans quite often, I soak dried beans before cooking or canning.
One reason people want to try canning dried beans without soaking is because they think they’ll end up with mushy beans or beans that are falling apart. I’ve found that is not the the case when soaking dried beans before canning them.
There are people who can dried beans without soaking first (raw pack) and they say the beans turn out fine. I don’t think the soaking or not soaking issue is a safety issue in the same way that trying to can low acid foods in a water bath canner would be. But I also don’t think it’s a huge time saver to not soak the beans first, so I soak them. I’ve also seen jars that have been raw packed and the beans soak up all the water since they were not soaked first. The end result is a glob of beans in the jar, not loose individual beans.
The night before I’m going to can dried beans I soak enough beans for three loads in my pressure canner. My pressure canner will hold 17 pint jars which is what I normally can dried bean in or 7 quart jars. Depending on the dried bean, it takes approximately 3/4 pound (or 12 ounces) of dried beans to fill one quart jar or two pints. So I will usually soak 15-18 pounds of beans for canning the next day. I soak each variety separately and can just one variety per jar.
You can do a quick soak if you didn’t soak the beans the night before. Rise the beans in cool water and pick out any that don’t look good and pick out any small pebbles that might be in them. Put the beans in a large stockpot and cover beans with water by at least 2 inches. Bring the beans and water to a boil and boil for two minutes. Reduce the heat to low and simmer the beans for an hour. I’ve had to do this when I forgot to soak dried kidney beans before canning chili con carne and it works fine.
It takes 90 minutes of processing time to pressure can dried beans. That means that the canning process for each canner load from start to finish takes about 2.5 – 3 hours. This includes the time for the pressure canner to pressurize and depressurize. If I start early in the morning, I can get three batches done in a day.
If I have left over dried beans after the third batch I’ll just cook them together on the stove and freeze them to add to soups.


How to Can Dried Beans
After soaking the beans, either overnight or by the quick soak method, drain water and rise the beans. Wash out the stockpot and fill it with fresh water. Add the soaked beans to the water and boil for 30 minutes. This doesn’t have to be a rolling, “the pot is overflowing” boil, a gentle boil will be just fine.
While the beans are boiling, wash the canning jars and new lids in hot soapy water. You don’t have to sterilize them since the process time is longer than 10 minutes. Check the jars for any nicks or cracks.
Prepare the pressure canner according to the manufacturer’s instructions.
Turn the heat under the beans down to low to keep them warm.
Fill the hot jars with the hot beans and cooking water leaving a 1-inch headspace. You can add 1/2 teaspoon of salt to each pint jar and 1 teaspoon of salt to quart jar, if you want to. I don’t because I like to add the salt as I’m cooking but a lot of people do.
Using a bubble remover, remove the air bubbles from each jar. Wipe jar rims and add the lids and screw bands on to fingertip tight – the same tightness as you would use to put a lid on a mayonnaise jar.
Put the jars in the pressure canner and seal the canner. Process the dried beans for 75 minutes for pint jars and 90 minutes for quart jars at 10 pounds of pressure, adjusting for altitude as needed.
After the beans are finished processing turn off the heat and let the pressure canner depressurize naturally. When the pressure canner is completely depressurized open the lid and let the jars sit in the open canner for another 5 minutes. Using a jar lifter, remove the jars.
Set the jars on a towel on the counter or table and them cool. The next morning, remove the bands and check the seals. Wipe down the jars and store in the pantry or another cool place that you store your home canned food. If any lids didn’t seal, I pour most of the liquid out and put the jar in the refrigerator to get cold and then the freezer to use first. If most of the liquid is pouted out the jar won’t break in the freezer.
Stocking Your Pantry with Home Canning
Most families can probably can an entire year’s worth of canned beans in a day or two and for under $20 – that’s such a time and money saver. While cans of beans lining your pantry shelves is great, there is so much more you can do to fill your pantry with quick meals and ingredients for meals by canning.
Here are some ideas to get you started
How to Can Dried Beans

Use this method to safely can any dried beans - pinto beans, black beans, kidney, Navy or chickpeas (garbanzo beans).
Ingredients
- 3 pounds dry beans
- 3 tsp salt (optional)
Instructions
- Rise the beans and pick out any that don’t look good and pick out any small pebbles that might be in them.
- Soak the beans overnight. Put dry beans in a large bowl or large stock pot and fill it with cool water so the water is a couple of inches higher than the beans.
- After the overnight soak, drain off the soaking water and rise the beans.
- Wash out the stockpot and fill it with fresh water.
- Add the hot beans to the water and boil for 30 minutes. This doesn't have to be a rolling "the pot is overflowing" boil, a gentle boil will be just fine.
- While the beans are boiling, wash the jars and lids in hot soapy water. You don't have to sterilize them since the process time is longer than 10 minutes. Check the jars for any nicks or cracks.
- Prepare the pressure canner according to the manufacturer's instructions. Fill it with a couple of inches of water (some manufacturers recommend 3 quarts of water), add the canning rack to the bottom of the canner and turn the heat on medium to begin heating up the pressure canner.
- Turn the heat under the beans down to low to keep them warm.
- Fill the hot jars with the hot beans and cooking liquid leaving 1 inch of headspace. If you don't have enough cooking liquid to fill all the jars to the proper headspace, you can top them off with hot water to make up the difference.
- You can add 1/2 tsp salt to each pint jar and 1 tsp salt to quart jar, if you want to. I don't because I like to add the salt as I'm cooking but a lot of people do.
- Using a bubble remover, remove the air bubbles from each jar. Wipe jar rims and place the lids and screw bands on to fingertip tight - the same tightness as you would use to put a lid on a mayonnaise jar.
- Put the jars in the pressure canner and place lid on canner and lock it.
- Vent the canner for 10 minutes and then add the pressure regulator to the canner. During venting the there should be a steady stream of air coming through the vent pipe. If it's gushing out you can turn down the heat just a little bit.
- Process the dried beans for 75 minutes for pint jars and 90 minutes for quart jars at 10 pounds of pressure, adjusting for altitude as needed. Start timing once the pressure gauge on the dial gauge pressure canner reaches proper pressure. If you're using a weighted-gauge pressure canner, start timing when the pressure regulator begins giggling.
- After the beans are finished processing turn off the heat and let the pressure canner depressurize naturally. When the pressure canner is completely depressurized open the lid and let the jars sit in the open canner for another 5 minutes. Using a jar lifter, remove the jars.
- Set the jars on a towel on the counter or table and them cool. The next morning, remove the bands and check the seals. Wipe down the jars and store at room temperature in the pantry or wherever else you store your home canned food. If any lids didn't seal properly, I pour most of the liquid out and put the jar in the refrigerator to get cold and then the freezer to use first. If most of the liquid is poured out the jar won't break in the freezer.
Notes
If you don't want to soak the beans overnight you can quick soak them. Put the beans in a large stockpot and over them with water by at least 2 inches. Bring the beans and water to a boil and boil for two minutes. Reduce the heat to low and simmer the beans for an hour.
Recommended Products
As an Amazon Associate and member of other affiliate programs, I earn from qualifying purchases.

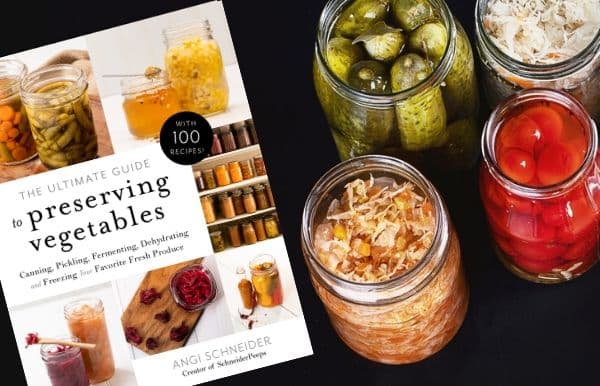

The Ultimate Guide to Preserving Vegetables
If you you’re looking for more preserving inspiration, I know you’ll love The Ultimate Guide to Preserving Vegetables. In this book I share how to can, dehydrate, freeze and ferment almost every vegetable. I also share 100 favorite recipes for preserving the vegetables in fun way that will save you time and money later. Get your copy here. Get your copy here.
Christina Ruben
Wednesday 21st of June 2023
Do you have or have you ever seen a recipe for canning green beans and pinto beans together? An old family friend used to do this when I was a child but I have never been able to find a recipe- thanks!
Angi Schneider
Wednesday 28th of June 2023
Interesting....I have not seen that type of recipe. That being said, you can use the guidelines for canning your own soups to can them together. It will probably be more brothy than your family friend's jars were but then you'd just pour off some of the broth before heating. If you try it, let me know how it goes!
Deb Horner
Thursday 15th of April 2021
My sons love it when I make chili with a variety of beans in the pot, so I've started making a rainbow of beans when I'm going to cook it. Wondering how it would work if I canned it that way? I'm looking forward to canning all the beans I bought last fall once the school year is over. I need to use the big canner I bought last year and didn't have the jars available to fill.
Gwen
Thursday 21st of April 2022
@Deb Horner, I make my own baked beans with three types of beans, which I then use in my chili. My son-in-law never liked chili until he had mine. He doesn’t like kidney beans which is what most people use in their chili. I use a combination of 2 parts navy, 1 part pinto and 1 part kidney. It turns out to be a good combination.
Angi Schneider
Friday 16th of April 2021
That's a great idea! I love using a variety of beans because I really like different textures in my food, but no everyone in my family appreciates texture the way I do...lol. So glad you found some jars! It's been nice to see them back in the stores.
LaVerne Weaver
Thursday 1st of October 2020
Do you fill the jars half way with beans and then fill with liquid ? Or just fill with liquid and beans , leaving a 1" head space.
Angi Schneider
Saturday 3rd of October 2020
Divide the beans into the jars and then fill with the hot cooking water. This ensures you have about the same amount of beans in each jar.
Tina Floyd
Friday 22nd of May 2020
I canned chickpeas and the liquid is thick is that bad?
Angi Schneider
Friday 22nd of May 2020
No, it's just the starch from the beans. As long as you pressured canned them for the correct time and the jars sealed properly, they beans are good.
Amy
Wednesday 15th of April 2020
My power quick pot has a setting/ button for canning could I use that setting to can beans?
Angi Schneider
Thursday 16th of April 2020
Hi Amy, According to the National Center for Home Food Preservation, that option is not safe. You can read their full article here.