I hope you had a great time last week making your needlebooks. We had 8 girls, a couple of moms and 7 boys who played Risk and Clue! We had a really great time. We didn’t quite finish the books, so the girls took them home to finish them. I can’t wait to see them.
For our second project, we will make a pin cushion to keep all your straight pins and safety pin tidy. You will learn how to make a 4 patch square, sew a slip stitch and sew on a button.
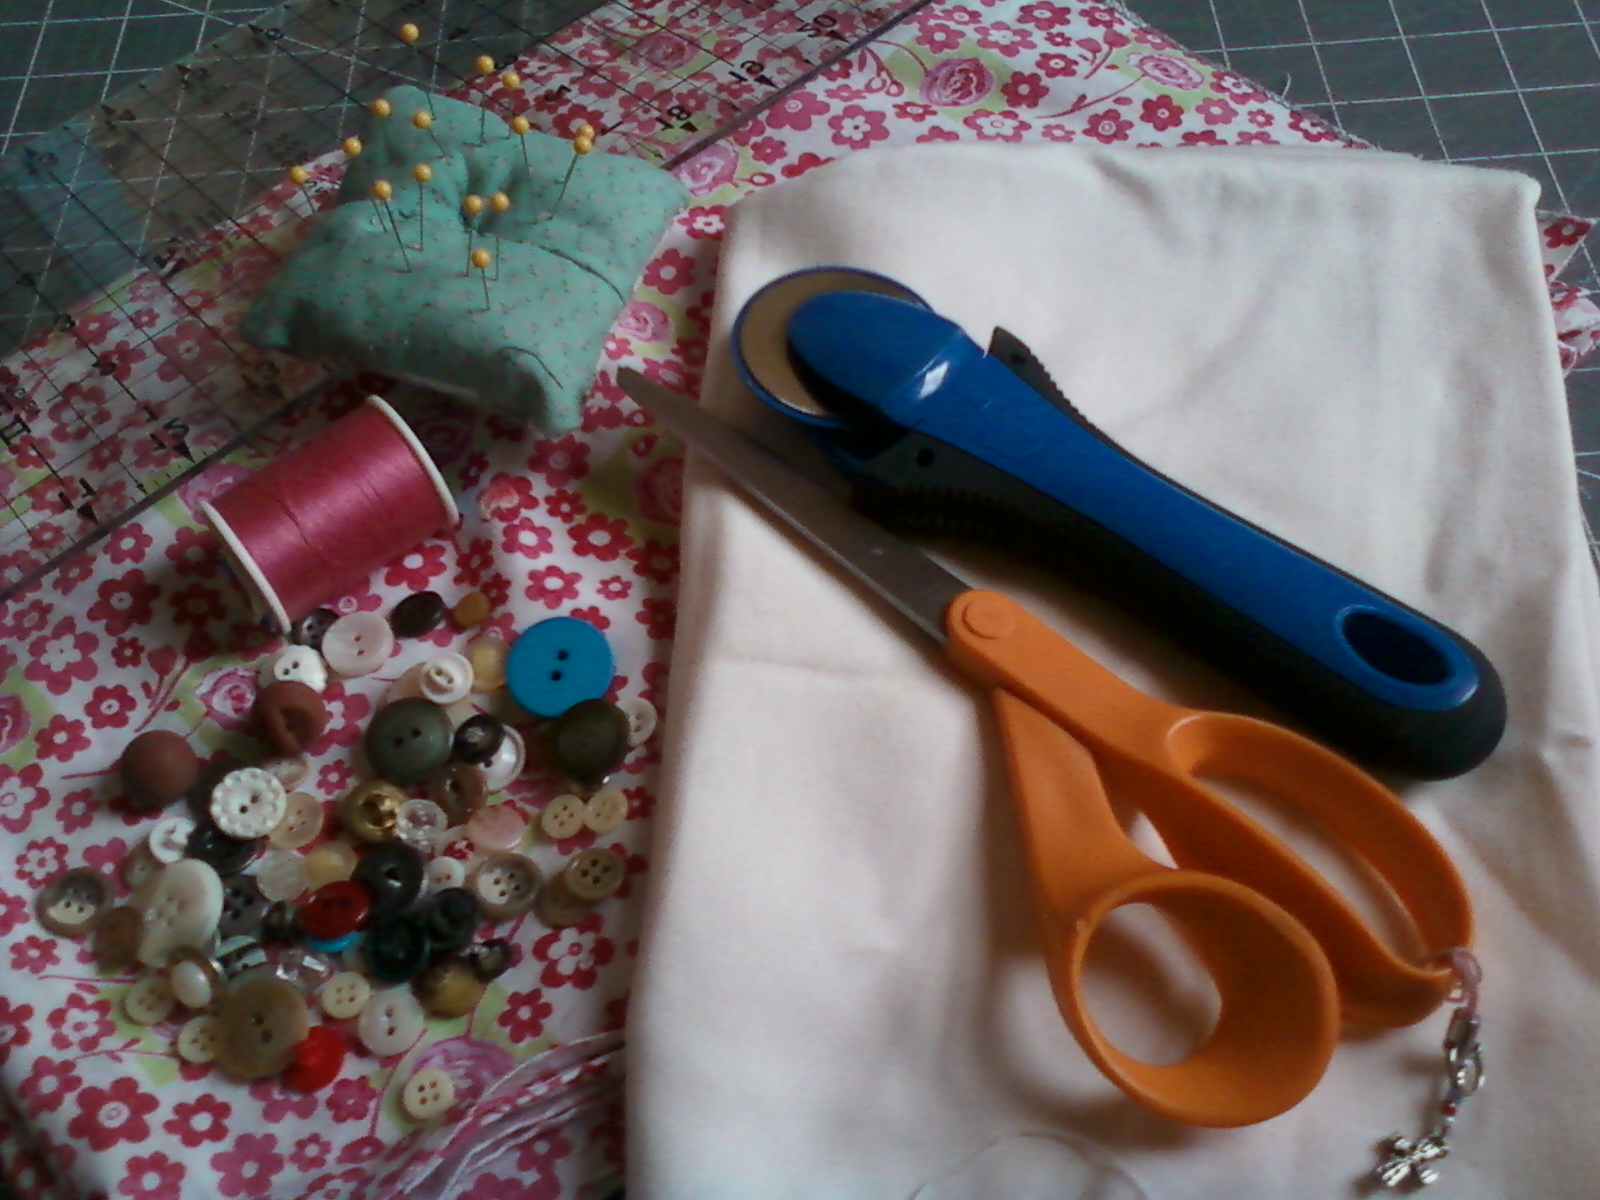
Week 2 {Supplies}:
1/4 yard cotton fabric (this can be one fabric or several fabrics, you can even use fabric from the scrap bucket for this project)
Thread
Scissors
Button
Batting or Polyfil
Straight Pins
Ruler or measuring tape
Seam Ripper
Rotary Cutter (optional)
Cutting Mat (optional)
1/4′ Ribbon (optional)
Here’s how to make your pin cushion:
All seams will be a 1/4″ seam – it doesn’t have to be exact, just be consistent.

-
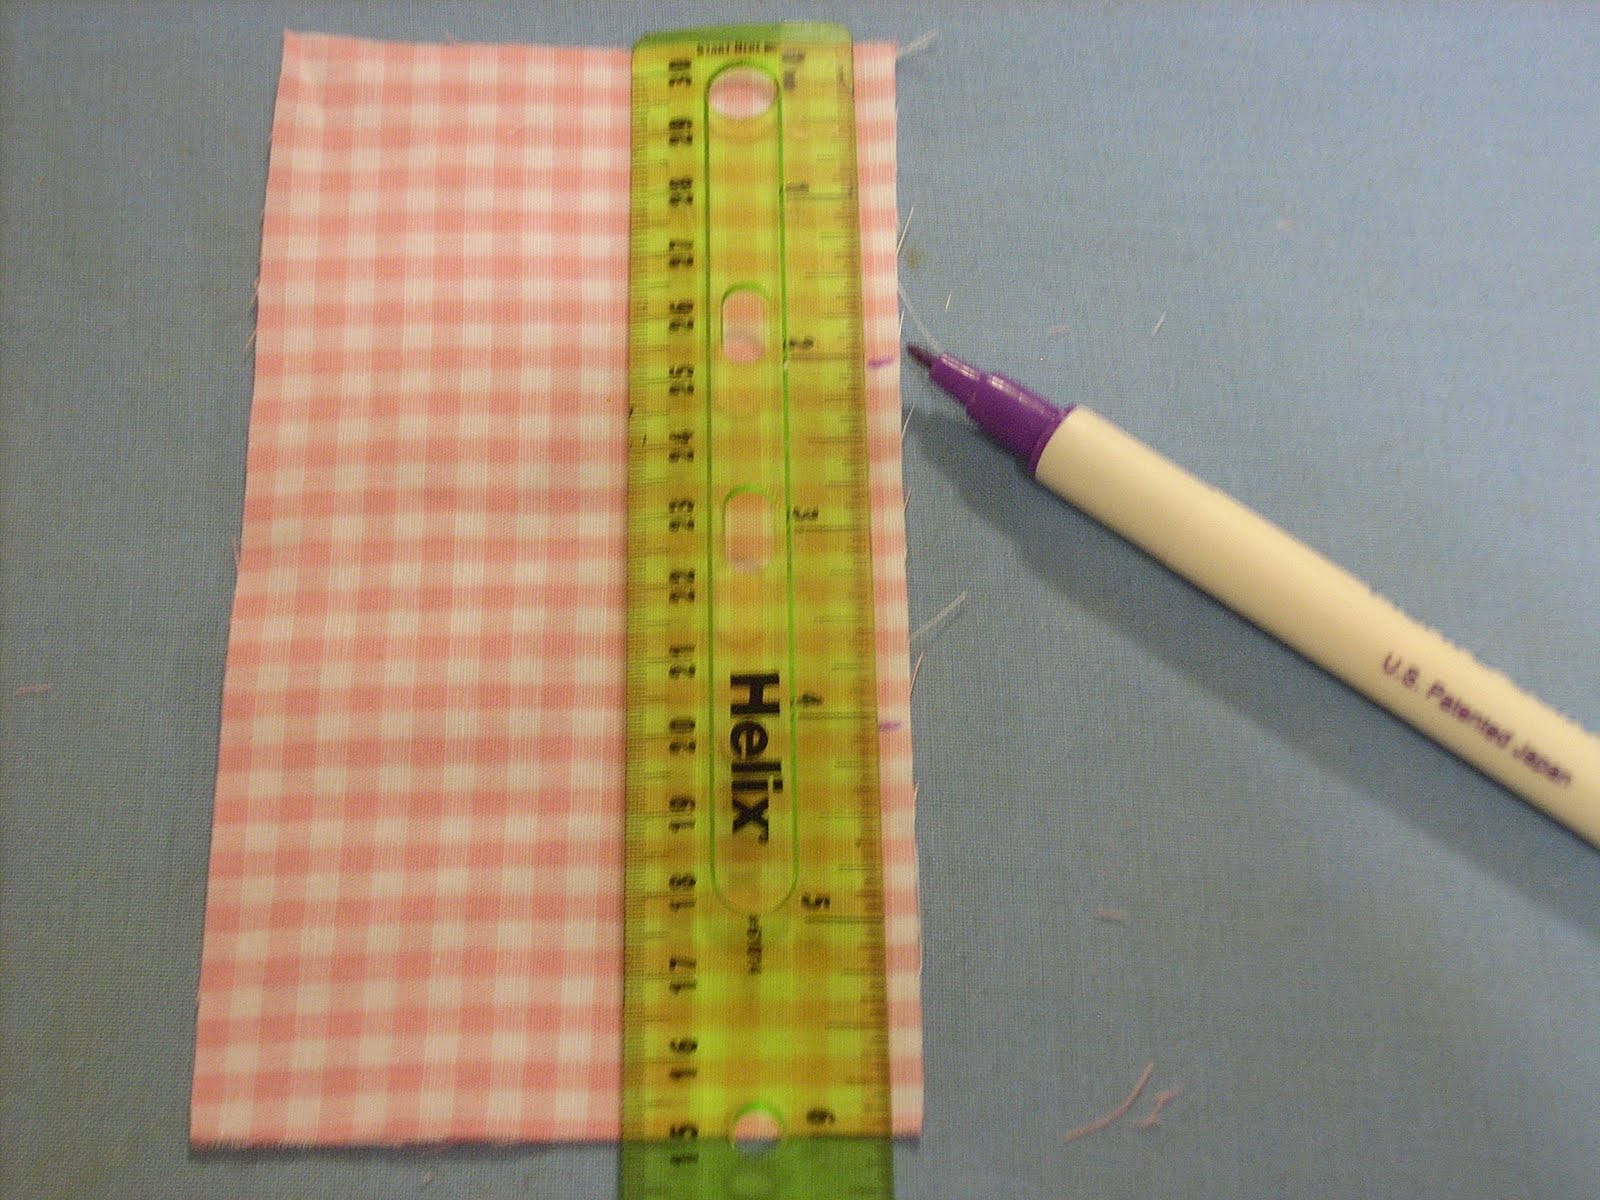
Cut 4 squares from two different fabrics that are 3 1/2″ by 3 1/2″ and cut 2 rectangles that are 6″ by 3 1/4″ ( the rectangles can be from a third fabric or from one of the other 2 fabrics)
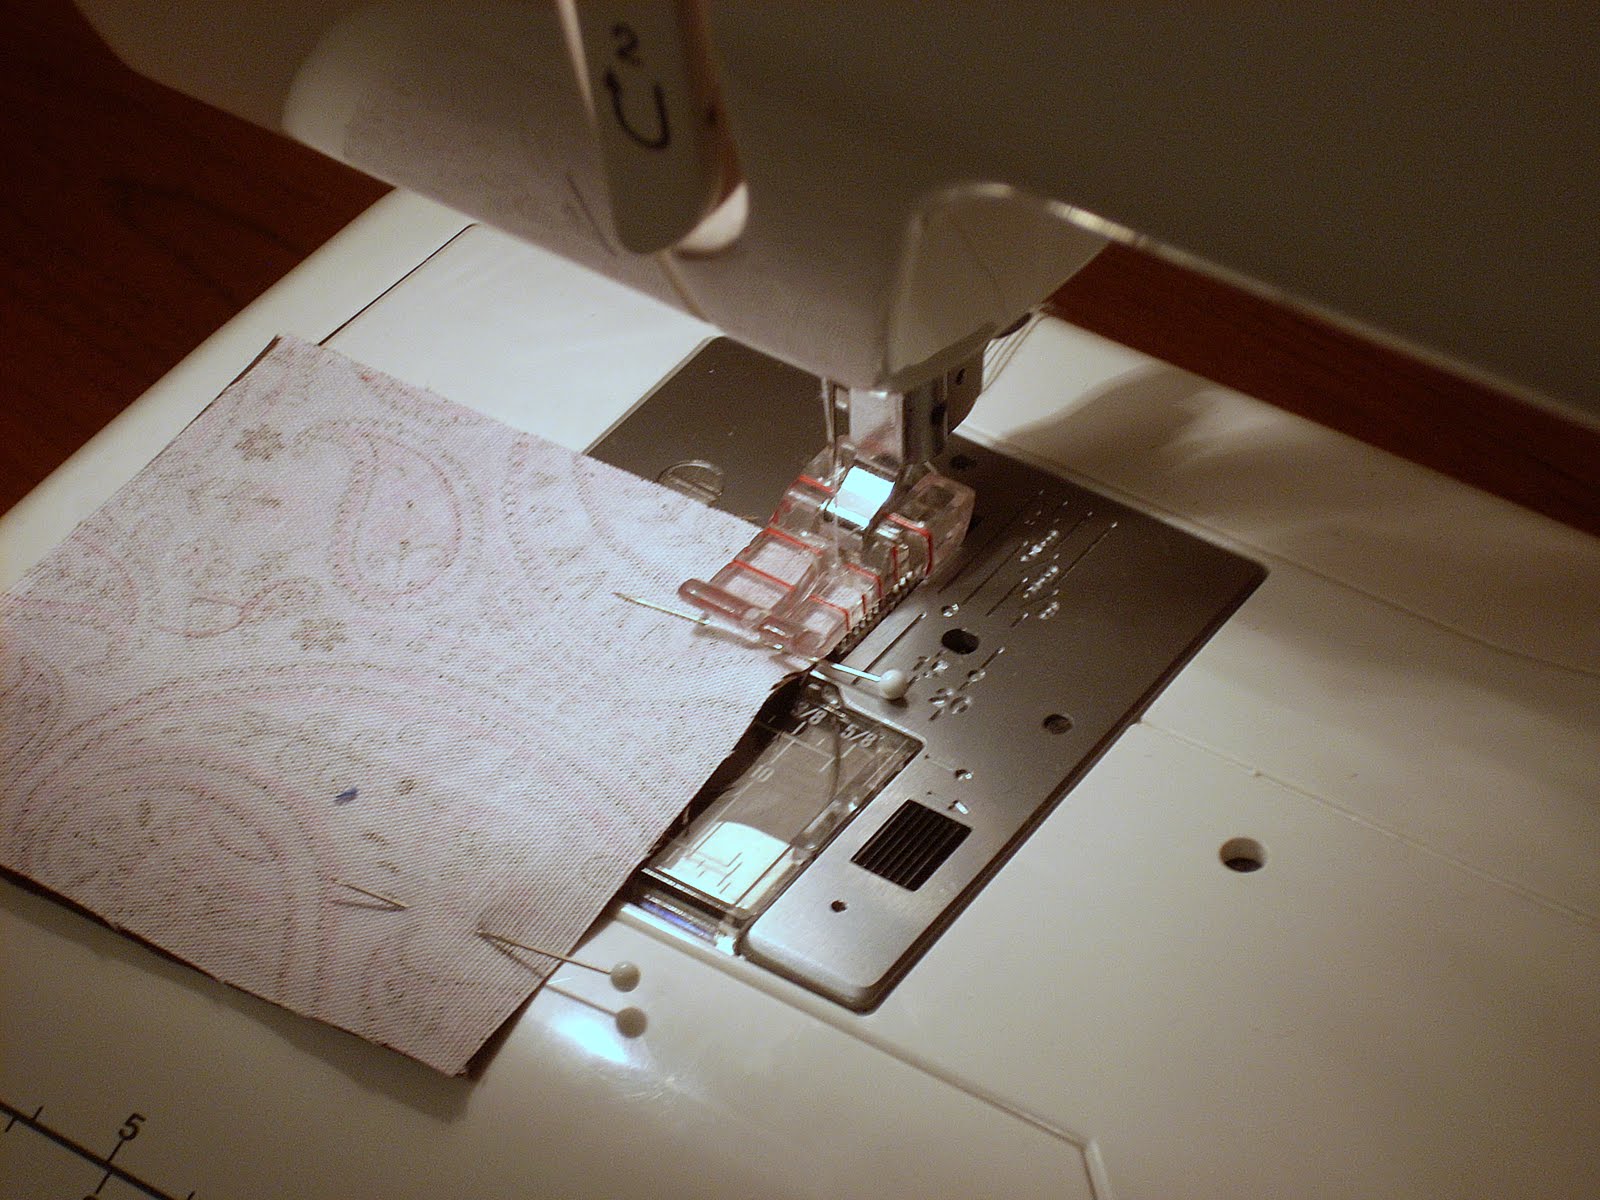
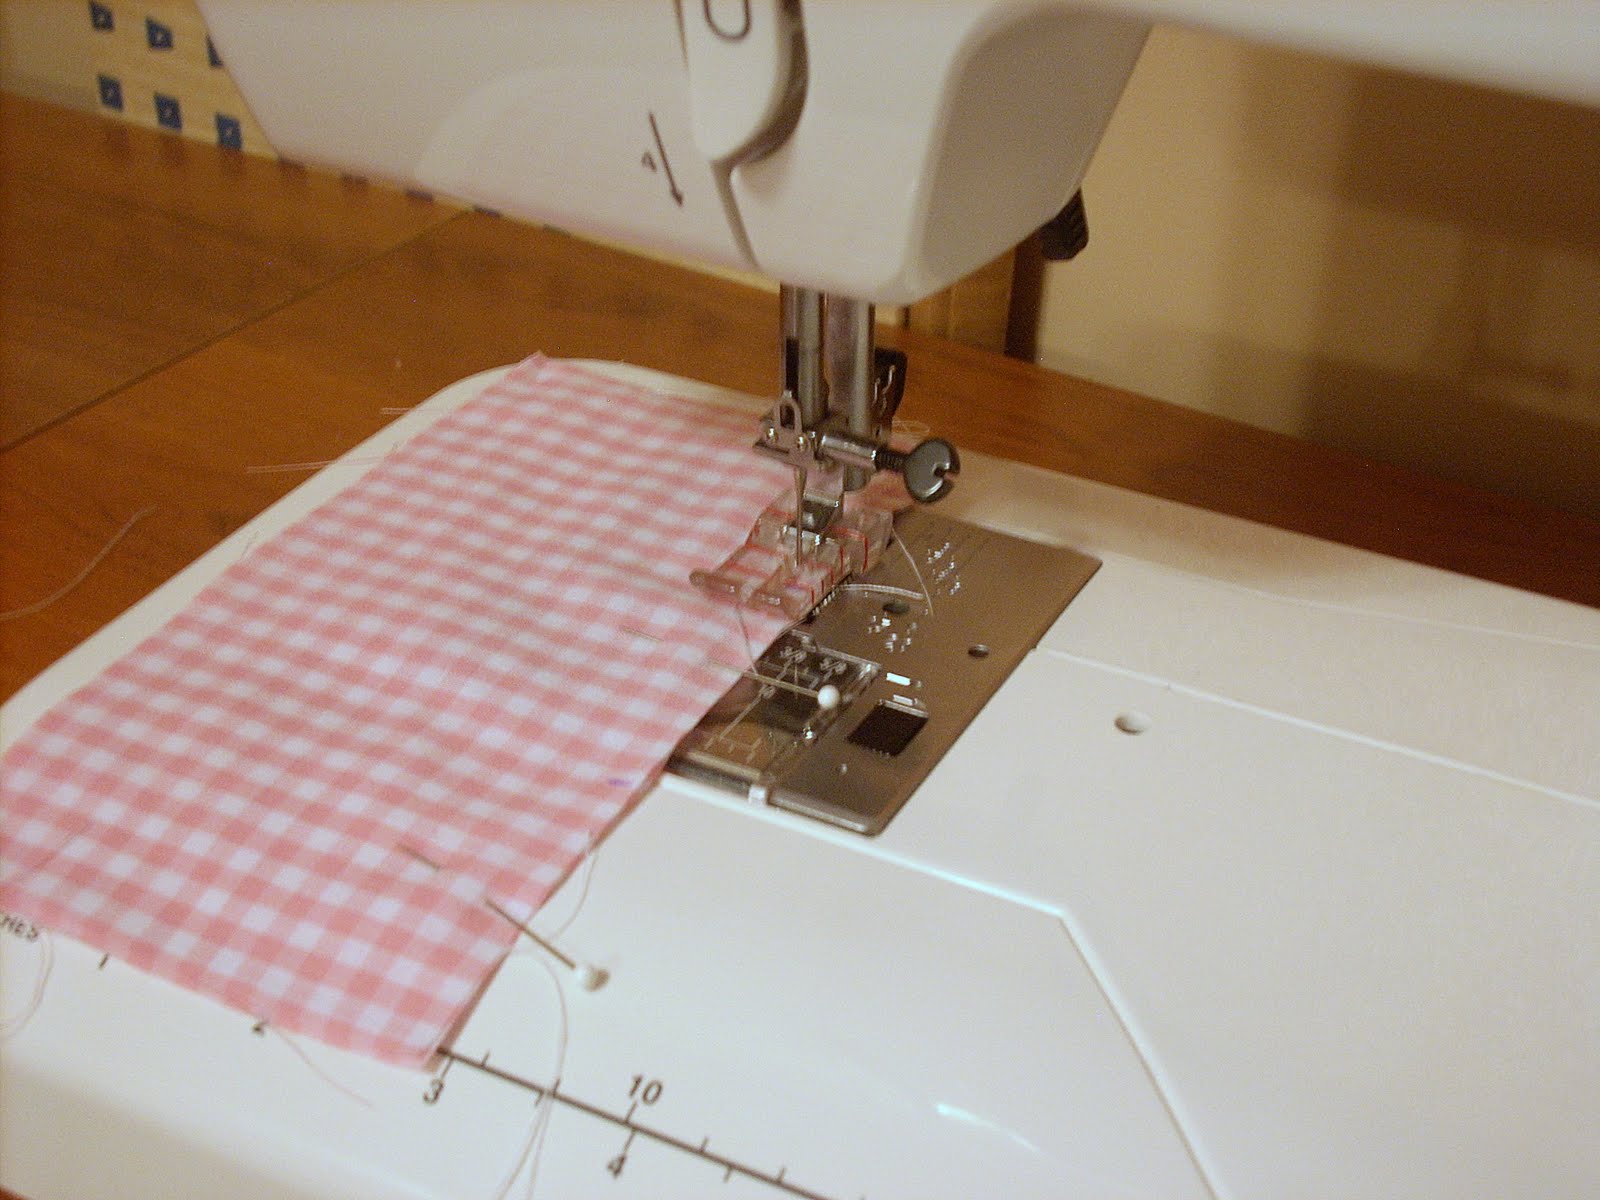
- Pin 2 squares together (one of each fabric) right sides together and stitch down one side
- Take the other 2 squares and sew them together like the first 2

-
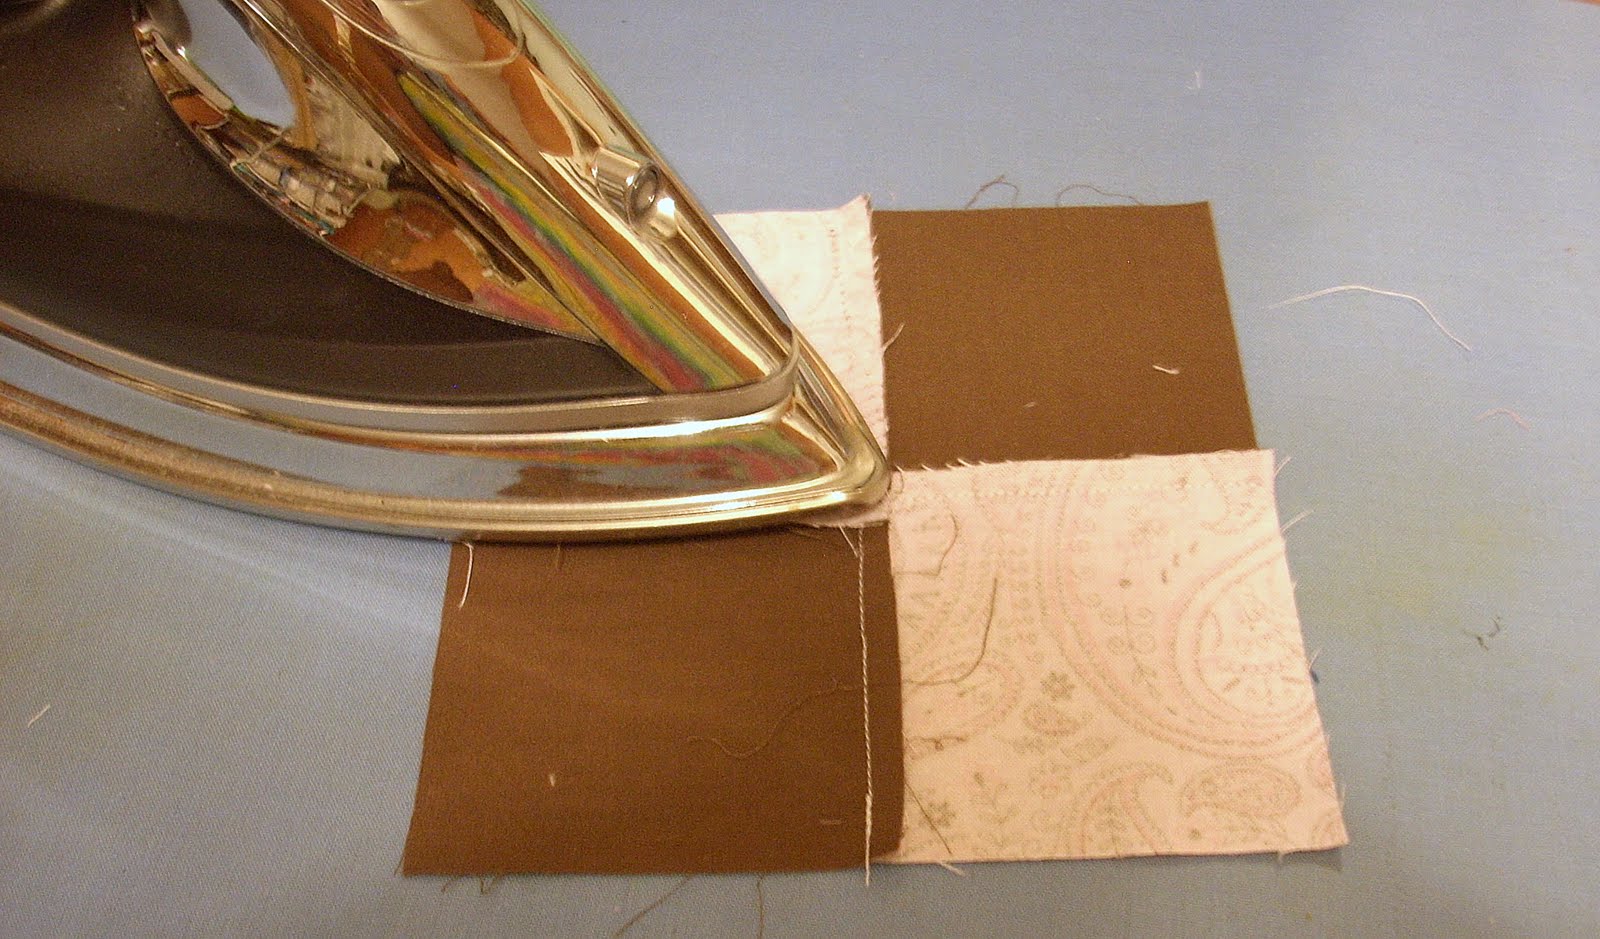
Press your seams to one side – we did it to the dark side on both pieces. This will keep the seam from being bulky.
-
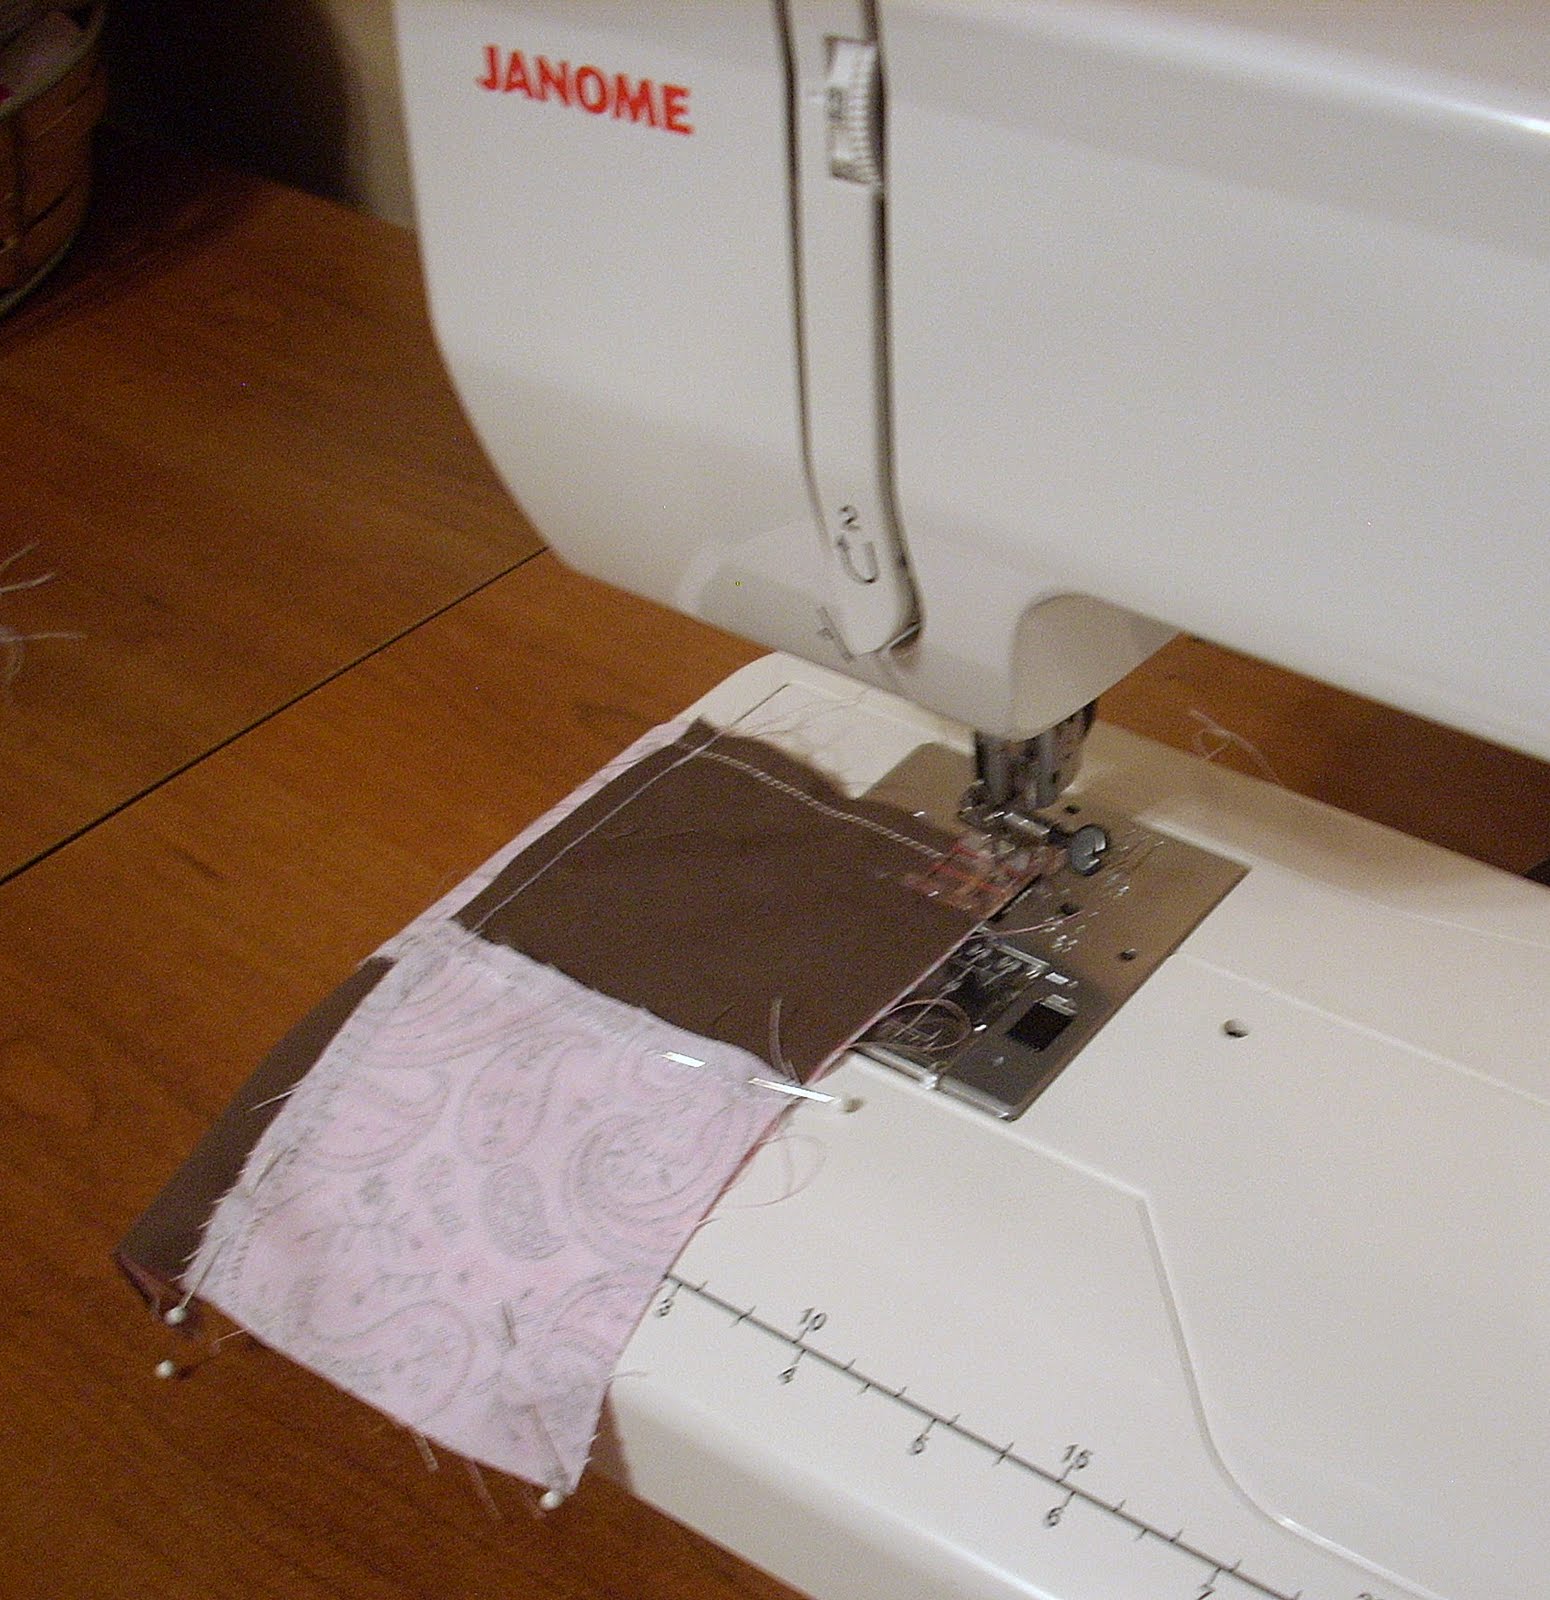
Pin your two new rectangles with right sides together and stitch.
-
If you look at the picture yo can see how we lined up the seams – the brown will just touch each other and the pink will just touch each other – this is called “locking in your seams”.
-
Press the seam to one side – it doesn’t matter which side. This is the top of your pincushion.
-
Mark your triangles at 2″ and 4″ from the top. We used a disappearing ink pen but you can use whatever you want – just make it light so it doesn’t go through the fabric.
- Sew the first 2 inches and stop at your 2″ mark, then sew the bottom 2 inches starting at your 4″ mark.

-
Press the seam open – notice the “hole” in the middle between the marks? This is the bottom of your pincushion.
-
Pin the top to the bottom and stitch all around. (If you notice that for some reason your top and your bottom pieces are not the same size, just trim the larger one to fit the smaller one. Before you stitch.)
-
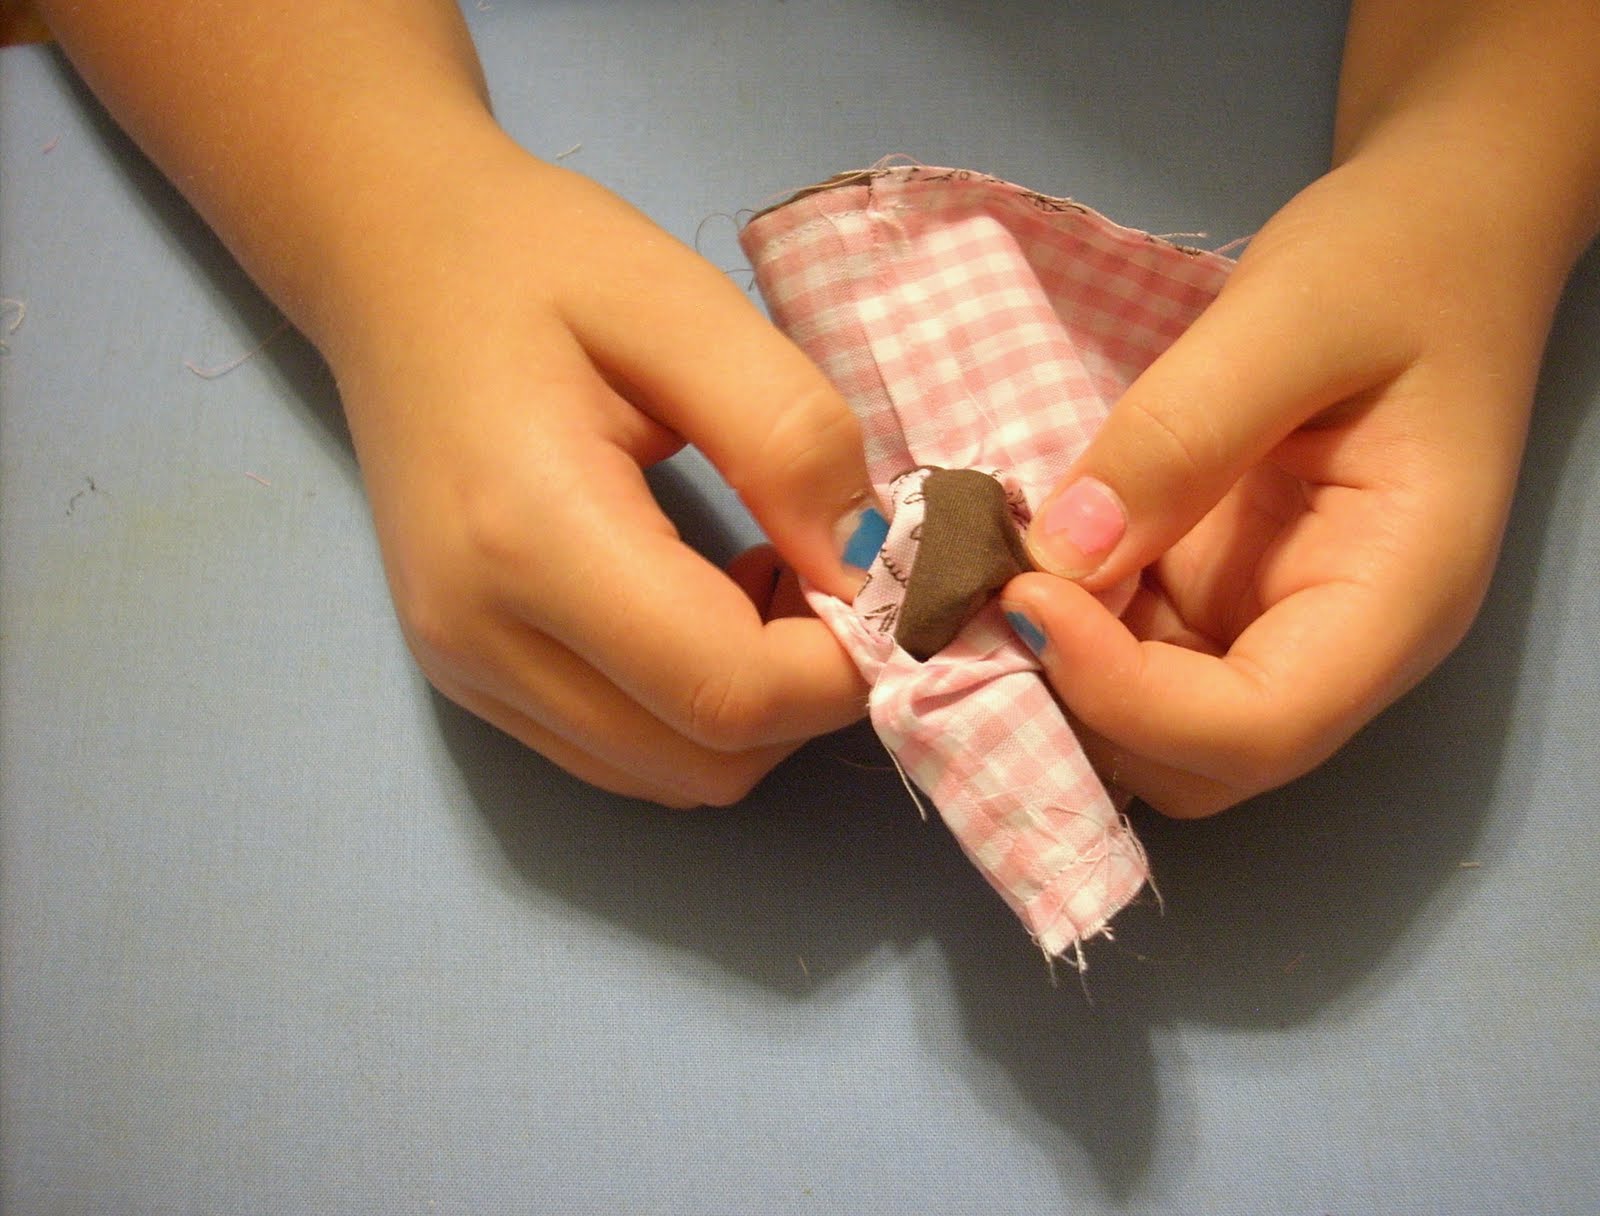
Pull the top out through the hole in the bottom so that the right sides of the fabric are out.
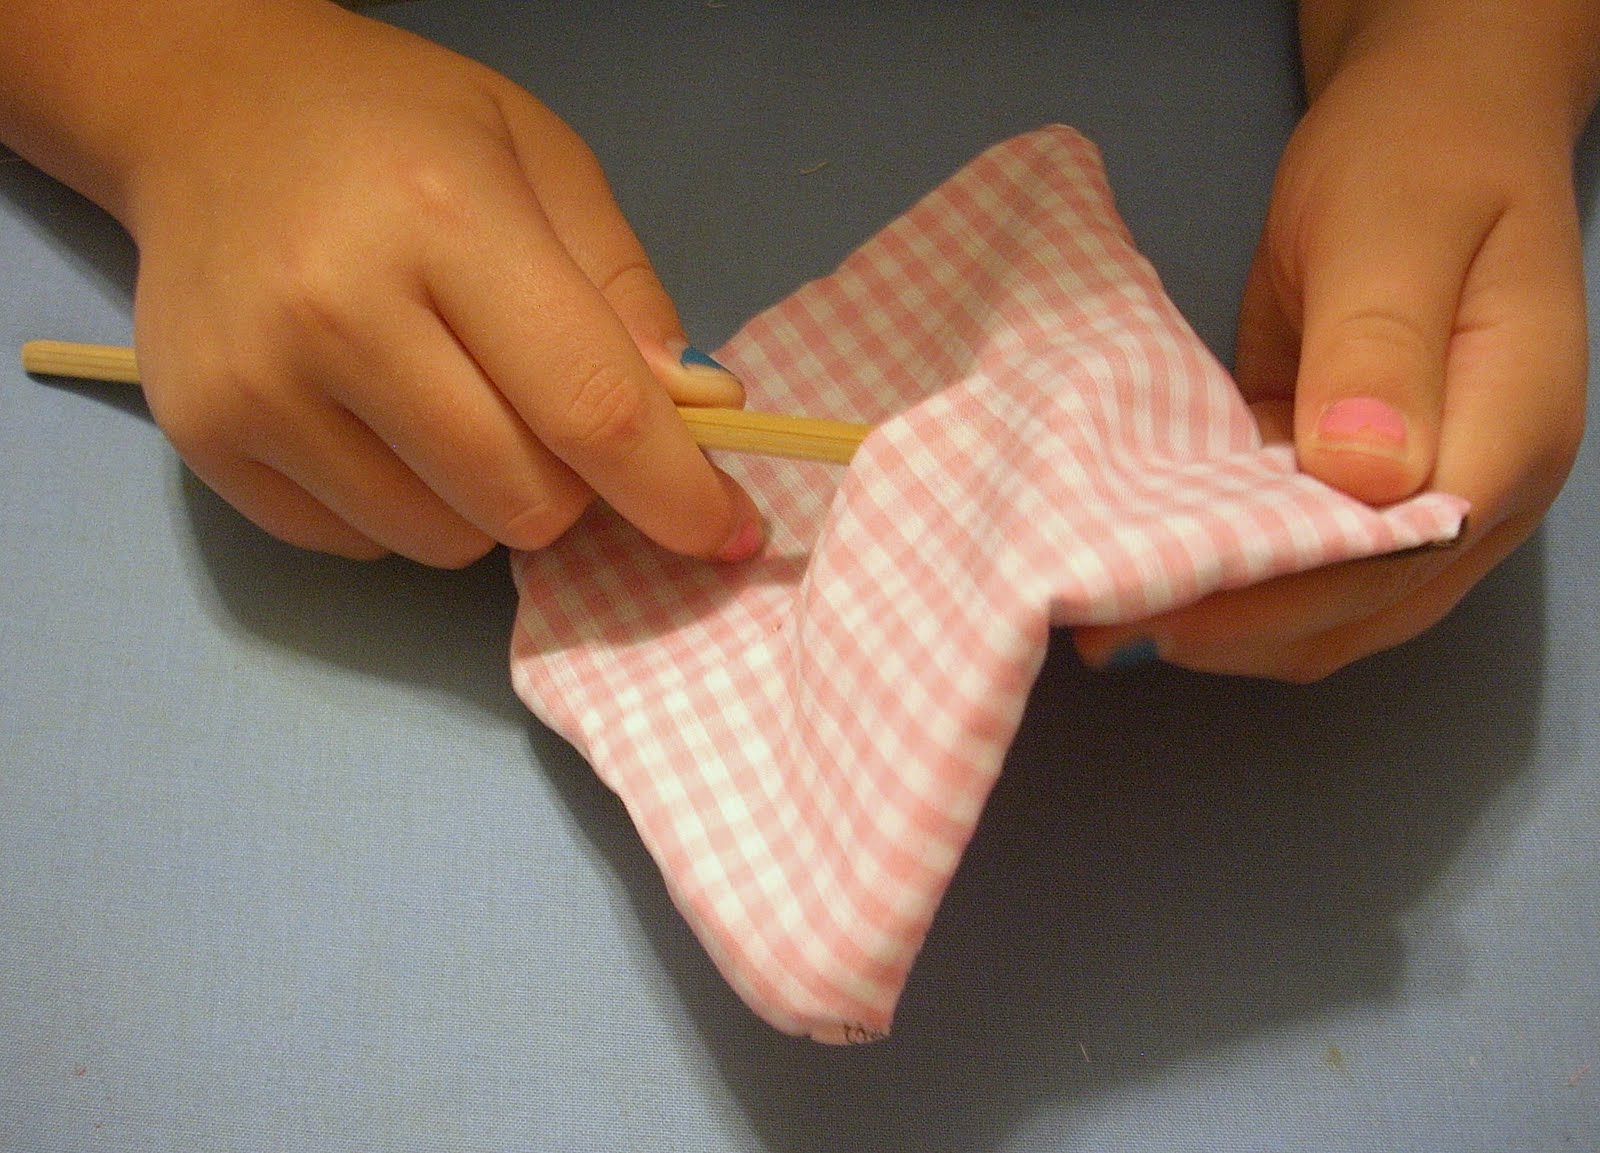
- We used a chopstick to poke the corner a little bit. We keep on in our sewing stuff – you never know when you might need a chopstick when you’re sewing.
-
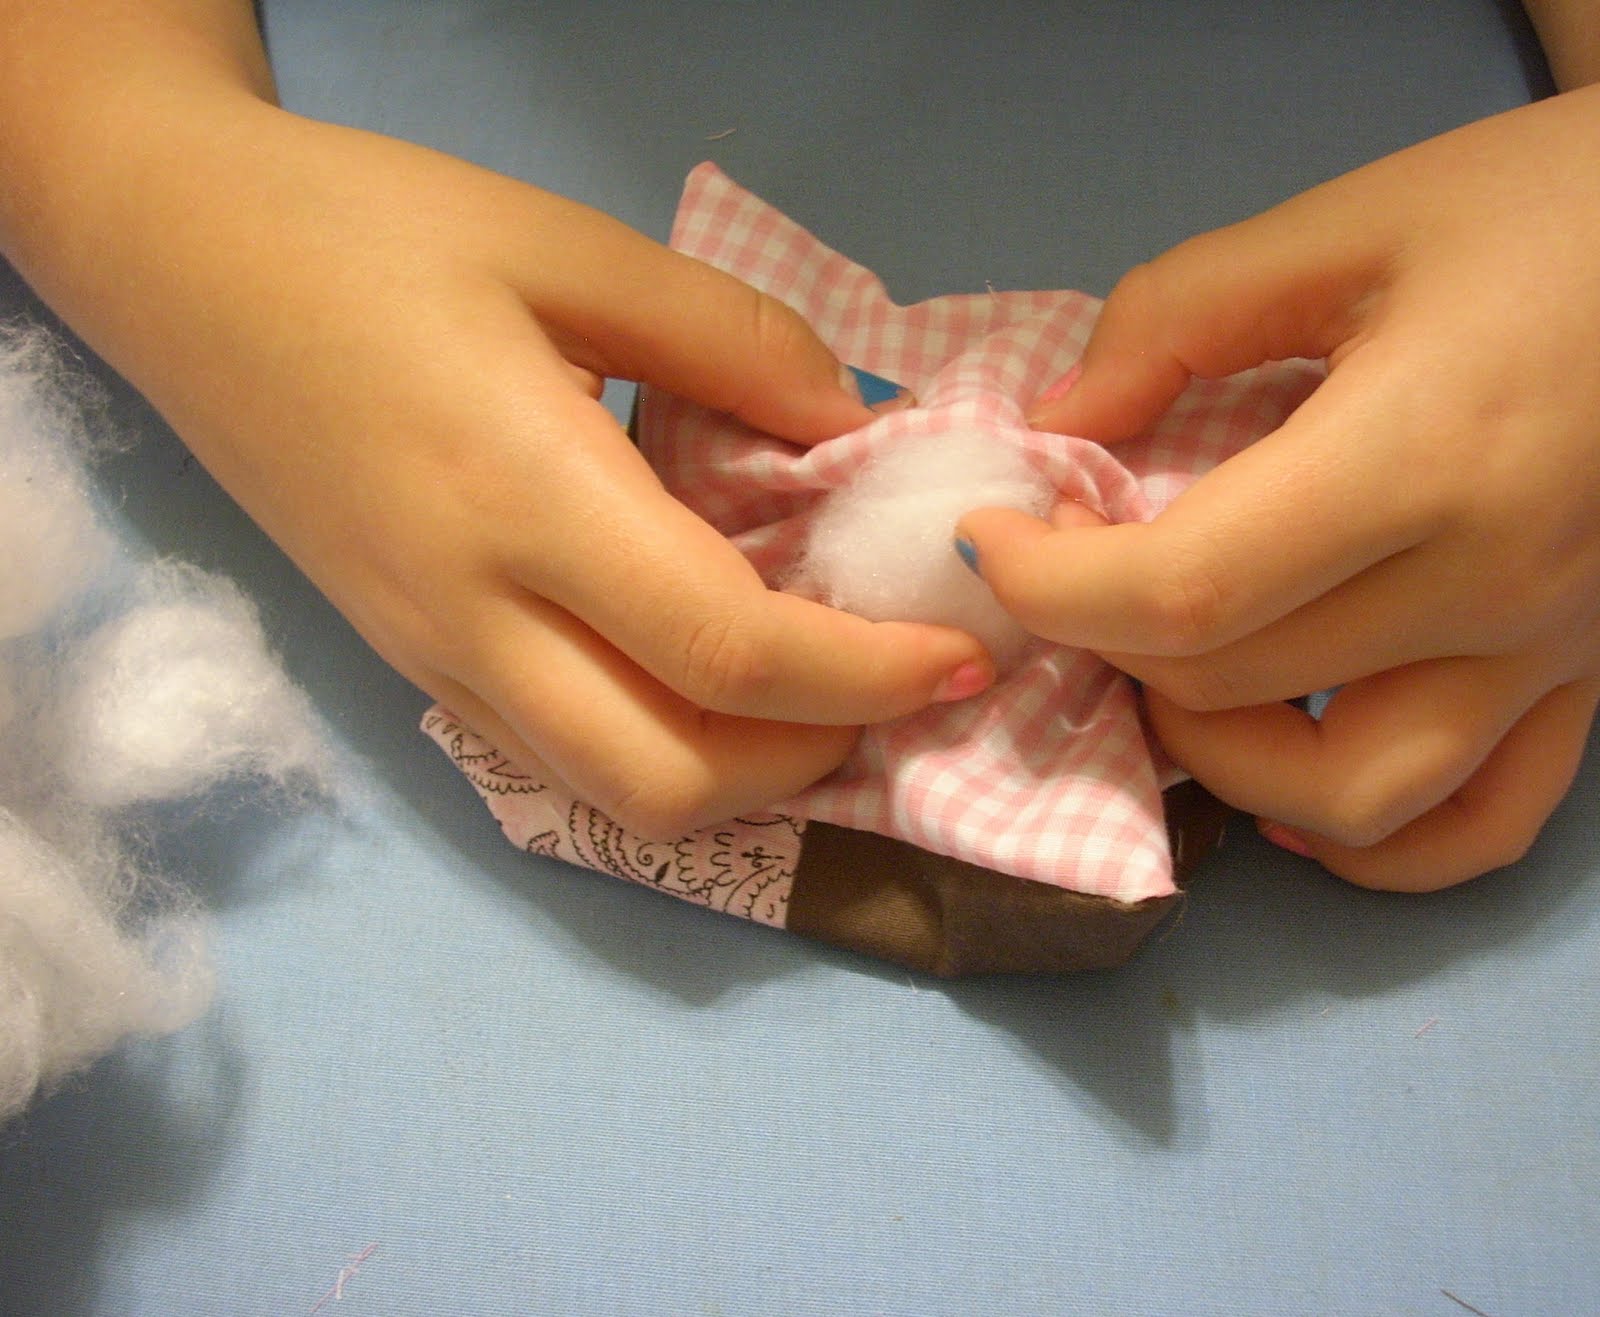
Stuff your pin cushion will polyfil or batting. We used batting scraps because it is what we have and just tore it into small pieces. (that won’t work well for a pillow, but for a pincushion it will be just fine.) Use your chopstick to make sure you get into the corners. Stuff it pretty full – you want it to be firm.
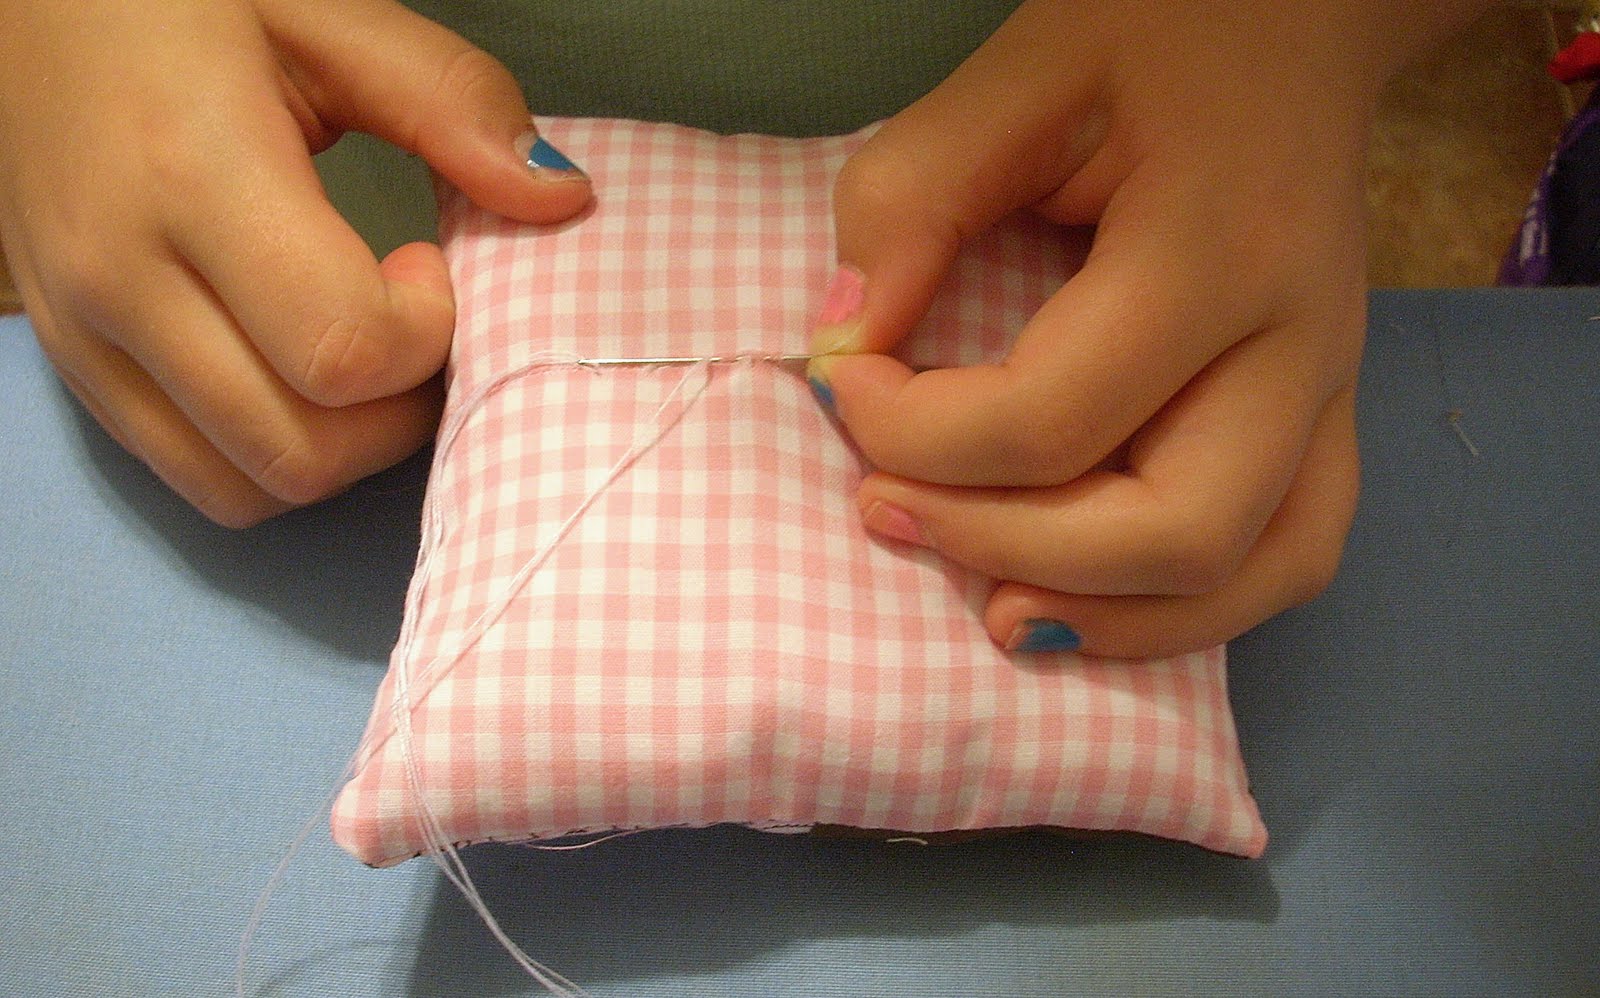
- To close the pincushion you will use a slip stitch. Start your stitch just like you started them for the needlebook. Thread the needle with both ends of the thread so that you have a loop at one end. Put your needle into the fabric right near the opening one one side of seam and come up directly across on the other side of the seam. Put your needle through the loop to make your knot.
- Slip your needle inside the fold on one side of the seam
- Bring your needle out through the folded edge about 1/8″ from where you put your needle in.
- Now, put your needle in the other fold – directly across from where you came up and then bring it out about 1/8″ from where you started.
- Continue snaking through the folds, crossing from side to side, until you reach the end of the hole.
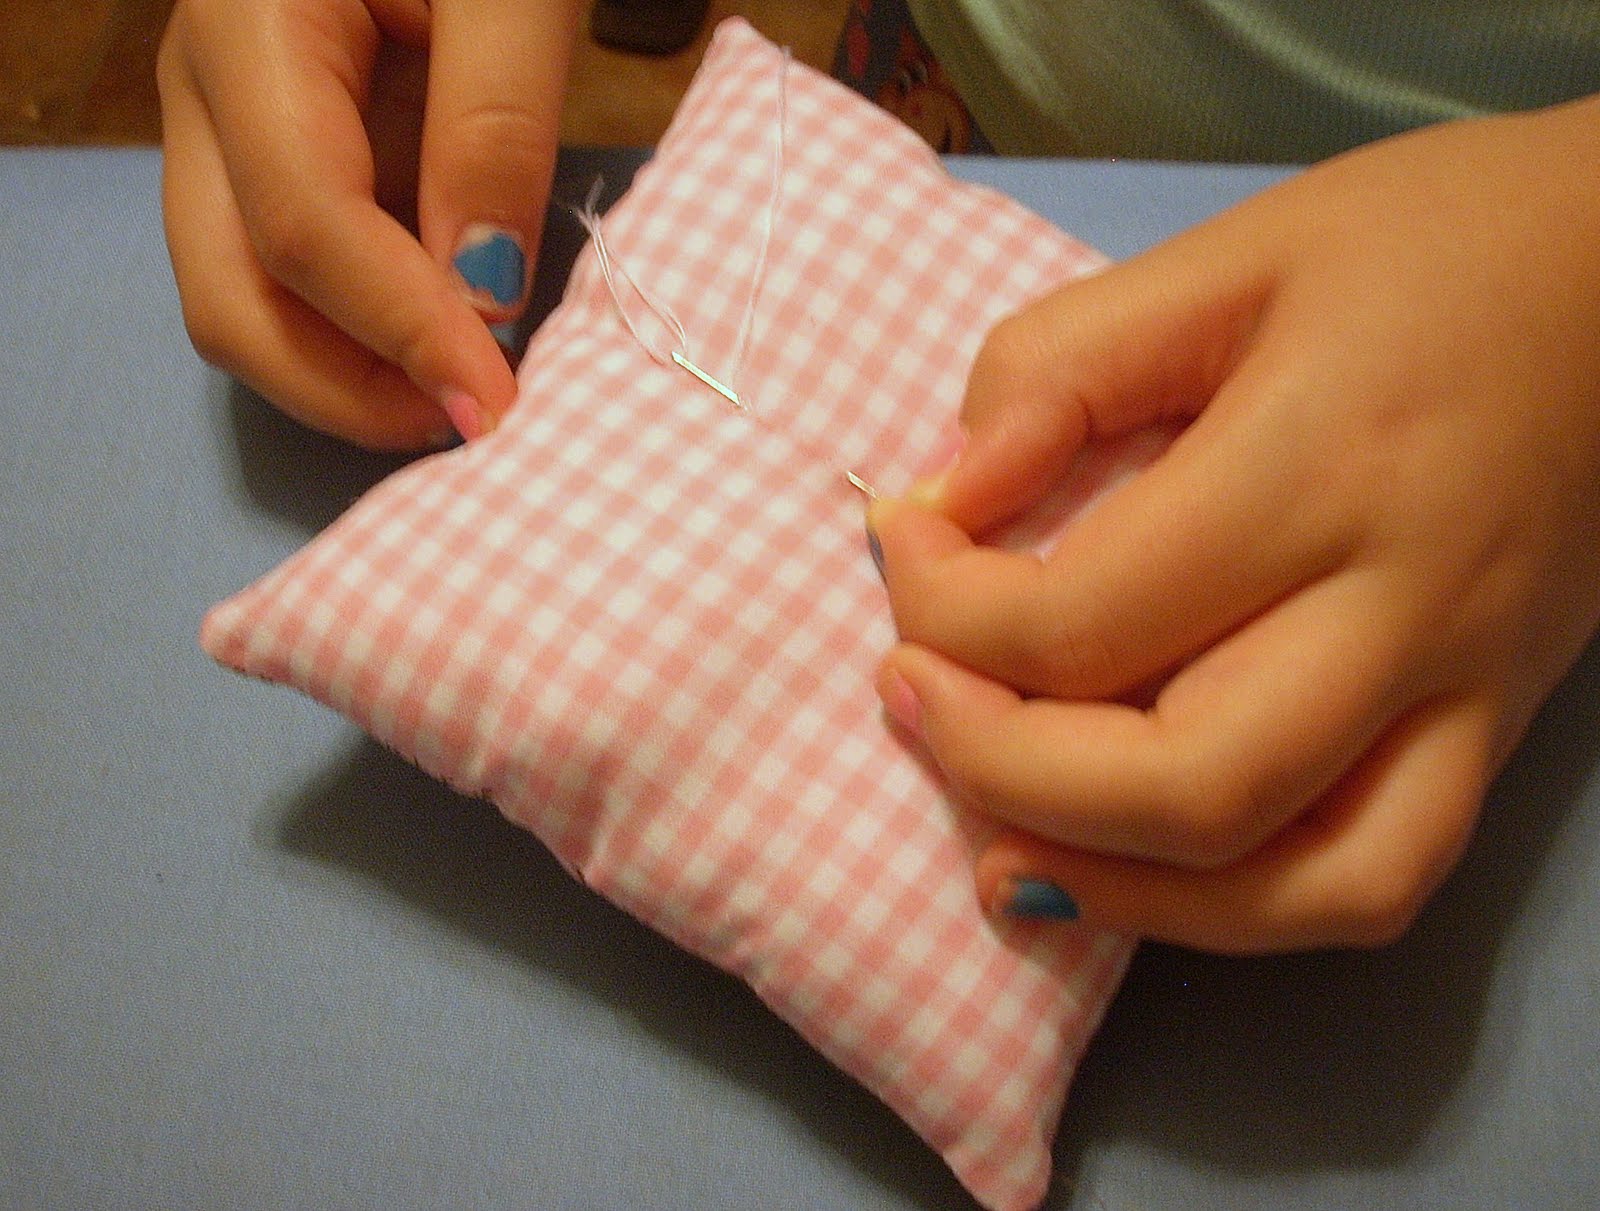
- When you come up for the last time, put your needle directly across on the other side and make a loop for your knot. Put your needle through the loop three times and pull. Just like when you are sewing on a button.


- After you make your knot, put the needle back into the fabric and come up about and inch away from your knot.
- Clip the thread.
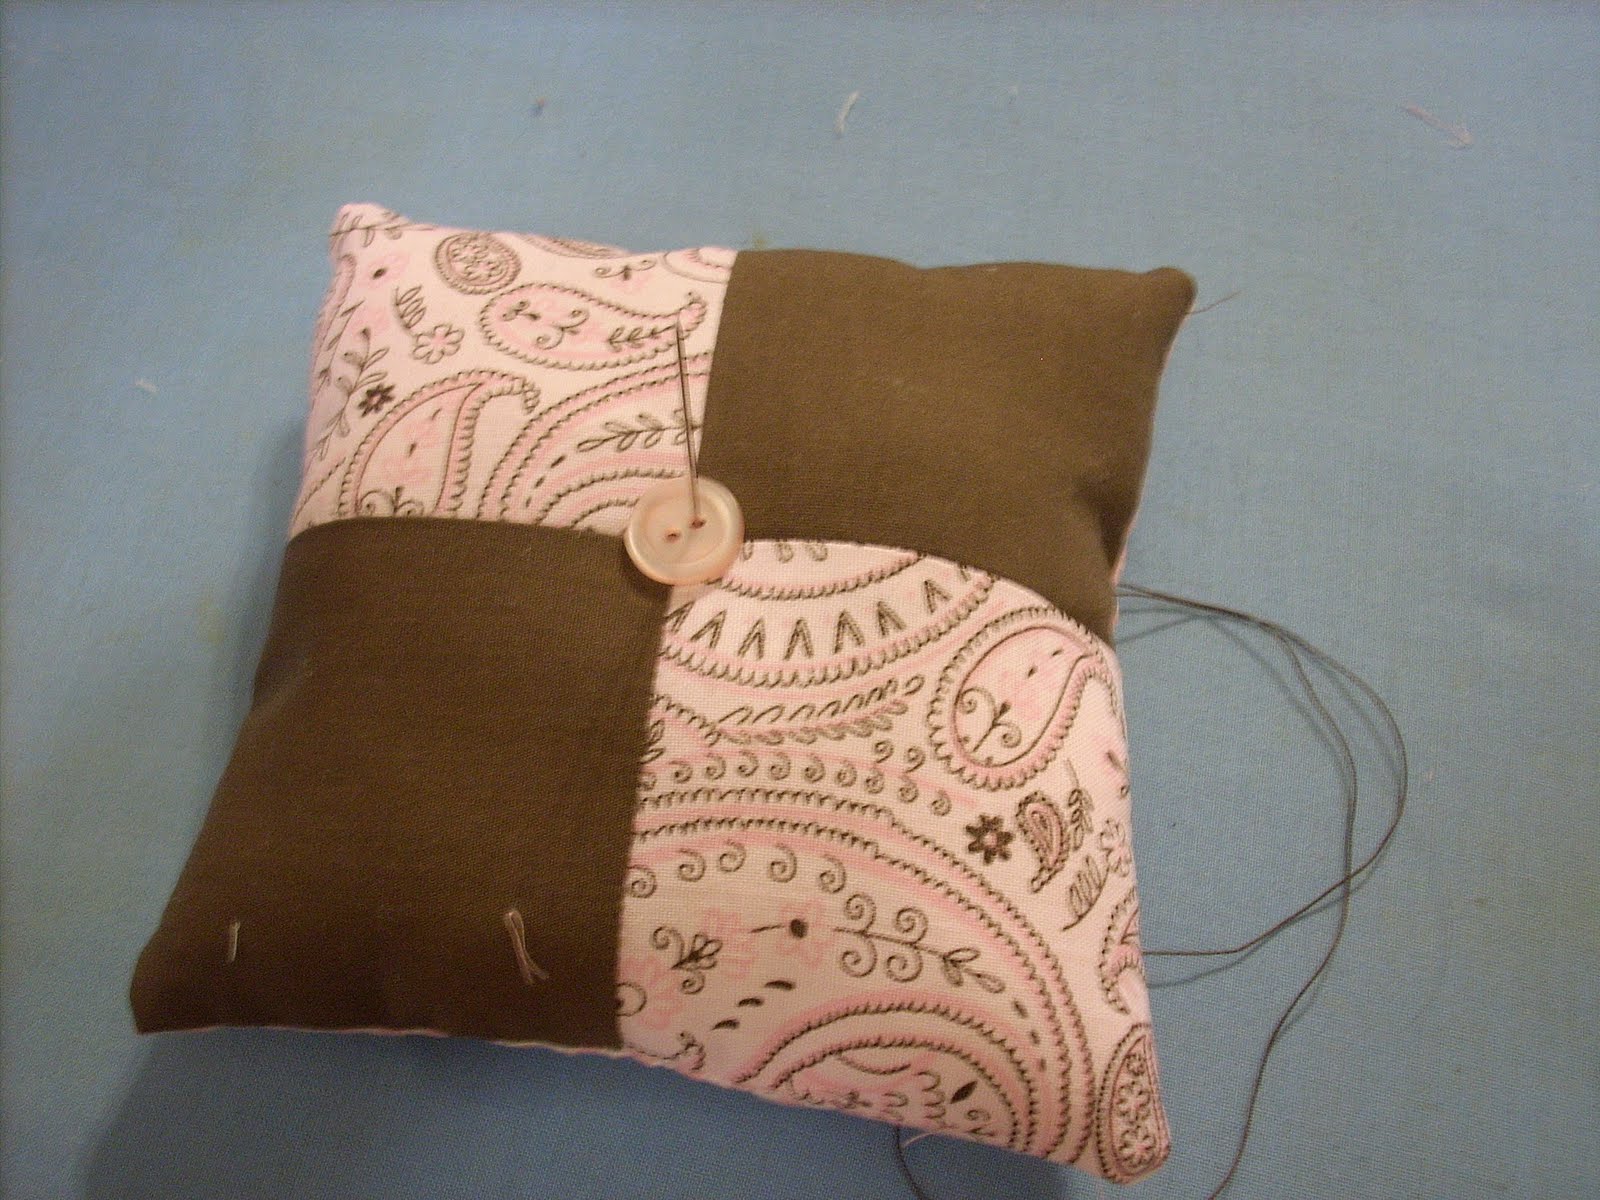
- Sew on a button – pulling the thread tight so that the button dips in some. If you want to, you can lay ribbon over your seams on the top and secure the ends and then hide them by sewing the button on top of them.
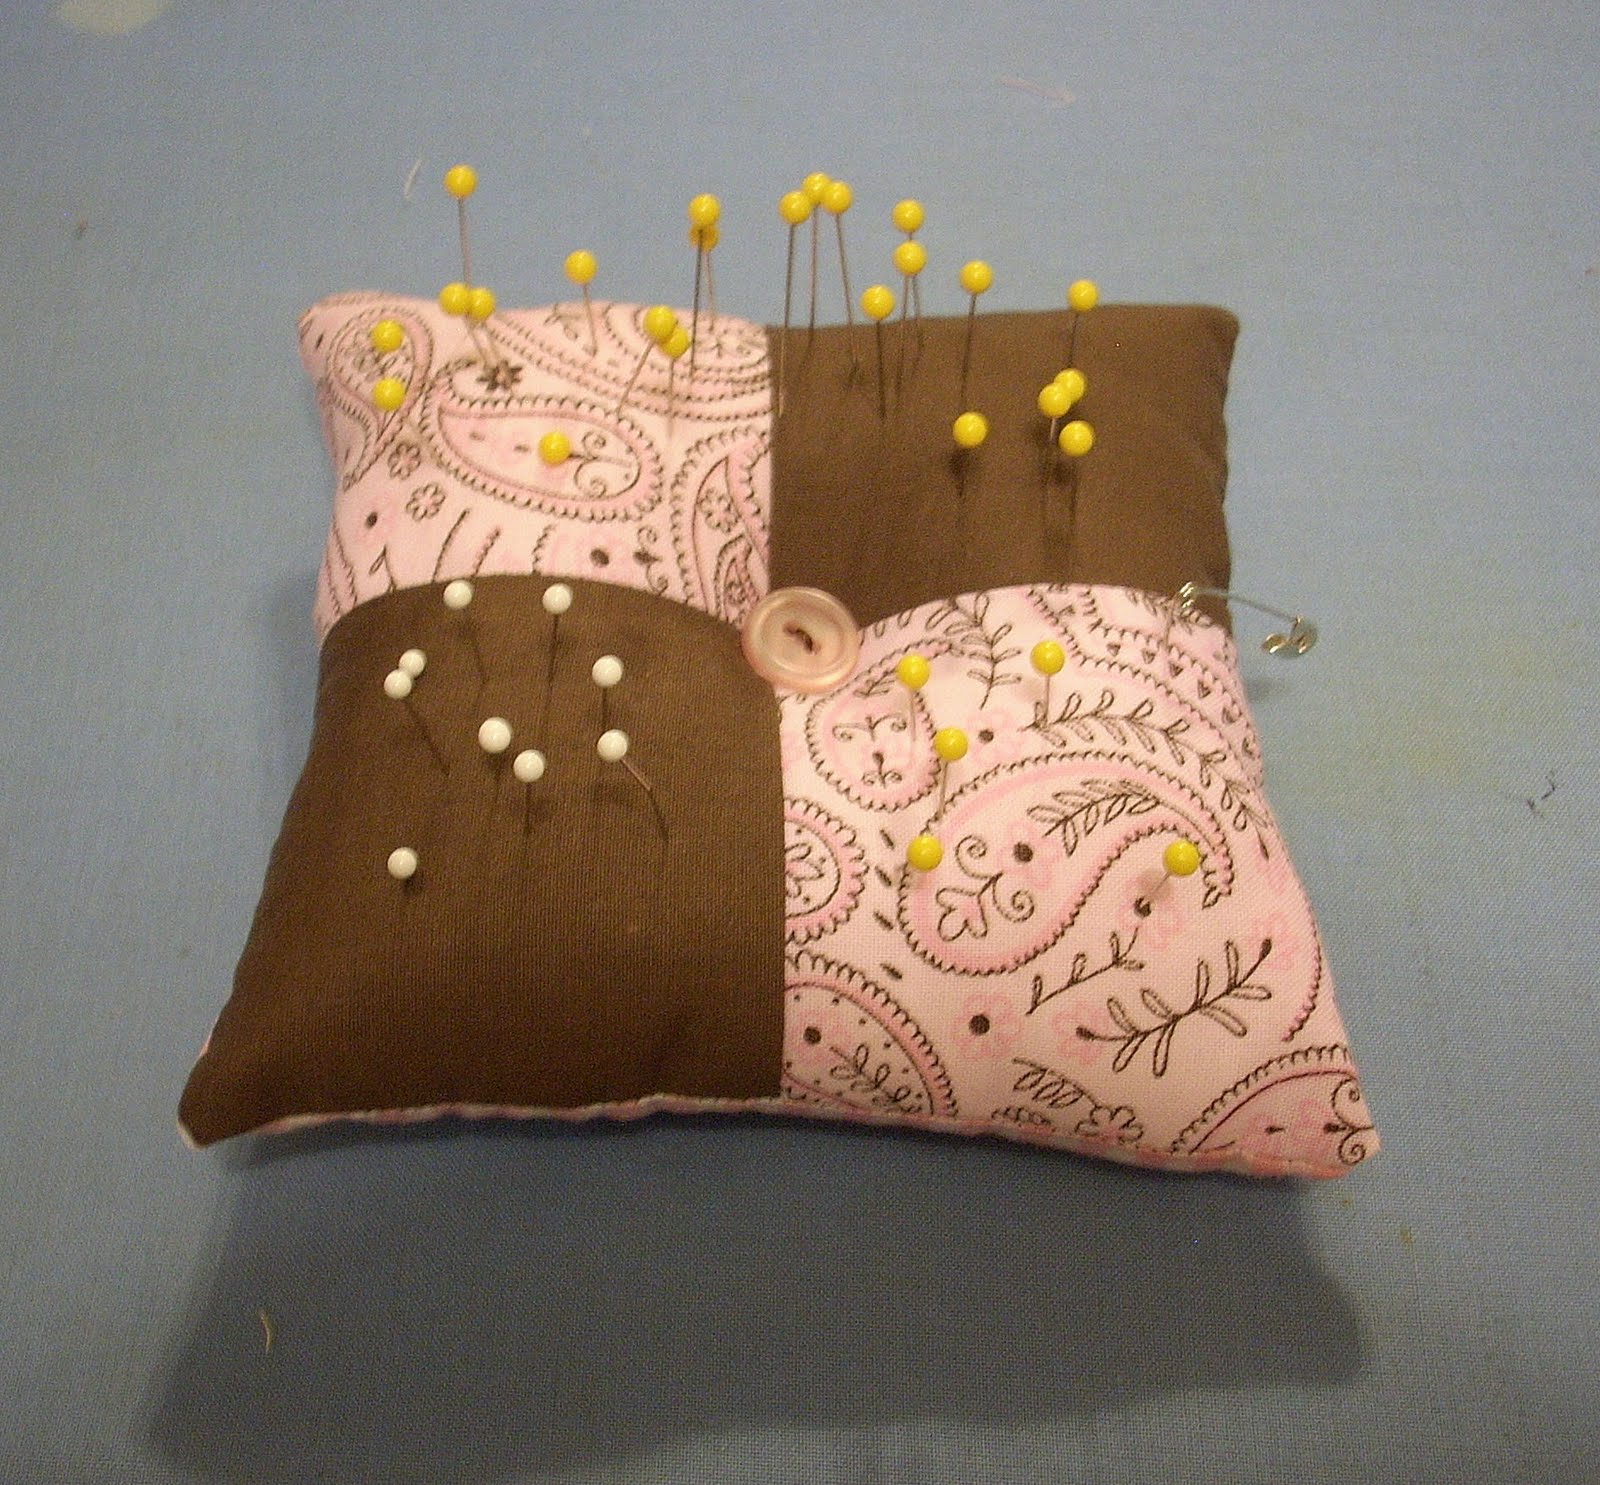
- Eat chocolate and admire your hard work. Don’t for get to add your pictures to the flickr group!
If you have any questions or tips feel free to leave them in the comments. Happy Sewing!