

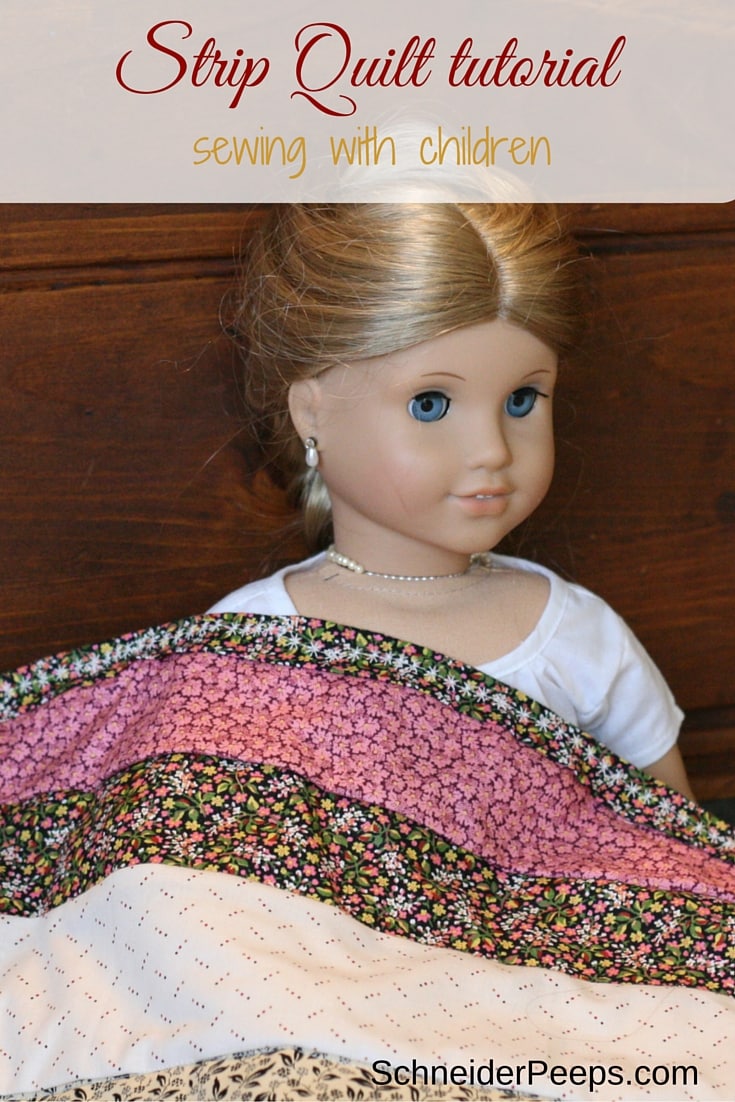
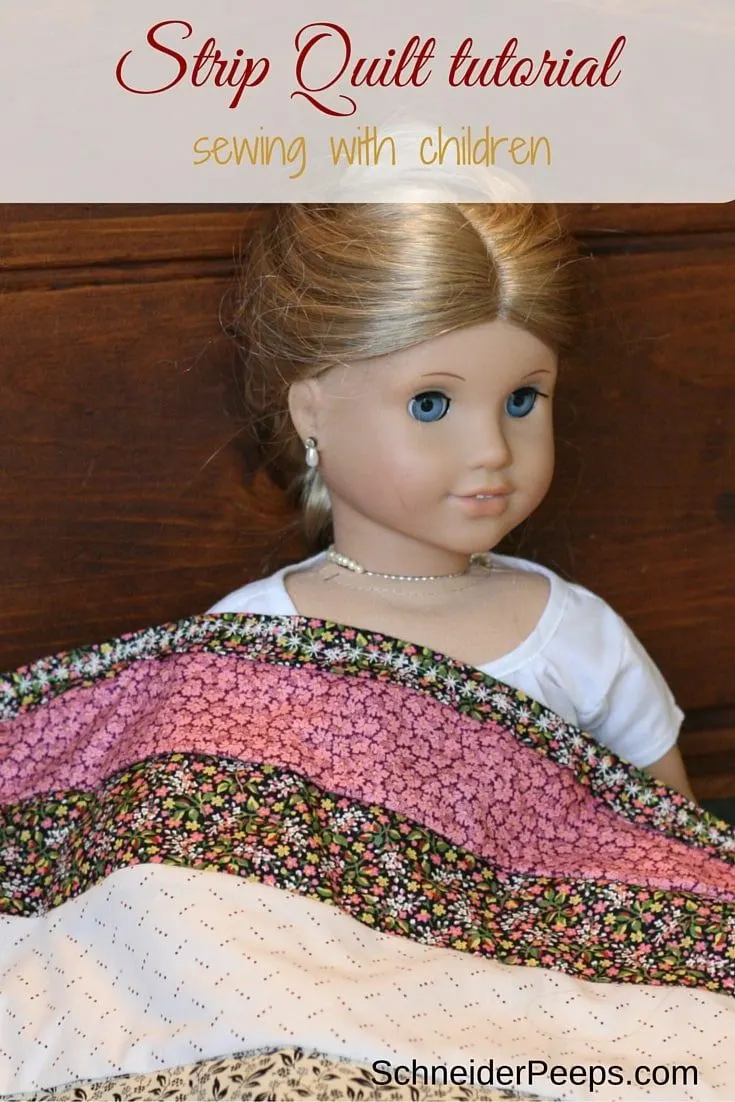
Strip quilts are so easy and fun to make and are perfect for a quick win or for teaching children how to quilt. Using fat quarters instead of fabric yardage makes this project even easier.
A couple of months ago I had the opportunity to get some official Little House on the Prairie® fabric from Andover Fabrics. This is a new fabric collection and they were looking for bloggers to partner with. They sent me five fat quarters and I just love them.
The fabric is super soft and reminds me of the dresses Laura wore on the TV show, which I’m sure were similar to what the real Laura wore way back when. It’s not being sold in my area just yet, you can see if it’s being sold in your ares by using this fabric locator.
Esther has been asking about the fabric since the moment I opened the packet so I thought it would be fitting to do a project with her. She’s been wanting to learn to sew on the sewing machine and I’ve been promising her we’d start soon.
I wanted a project that would give her some practice on sewing straight lines, be challenging but still something she could do with minimal help and be useful – because who wants to work on something that isn’t useful? So I decided that we would make a strip quilt for her American Girl doll, Elizabeth.
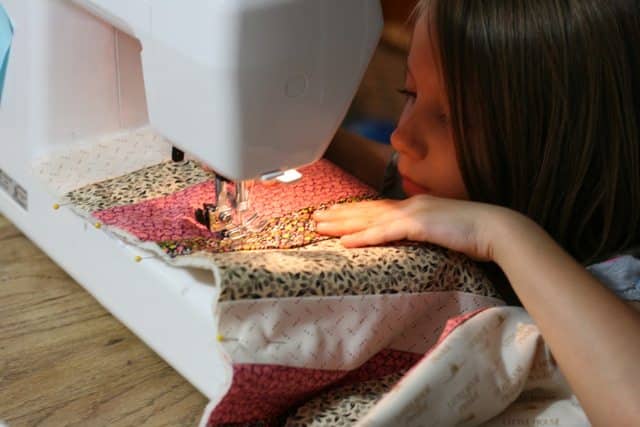
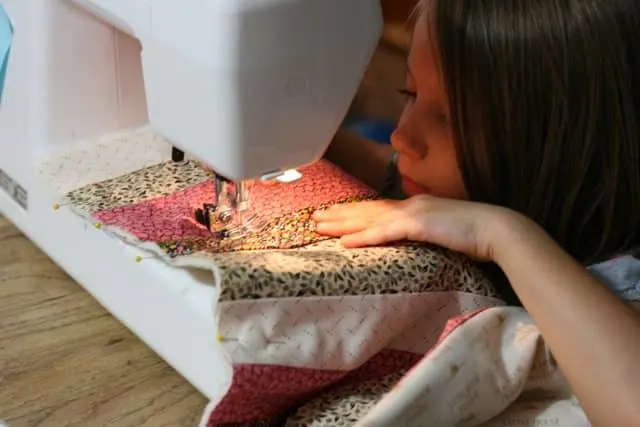
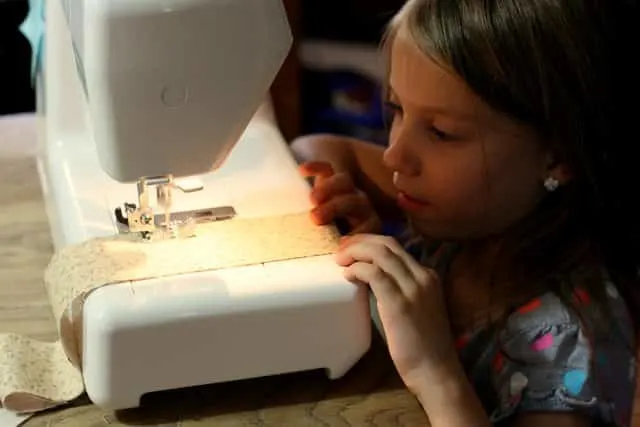
This was Esther’s first time to sew on a machine but she will often help me when I’m sewing by doing the foot pedal. In case you are wondering, she’s 6 and in my opinion that is old enough to learn to use a sewing machine. Phoebe began sewing on a machine when she was just a bit younger and can now sew just about anything.
There’s really nothing to be afraid of, unless the child is trying to break the machine it won’t break and there really isn’t a way for the child to be harmed from the machine.
Yes, she can be hurt but not harmed. The worst that has happened to Phoebe in 9 years of sewing is that she once stitched right through her finger. But guess what? It healed and she only did it once. No harm was done.


So relax and have fun!
If you want some practical tips on teaching children to sew be sure to read this article from Summer Sewing School 2011.
{Disclaimer} In this strip quilt project, I’m going to do a few things that are not technically correct as far as quilting goes. But my goal is not to have a quilt that will take home a prize from a quilt show, my goal is to have an enjoyable experience with Esther while she makes something useful and begins to learn a new skill. Learning to sew is a process and there will be plenty of time to teach correct quilting technique later. So we’re cutting a few corners in this project to meet the true goals.
Making a Strip Quilt
There are printable instructions at the end of this post, so you can refer back to them as needed.
Supplies
five fat quarters or 1.25 yards of fabric
cotton batting
thread
pins
scissors
sewing machine
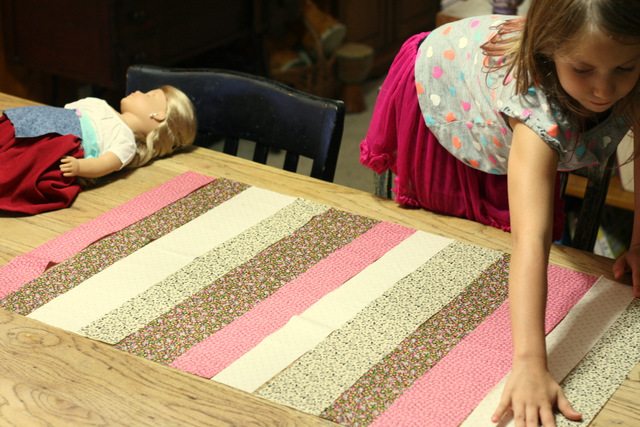
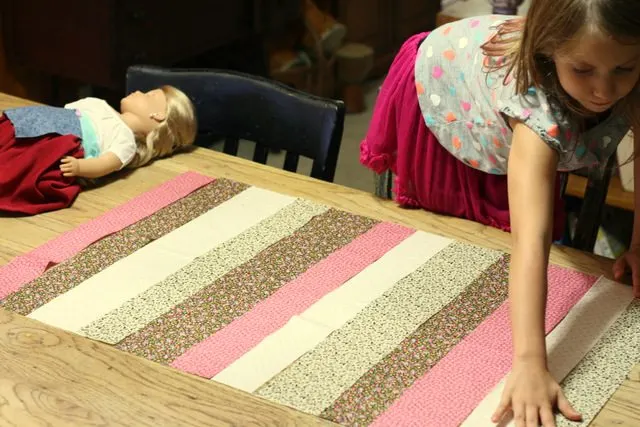
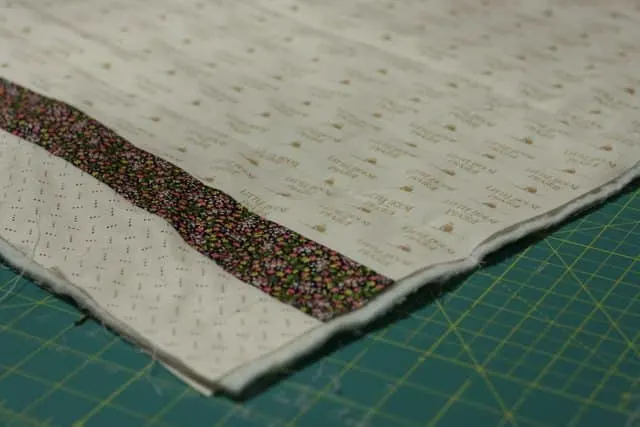
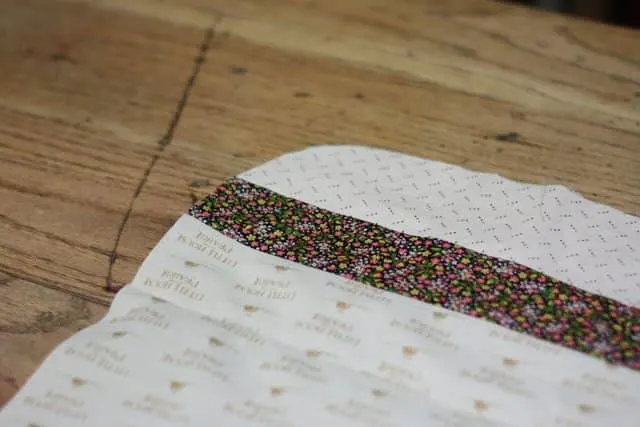
The first thing I did was trim the fat quarters so that they were all the same size. Then I cut two 2.5″ strips and one 3.5″ strips from four of the fat quarters on the long side. So they were 2.5″X22″ and 3.5″X22″. We left one fat quarter whole for the back of the quilt.
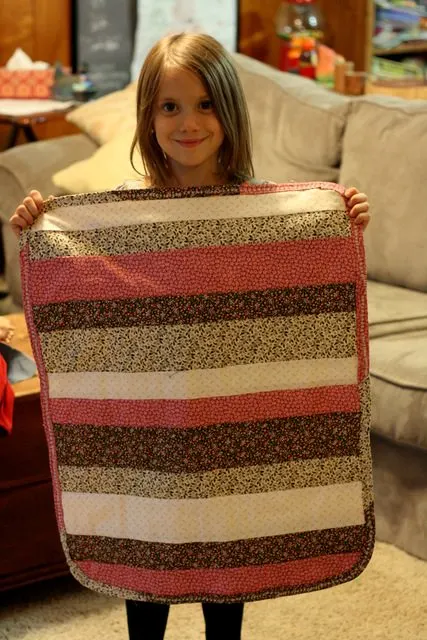
Esther arranged the strips how she thought they looked best. We talked a little about balance and not putting all the darks together and all the lights together.

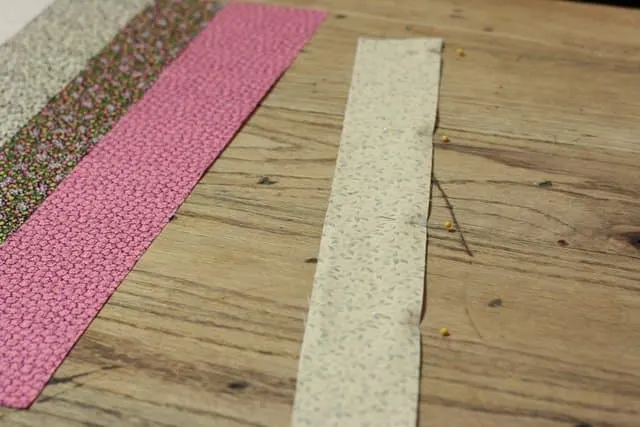
Starting at one end, flip the end strip over onto the next strip and sew along the long side using a 1/4″ seam allowance.
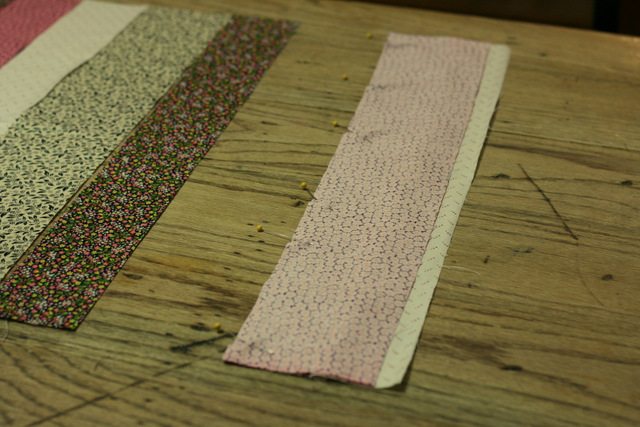

Continue adding strips, one at a time, until they are all sewn together. Just make sure the right sides are together when you pin it and it will be fine.
Cut a total of two 2.5″ strips and two 3.5″ strips to add to the fat quarter that was reserved for the back.
Since I was making this up as we went along I put the top and bottom right sides together just to make sure they were the same size. The bottom was a little longer so I just cut it off.
The next step is to cut a piece of cotton batting that is the same size as the top and bottom pieces.

Stack the fabric and batting by putting the back piece right side down on the table, then put the batting on top and lastly, put the top piece right side up. Pin it all around. It should look like a quilt without the binding.
Normally, you would do quite a bit of stitching to keep all three layers together. But by this time Esther was getting antsy and I really wanted to end this project on a good note, so I decided to just have Esther stitch along three seams that were on the top piece and call it good. This will be plenty to keep the batting from bunching up when the quilt gets washed.

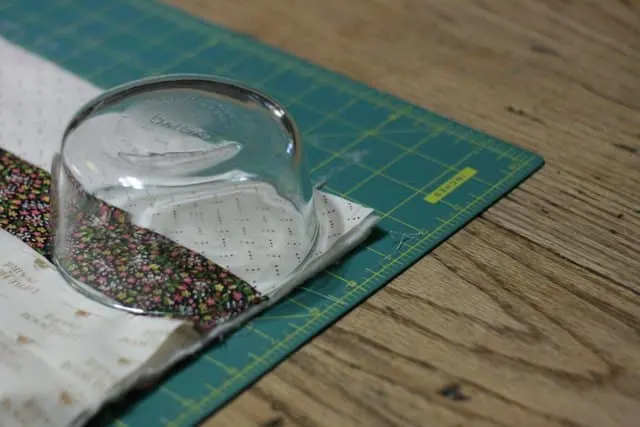

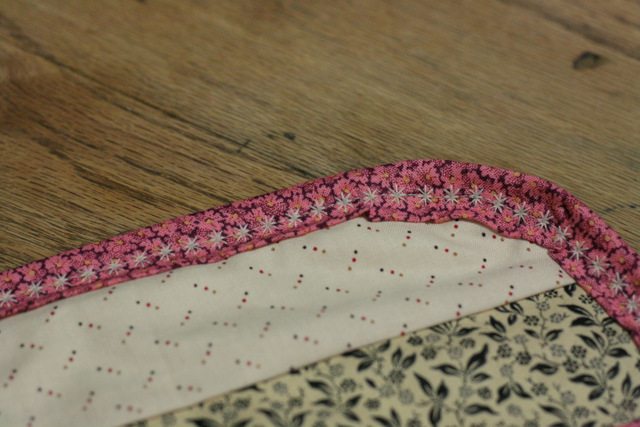
I decided to round the corners so that Esther wouldn’t have to turn any corners when she sewed the bias tape on.

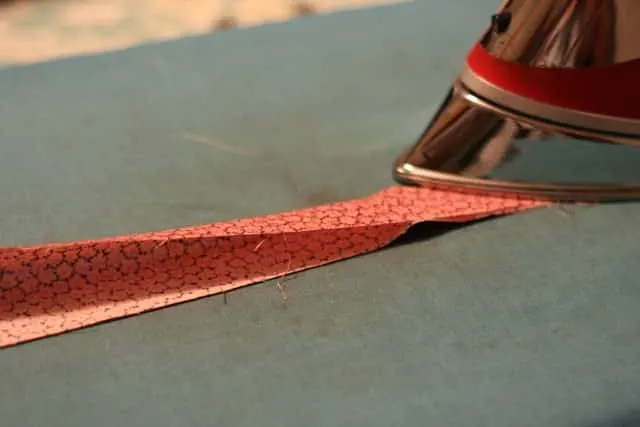
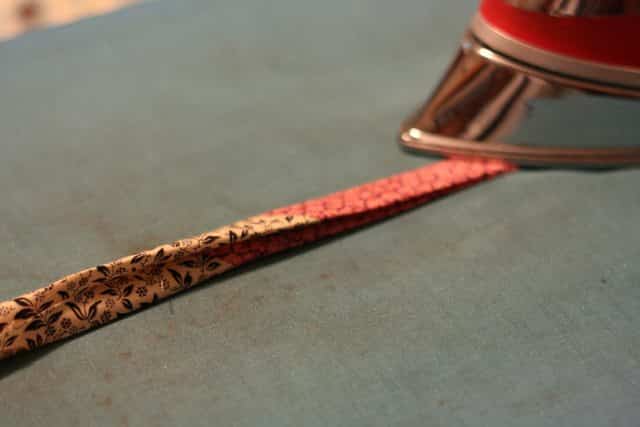
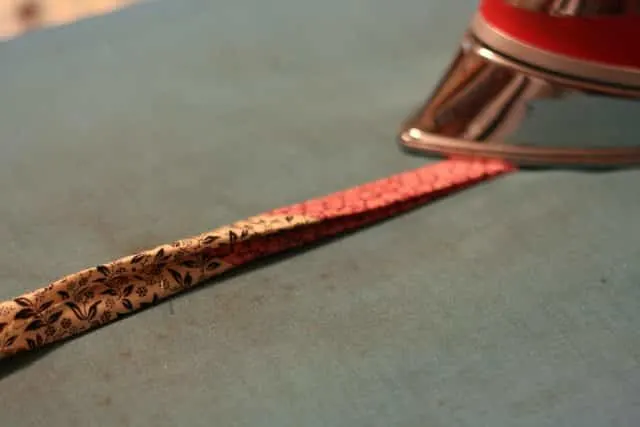
I made the bias tape by cutting 2.5″ strips from the fat quarters and sewing them together. Then I ironed it in half and used that crease as the guide for folding up the edges and ironed them down.
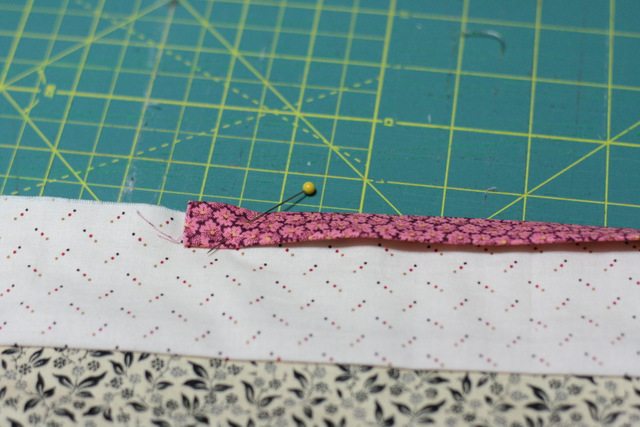
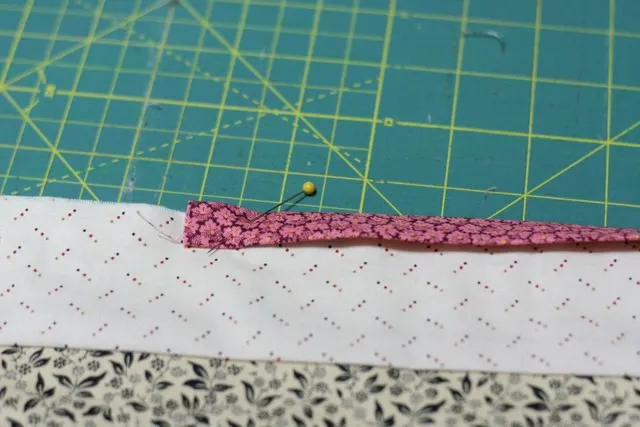
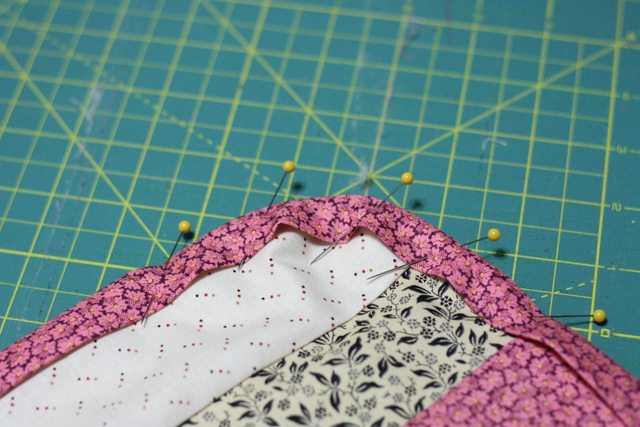
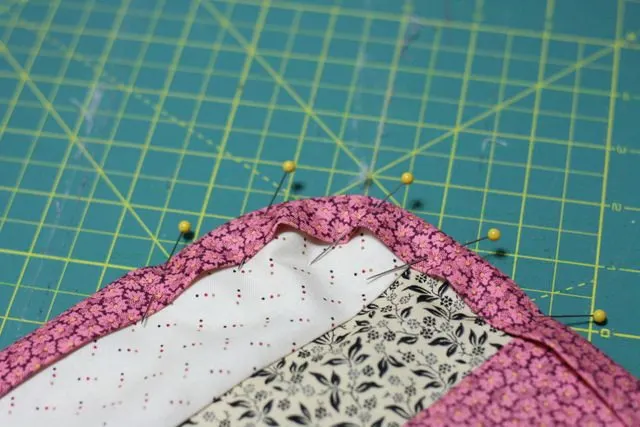
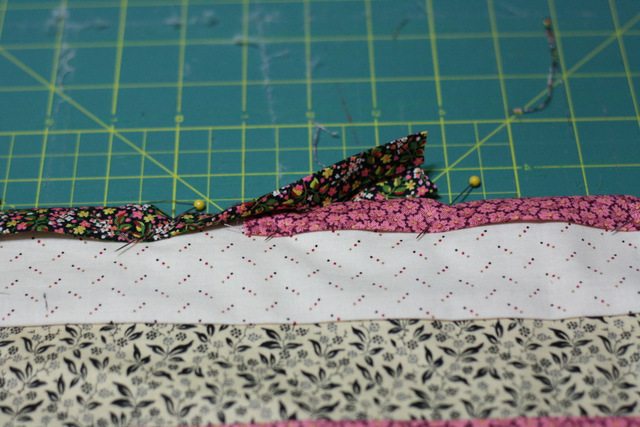

I pinned the bias tape onto the edge of quilt for Esther. It’s ok that there is a little bit of bubbling on the rounded corners, it will all work out when it gets stitched down. I leave the end open and when we get near the end of stitching, we turn the raw edge under and stitch on top of it.

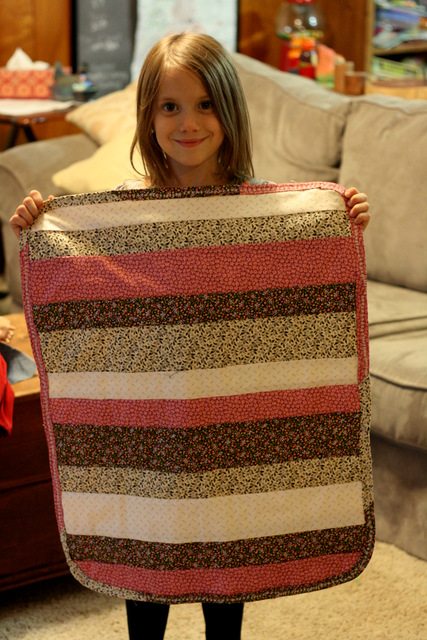
I let Esther pick from several stitches that would be wider than just a straight stitch. This will help make sure that she stitches both the front and the back. She picked a fun star design. Now, I know this isn’t the proper way of binding a quilt, but this is a great way to bind a quilt when teaching a child. So, this is what I teach.
There are a few spots on the binding where Esther let her eyes wander and the stars are moving off the edge of the quilt. We just tacked down those spots by hand.
You can actually use this same technique to make a much larger strip quilt, instead of using fat quarters use full size fabric and cut the strips 3.5″, 4.5″ and 6.5″ wide.

How to Make a Strip Quilt Using Fat Quarters

Making a strip quilt is a fun and easy project. It's great for a quick win or for teaching children to sew. Using fat quarters makes a great doll quilt and makes the process even faster.
Materials
- 5 fat quarters or 1.25 yards of fabric
- cotton batting
- thread
- bias tape
Tools
- pins
- scissors
- sewing machine
Instructions
- Trim the fat quarters so that they were all the same size.
- Cut two 2.5" strips and one 3.5" strips from four of the fat quarters on the long side. The strips should be 2.5"X22" and 3.5"X22".
- Leave one fat quarter whole for the back of the quilt.
- Arrange the strips so that they look nice together.
- Starting at one end, flip the end strip over onto the next strip and sew along the long side using a 1/4" seam allowance.
- Continue adding strips, one at a time, until they are all sewn together. Just make sure the right sides are together when you pin it and it will be fine.

- Cut a total of two 2.5" strips and two 3.5" strips from the fat quarters you already cut from to add to the fat quarter that was reserved for the back.
- With right sides together sew the 2.5" strips and 3.5" strips to the back fat quarter. You can add them to each side or all to one side, it doesn't really matter.
- Iron the quilt top and the quilt back.
- Check to make sure that the quilt top and back are the same size. If one is bigger than the other trim the overage so they're both the same size.
- Cut a piece of batting the same size as the quilt top and back.
- Stack the fabric and batting by putting the back piece right side down on the table, then put the batting on top and lastly, put the top piece right side up. Pin it all around. It should look like a quilt without the binding.
- Now do some stitching through all three layers. You can do a lot or a little but you need to do some. An easy idea is to just stitch along all the strip seams - this is called stitching in the ditch. This will keep the batting from bunching up in the wash.
- If you want to you can round the corners to make binding easier. I like doing this, especially when I'm teaching children to sew.
- Open the bias tape and pin it onto the edge of quilt. It's ok if there is a little bit of bubbling on the rounded corners, it will all work out when it gets stitched down. Leave the end open and when you get near the end of stitching, turn the raw edge under and stitch on top of it.
- I like to use a decorative or zig zag stitch to stitch down the bias tape. This way you don't have to worry about catching both sides of the bias tape in a straight stitch. Stitch all around the bias tape.
To make the strip quilt top:
To make the strip quilt back:
Putting the strip quilt together:
Recommended Products
As an Amazon Associate and member of other affiliate programs, I earn from qualifying purchases.
-

 Janome Basic Easy-to-Use 128 Sewing Machine with Interior Metal Frame, Front Loading Bobbin, Compact and Portable
 -

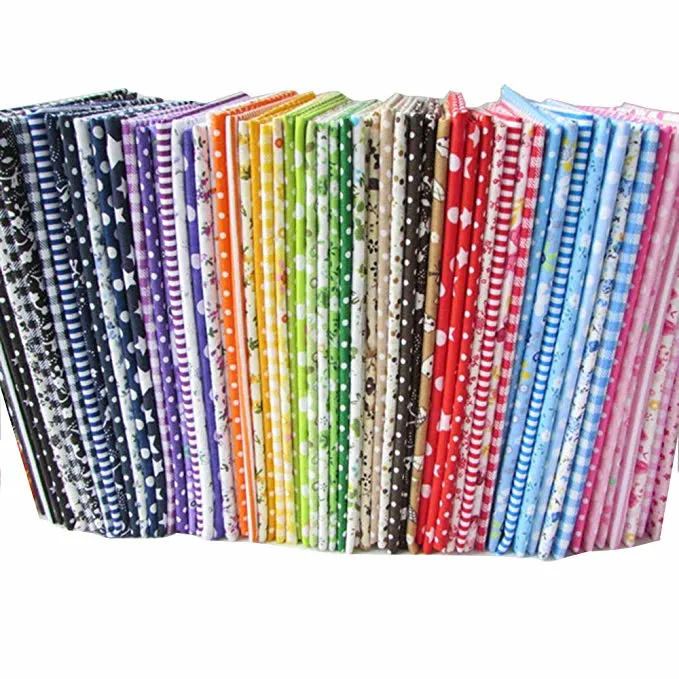 56pcs/lot 9.8" x 9.8" (25cm x 25cm) No Repeat Design Printed Floral Cotton Fabric for Patchwork, Sewing Tissue to Patchwork,Quilting Squares Bundles
 -
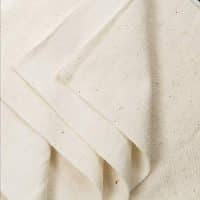
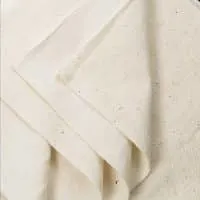 Warm Company Batting 2391 72-Inch by 90-Inch Warm and Natural Cotton Batting, Twin
Amanda Murphy
Tuesday 29th of November 2016
Loved your post. Great details and easy to understand. Just bought my 7 year old granddaughter her first sewing machine for Christmas this year. I am looking for easy projects to help her while she will be out of school. She loves her dolls so I'm sure she will love making them a blanket.
Linda Lee
Thursday 12th of November 2015
I love that you deliver the gifts of sewing and crafts to children. These are dying arts that need as much nurture as possible. There are so many reasons these skills are valuable and it makes me smile to see how proud a child is holding something really awesome that they have had the guidance to make. The most beautiful gift to give children to last a lifetime...
Angi Schneider
Thursday 12th of November 2015
Thank you for your sweet words, Linda. I think we are kindred spirits ;-)
rig
Wednesday 11th of November 2015
I love the quilt! Thank you for sharing your tutorial. I do have a question though, in your header you said there was a giveaway and I don't see one, will you tell me if I missed it or where I can go to see what it is? Thank you.
Angi Schneider
Wednesday 11th of November 2015
Goodness, I have no idea what happened! I've reloaded the giveaway code so please enter. Thanks so much for stopping by (and for letting me know about the giveaway).
Sue D
Sunday 8th of November 2015
Love this idea. I bet my granddaughter would love to make this.
Janet Garman
Thursday 5th of November 2015
That quilt is so cute! I hope the dolly enjoys her custom blanket too. Nice job and good tutorial
Angi Schneider
Friday 6th of November 2015
Thanks, Janet. So far dolly loves the quilt.